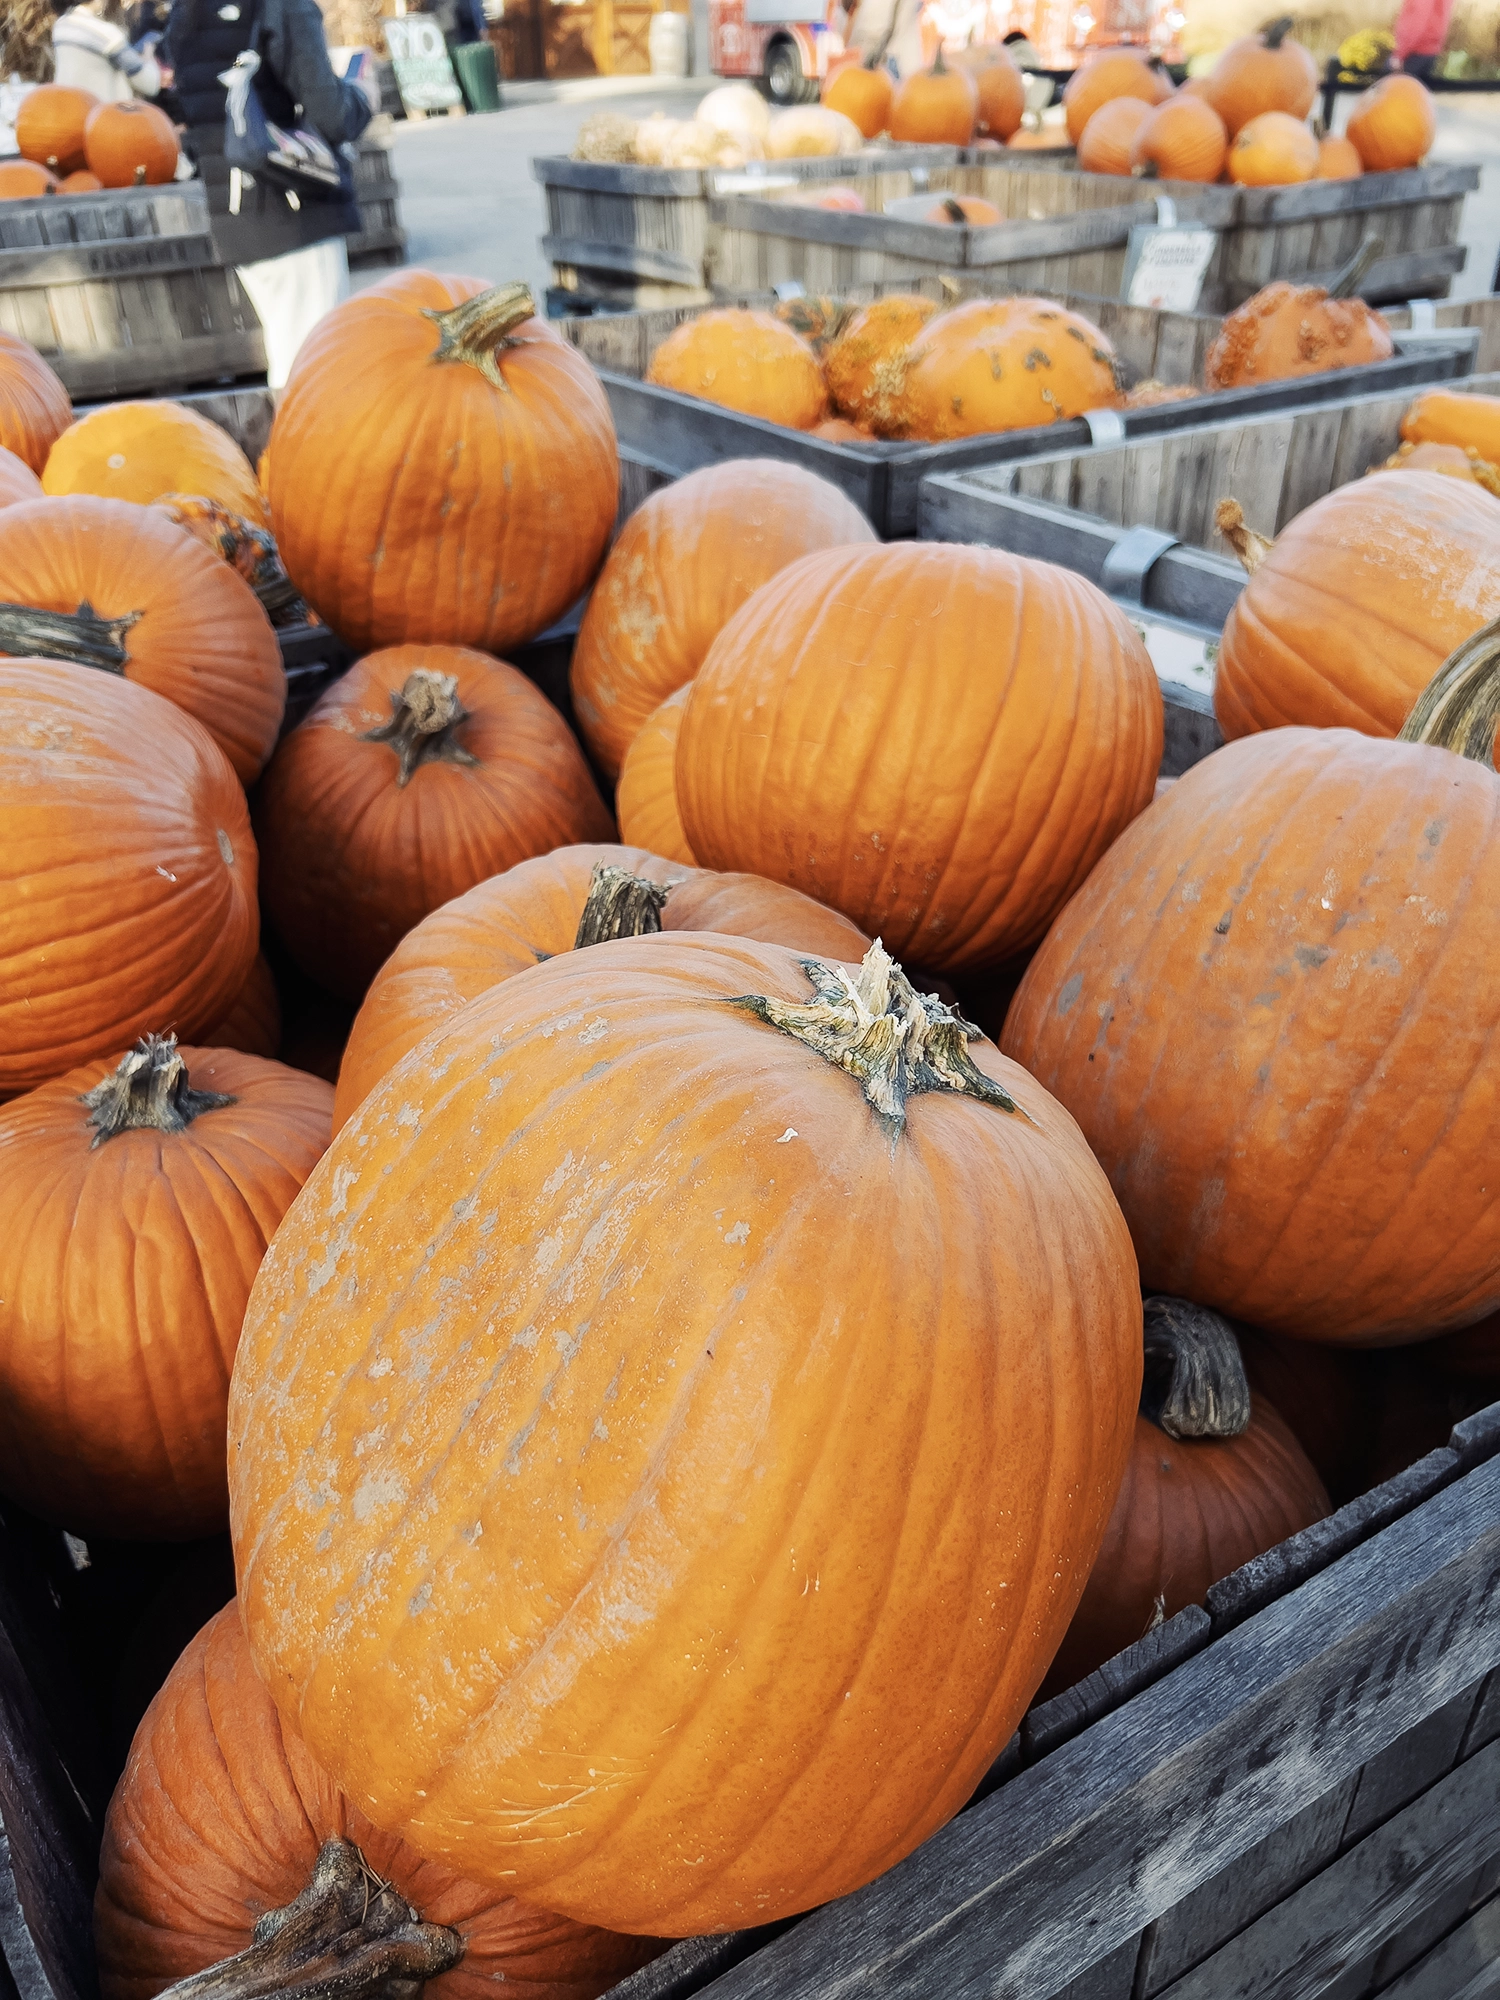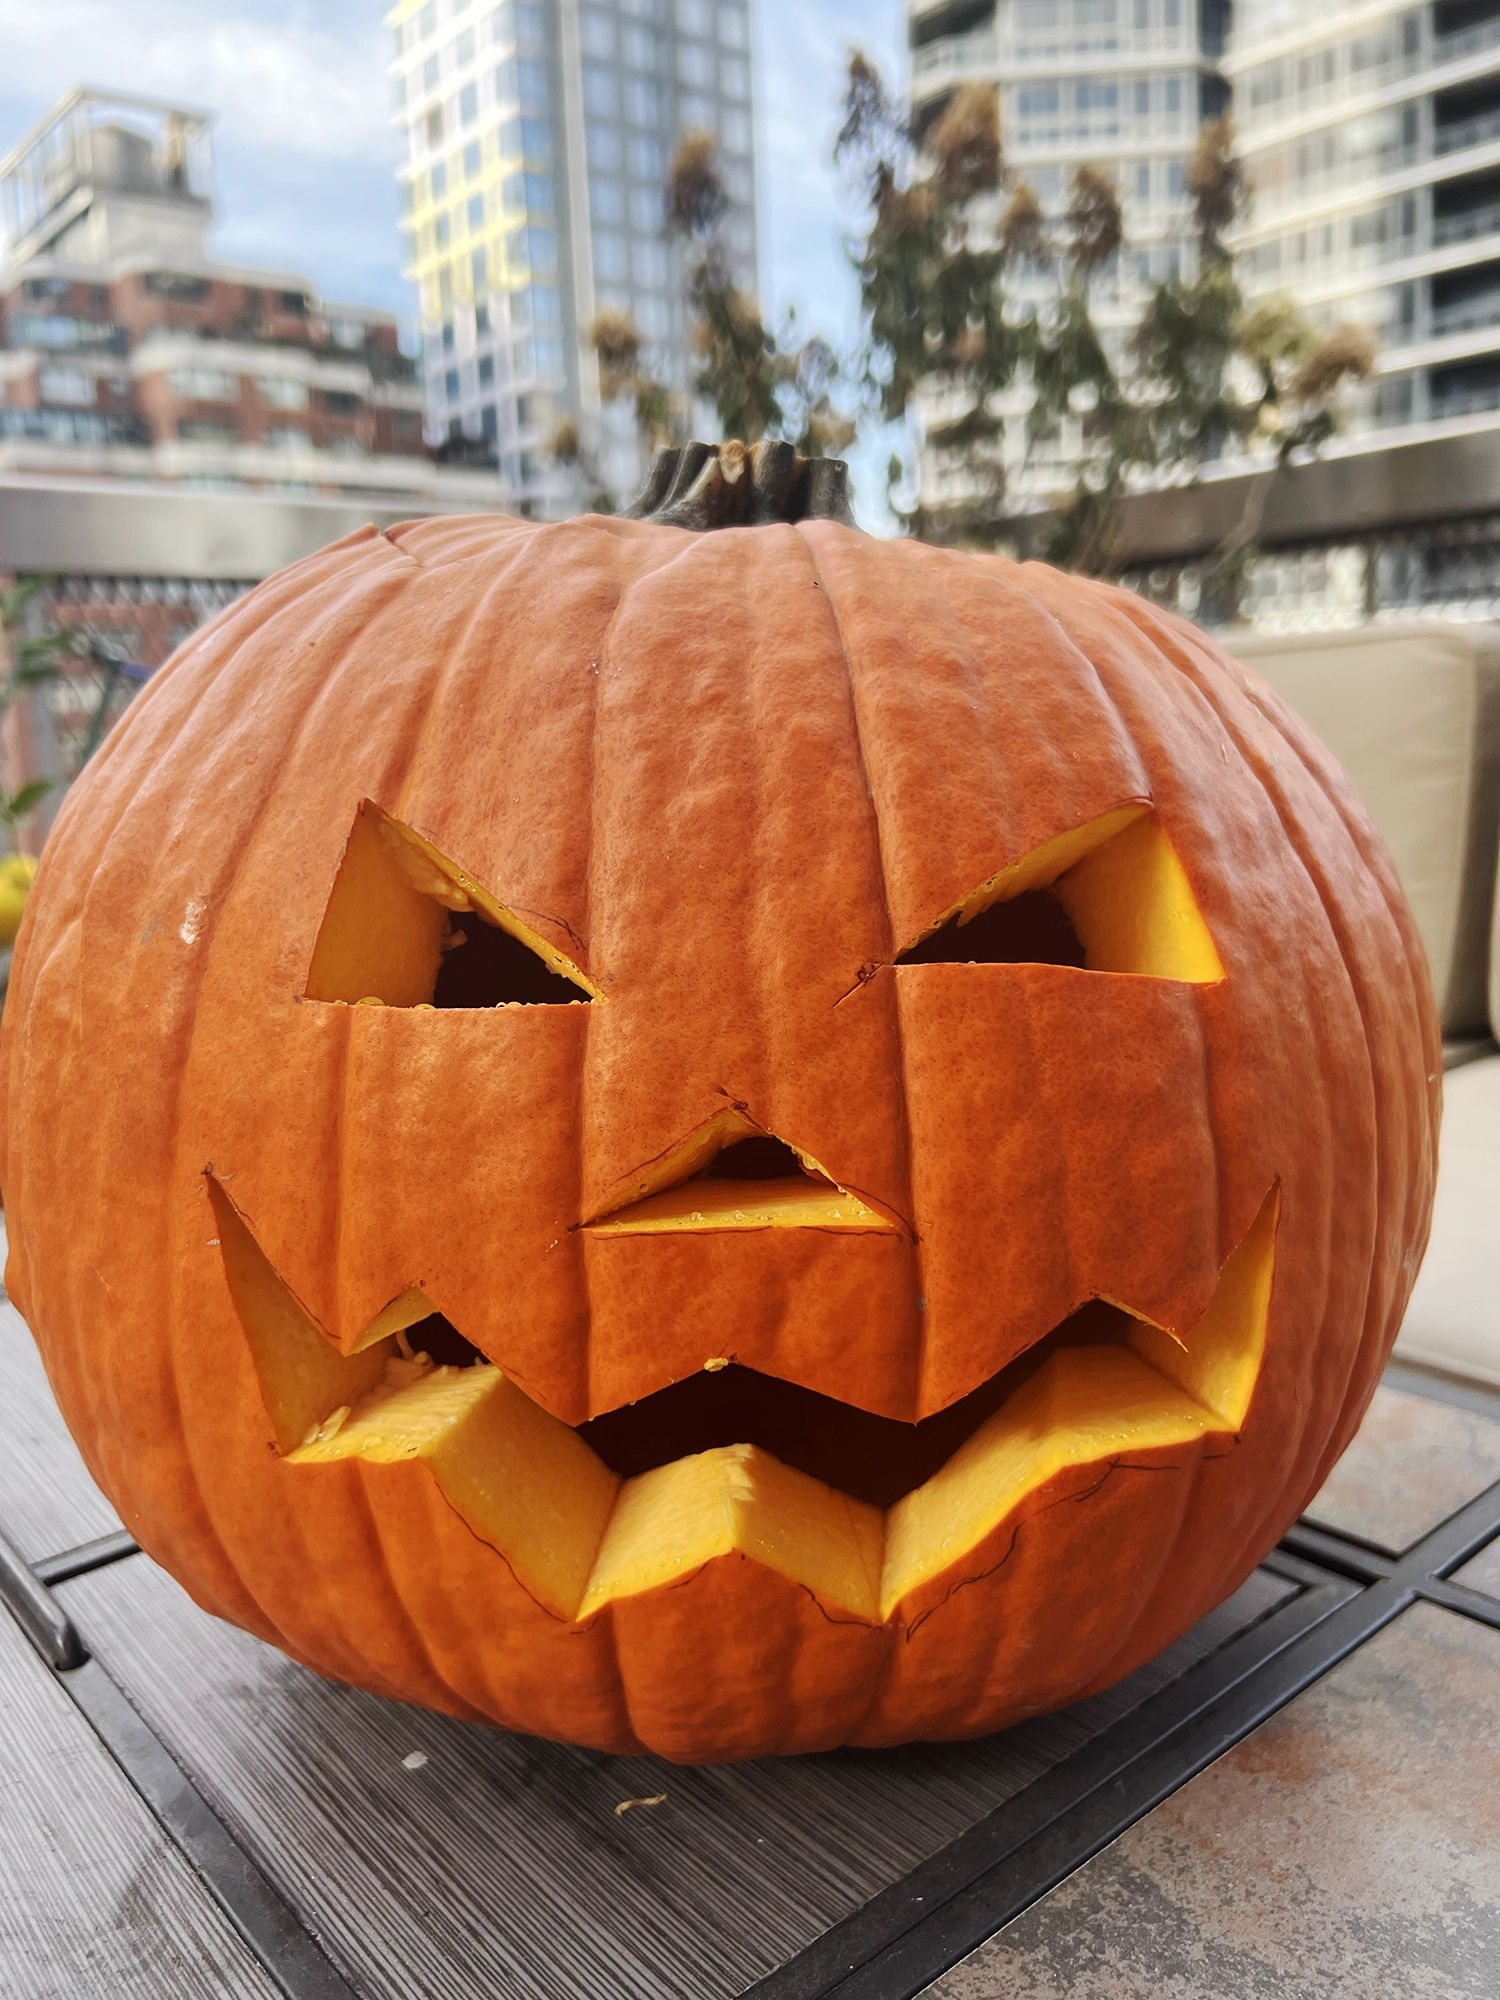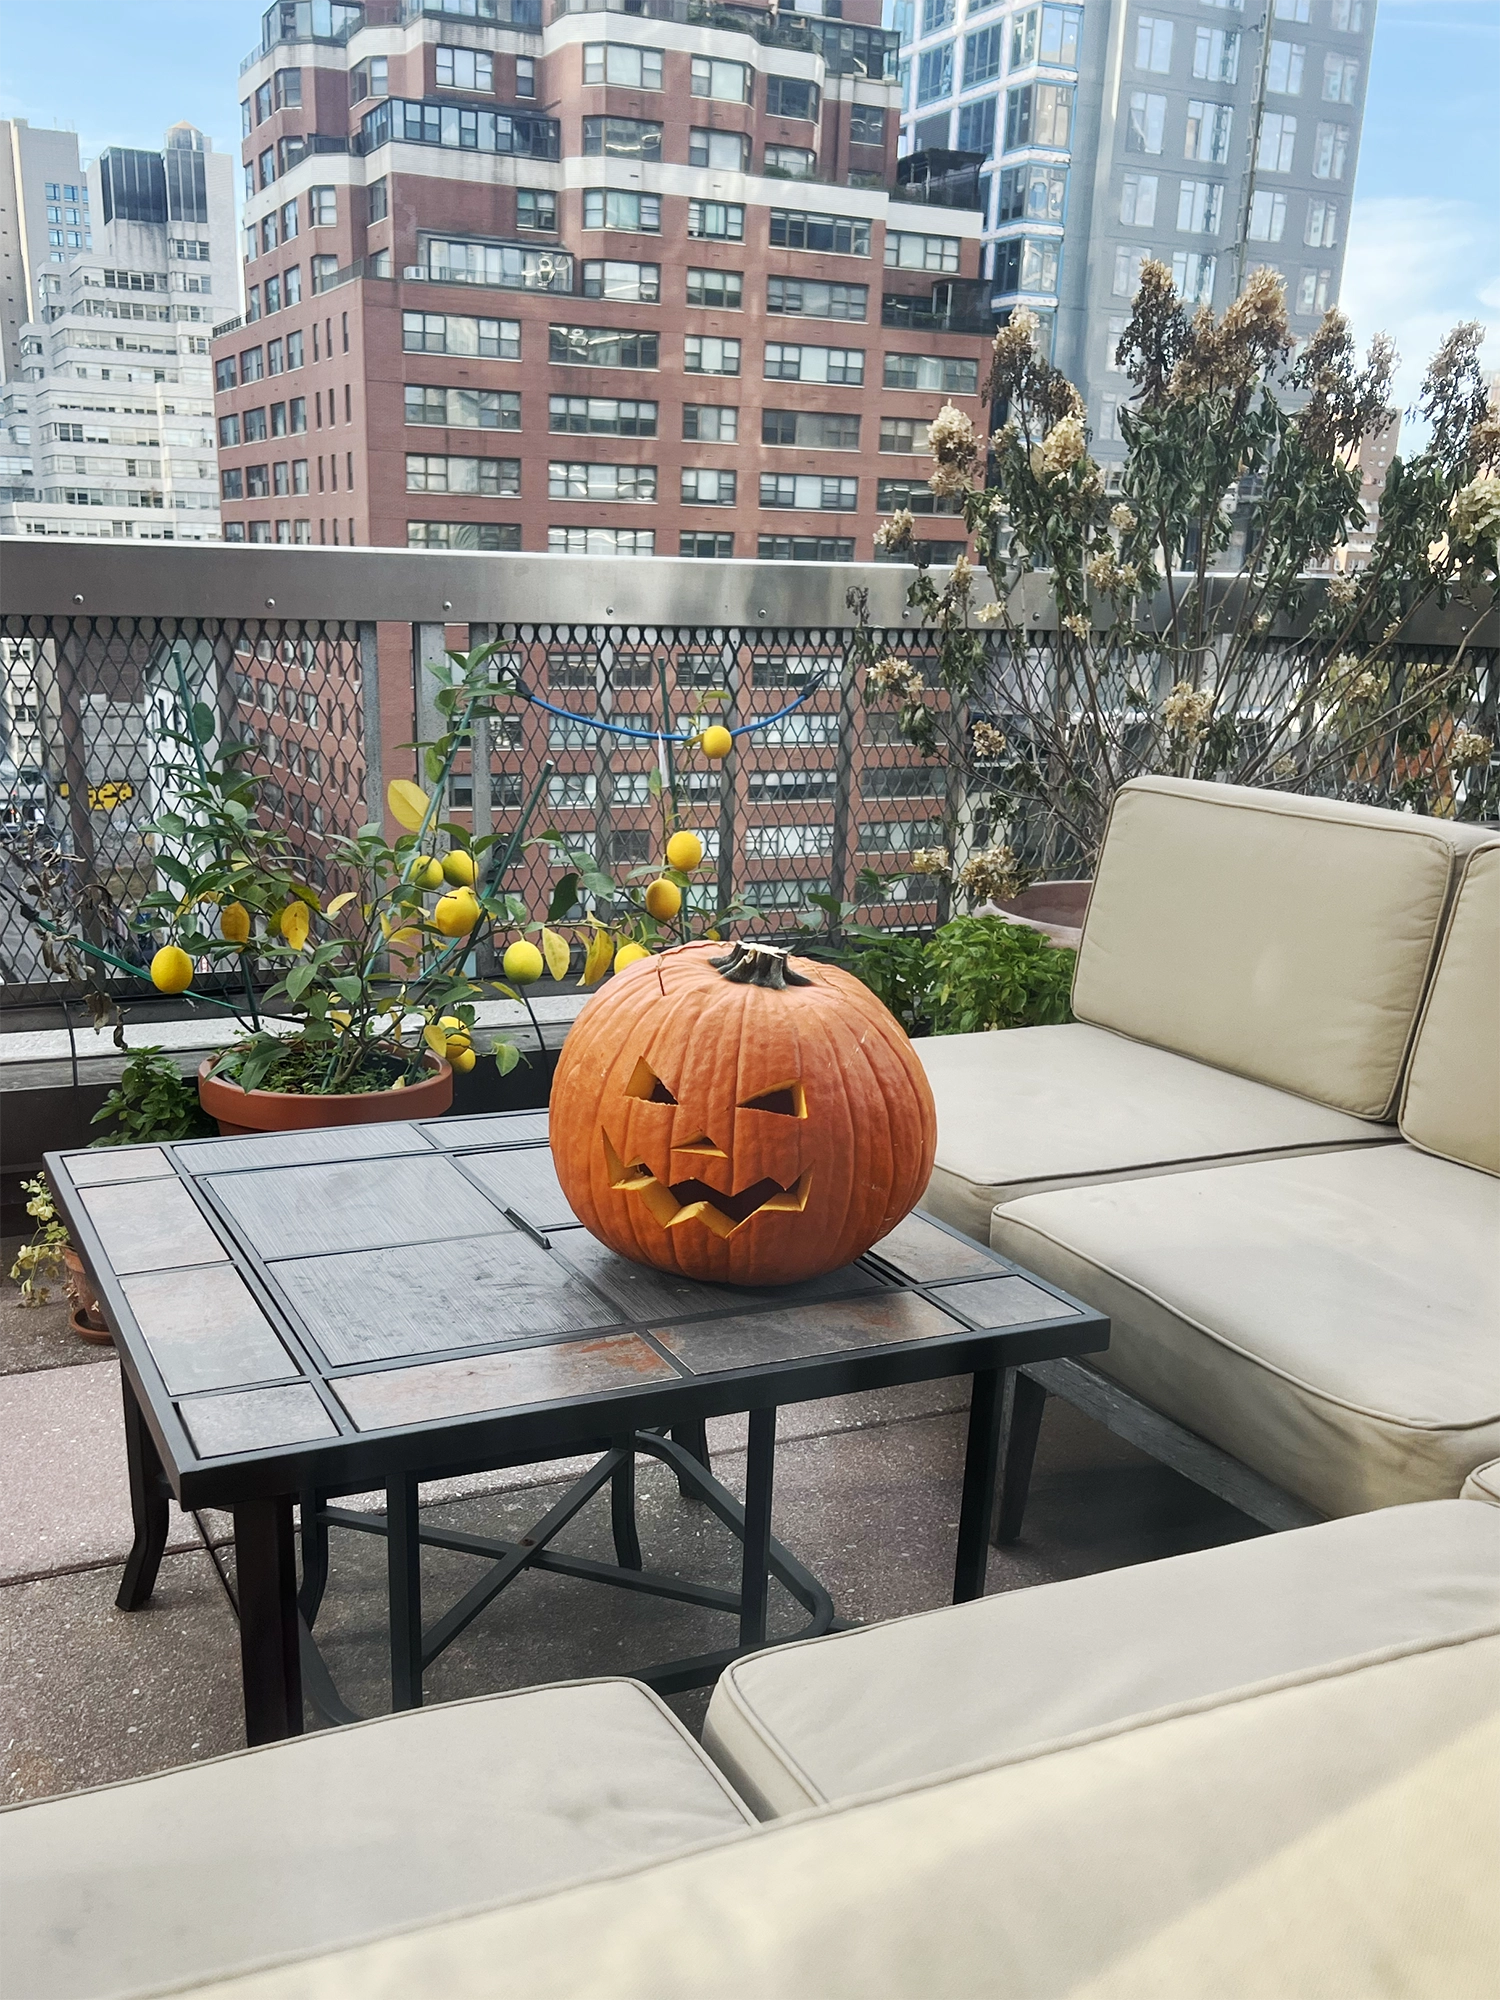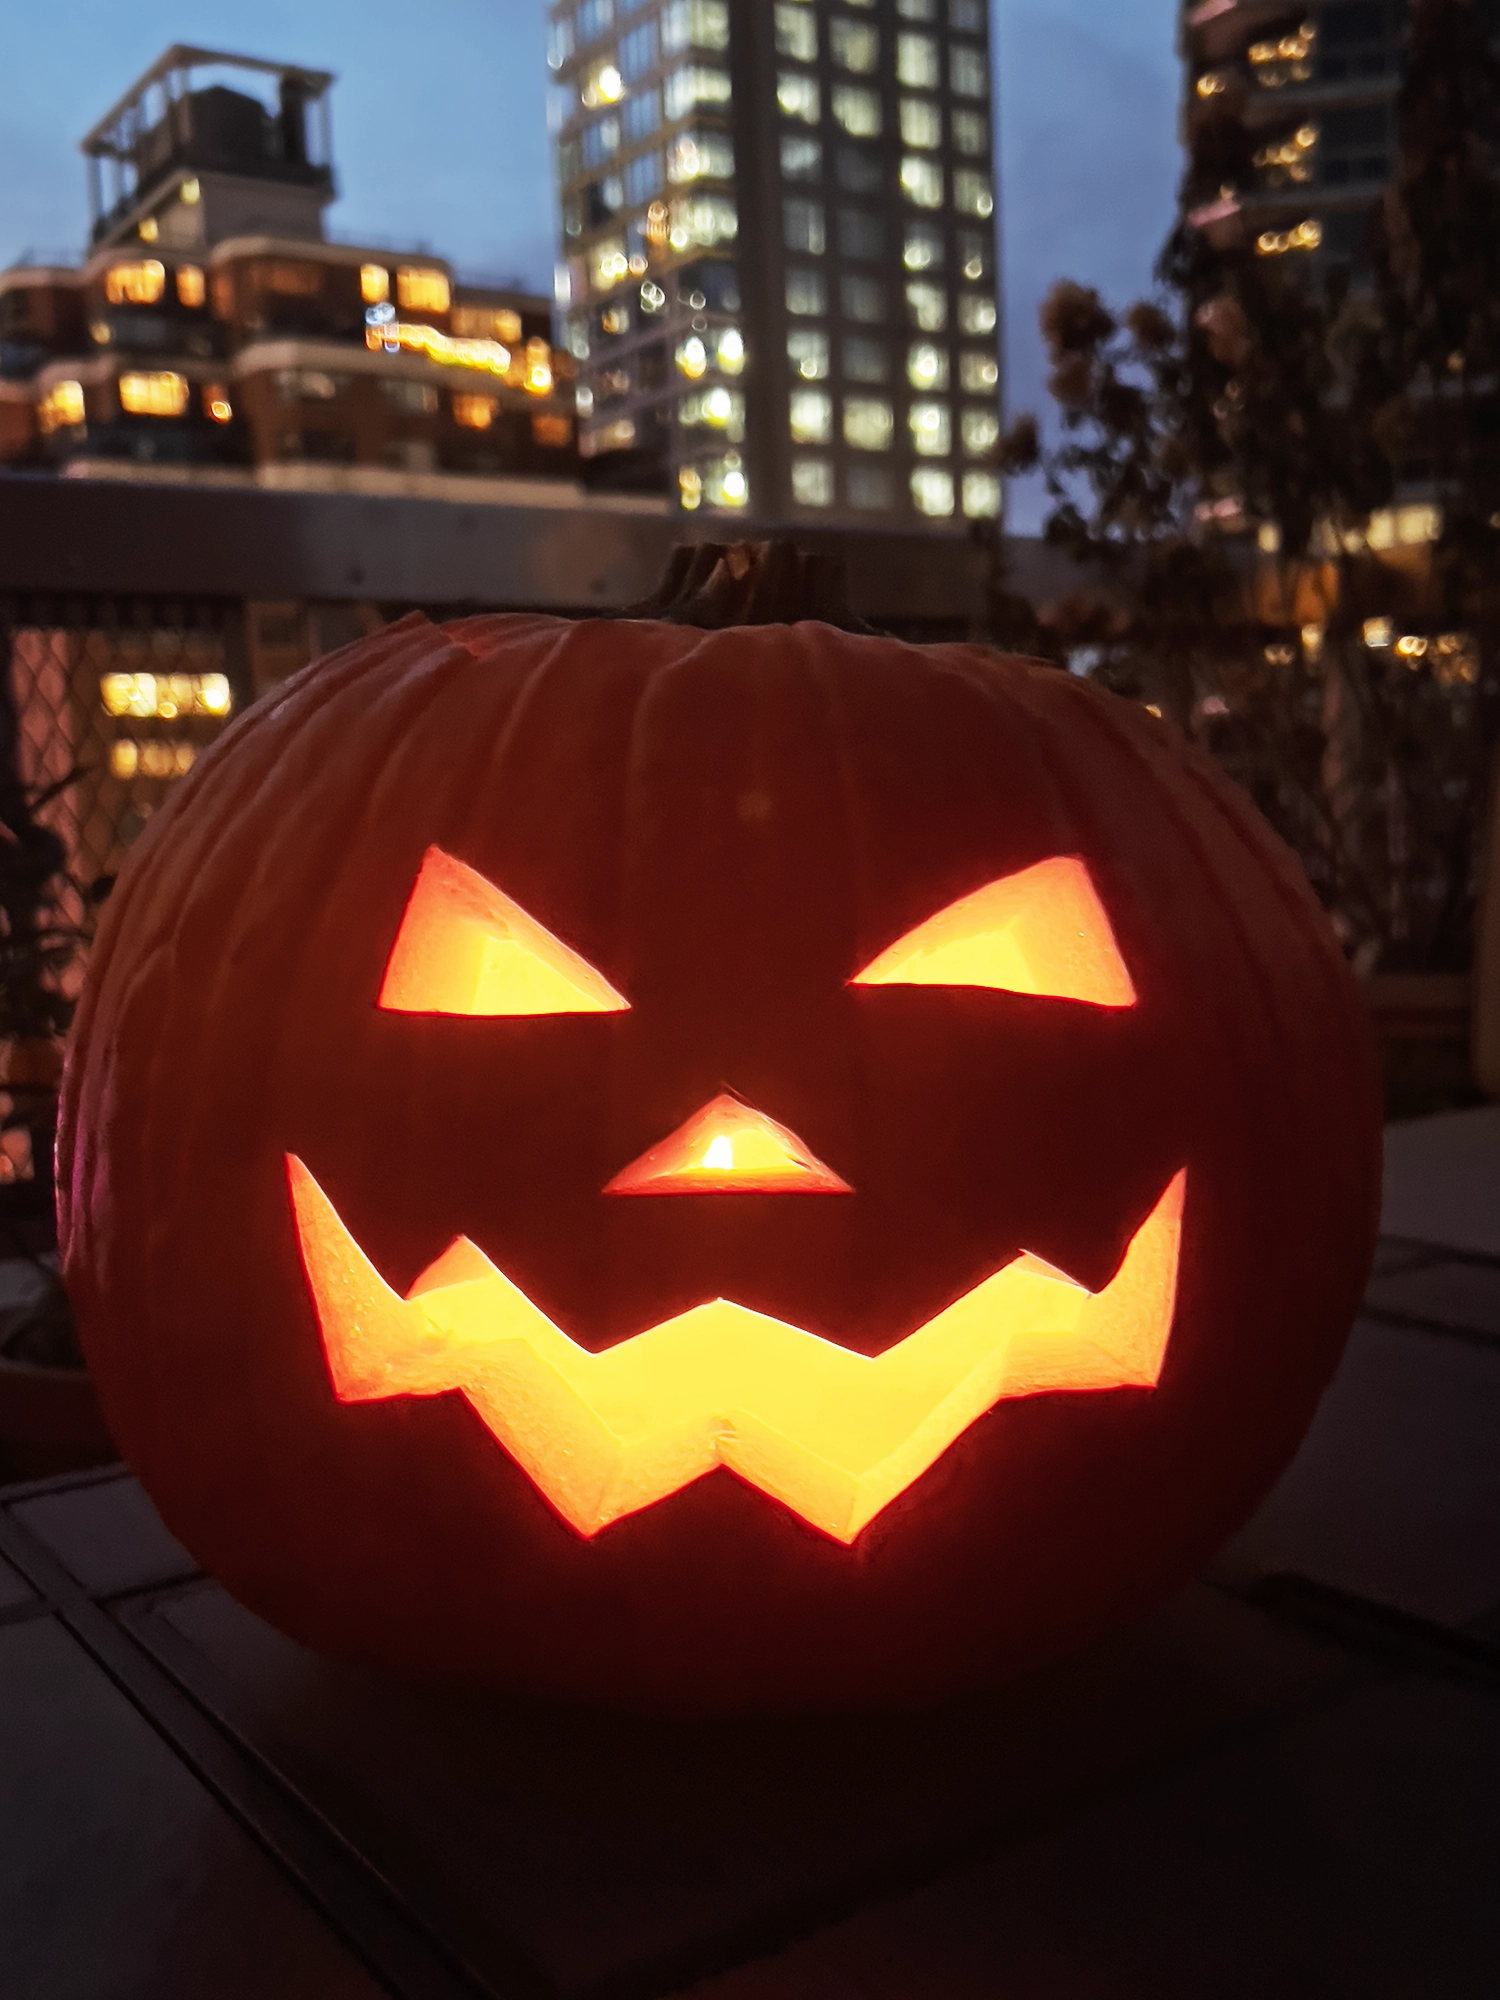

Steve and I went all in on Halloween this year. After finding the perfect pumpkin at Fishkill Farms, we of course had to carve a classic jack o’ lantern. It turned into quite the project, but it was actually a lot of fun, and the result looked great. We placed it out on the balcony, and with the light inside, it gave that perfect Halloween glow in the middle of New York City.
Here’s my step by step guide to carving a classic, beautiful jack o’ lantern:
1. Choose the right pumpkin
Pick one with a smooth surface and a sturdy stem. It should feel heavy for its size and sound hollow when you tap it. Avoid any with soft spots or mold, as they won’t last long.
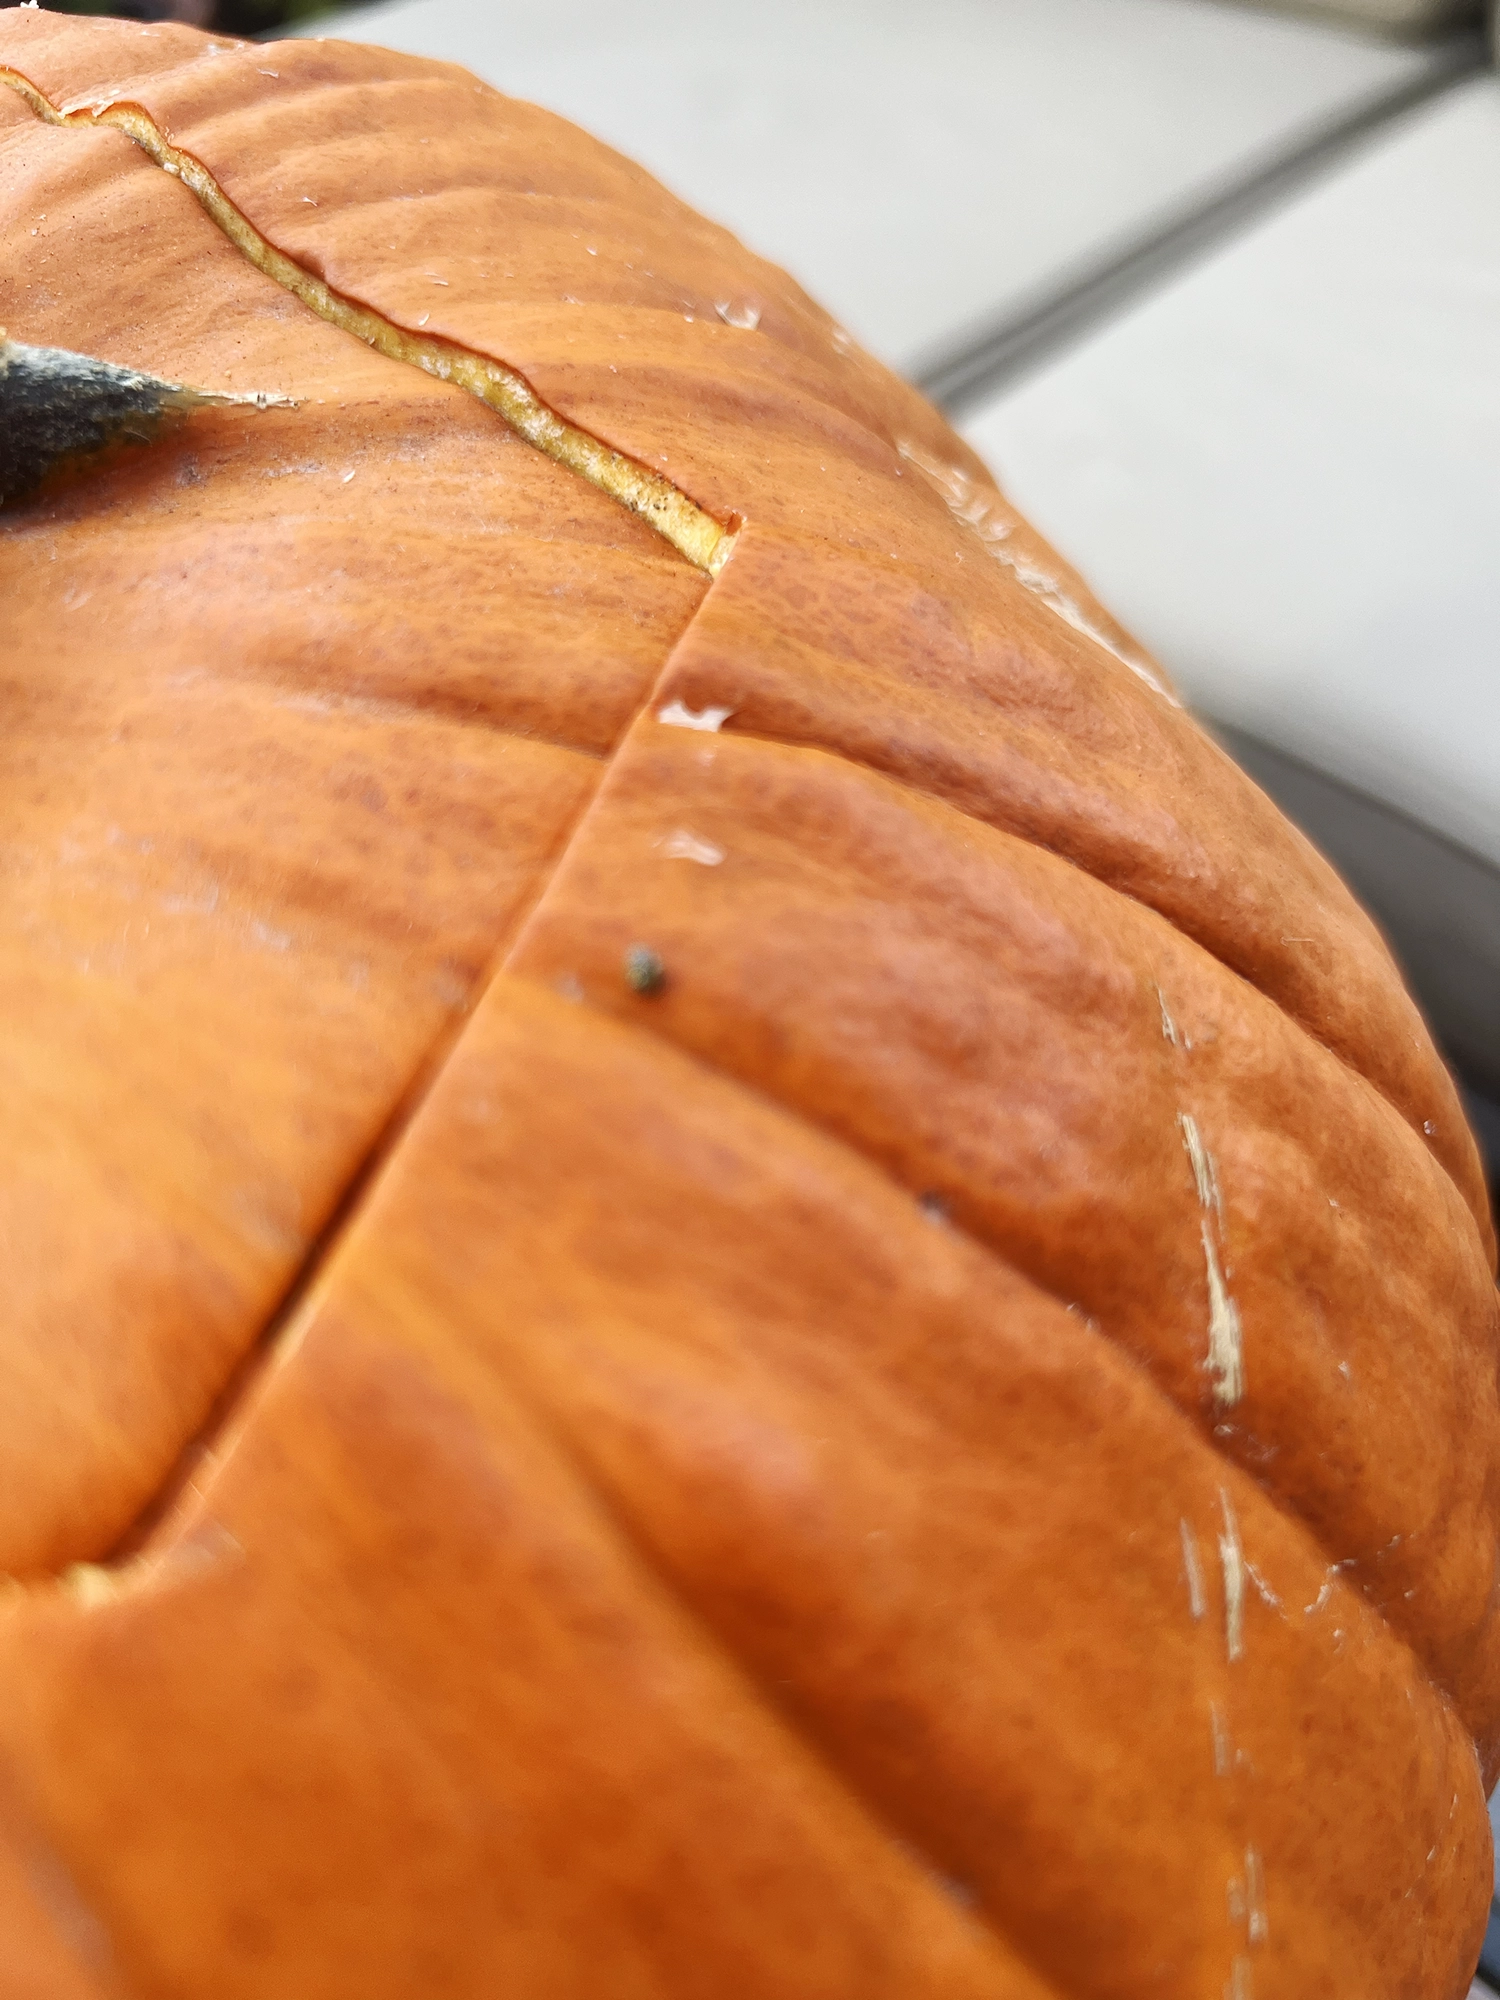
2. Cut the lid
Use a sharp, serrated knife and cut the lid at a slight angle, like the lid of a pot, so it won’t fall into the pumpkin later. You can also cut off the bottom instead of the top, which makes it easier to place a candle or light inside.
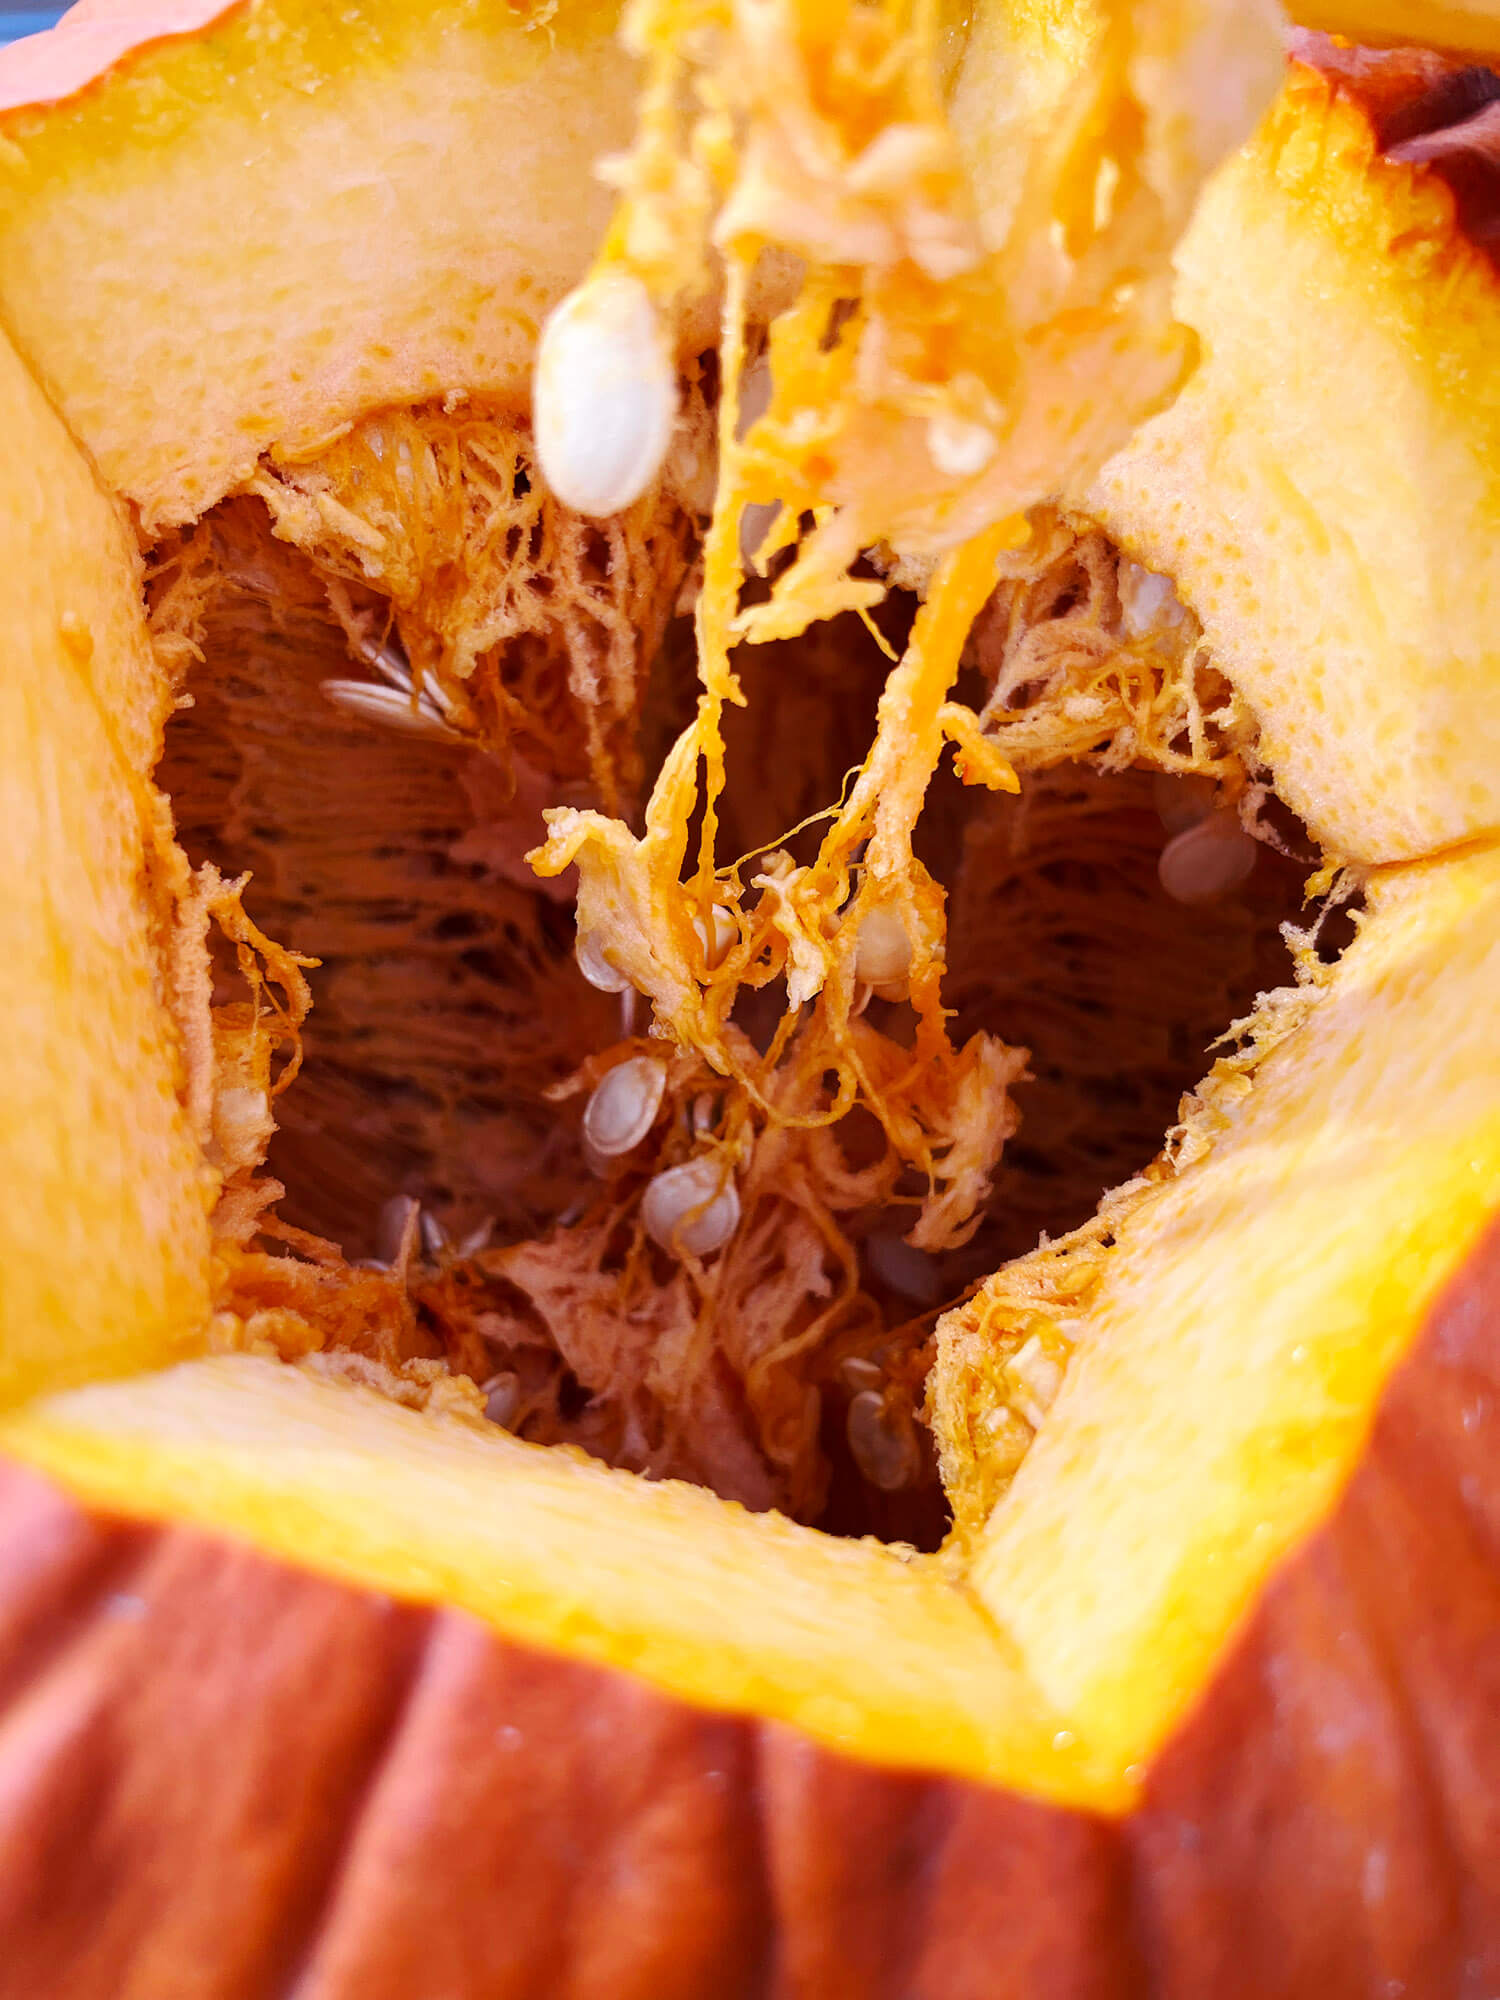
3. Scoop it out
Remove the seeds and stringy bits with a large spoon or an ice cream scoop. Save the seeds, because they taste great roasted with a little oil, salt, and harissa. Scrape the inside until the walls are about an inch thick, which makes it easier to carve your design.
Recipe: Harissa-roasted pumpkin seeds
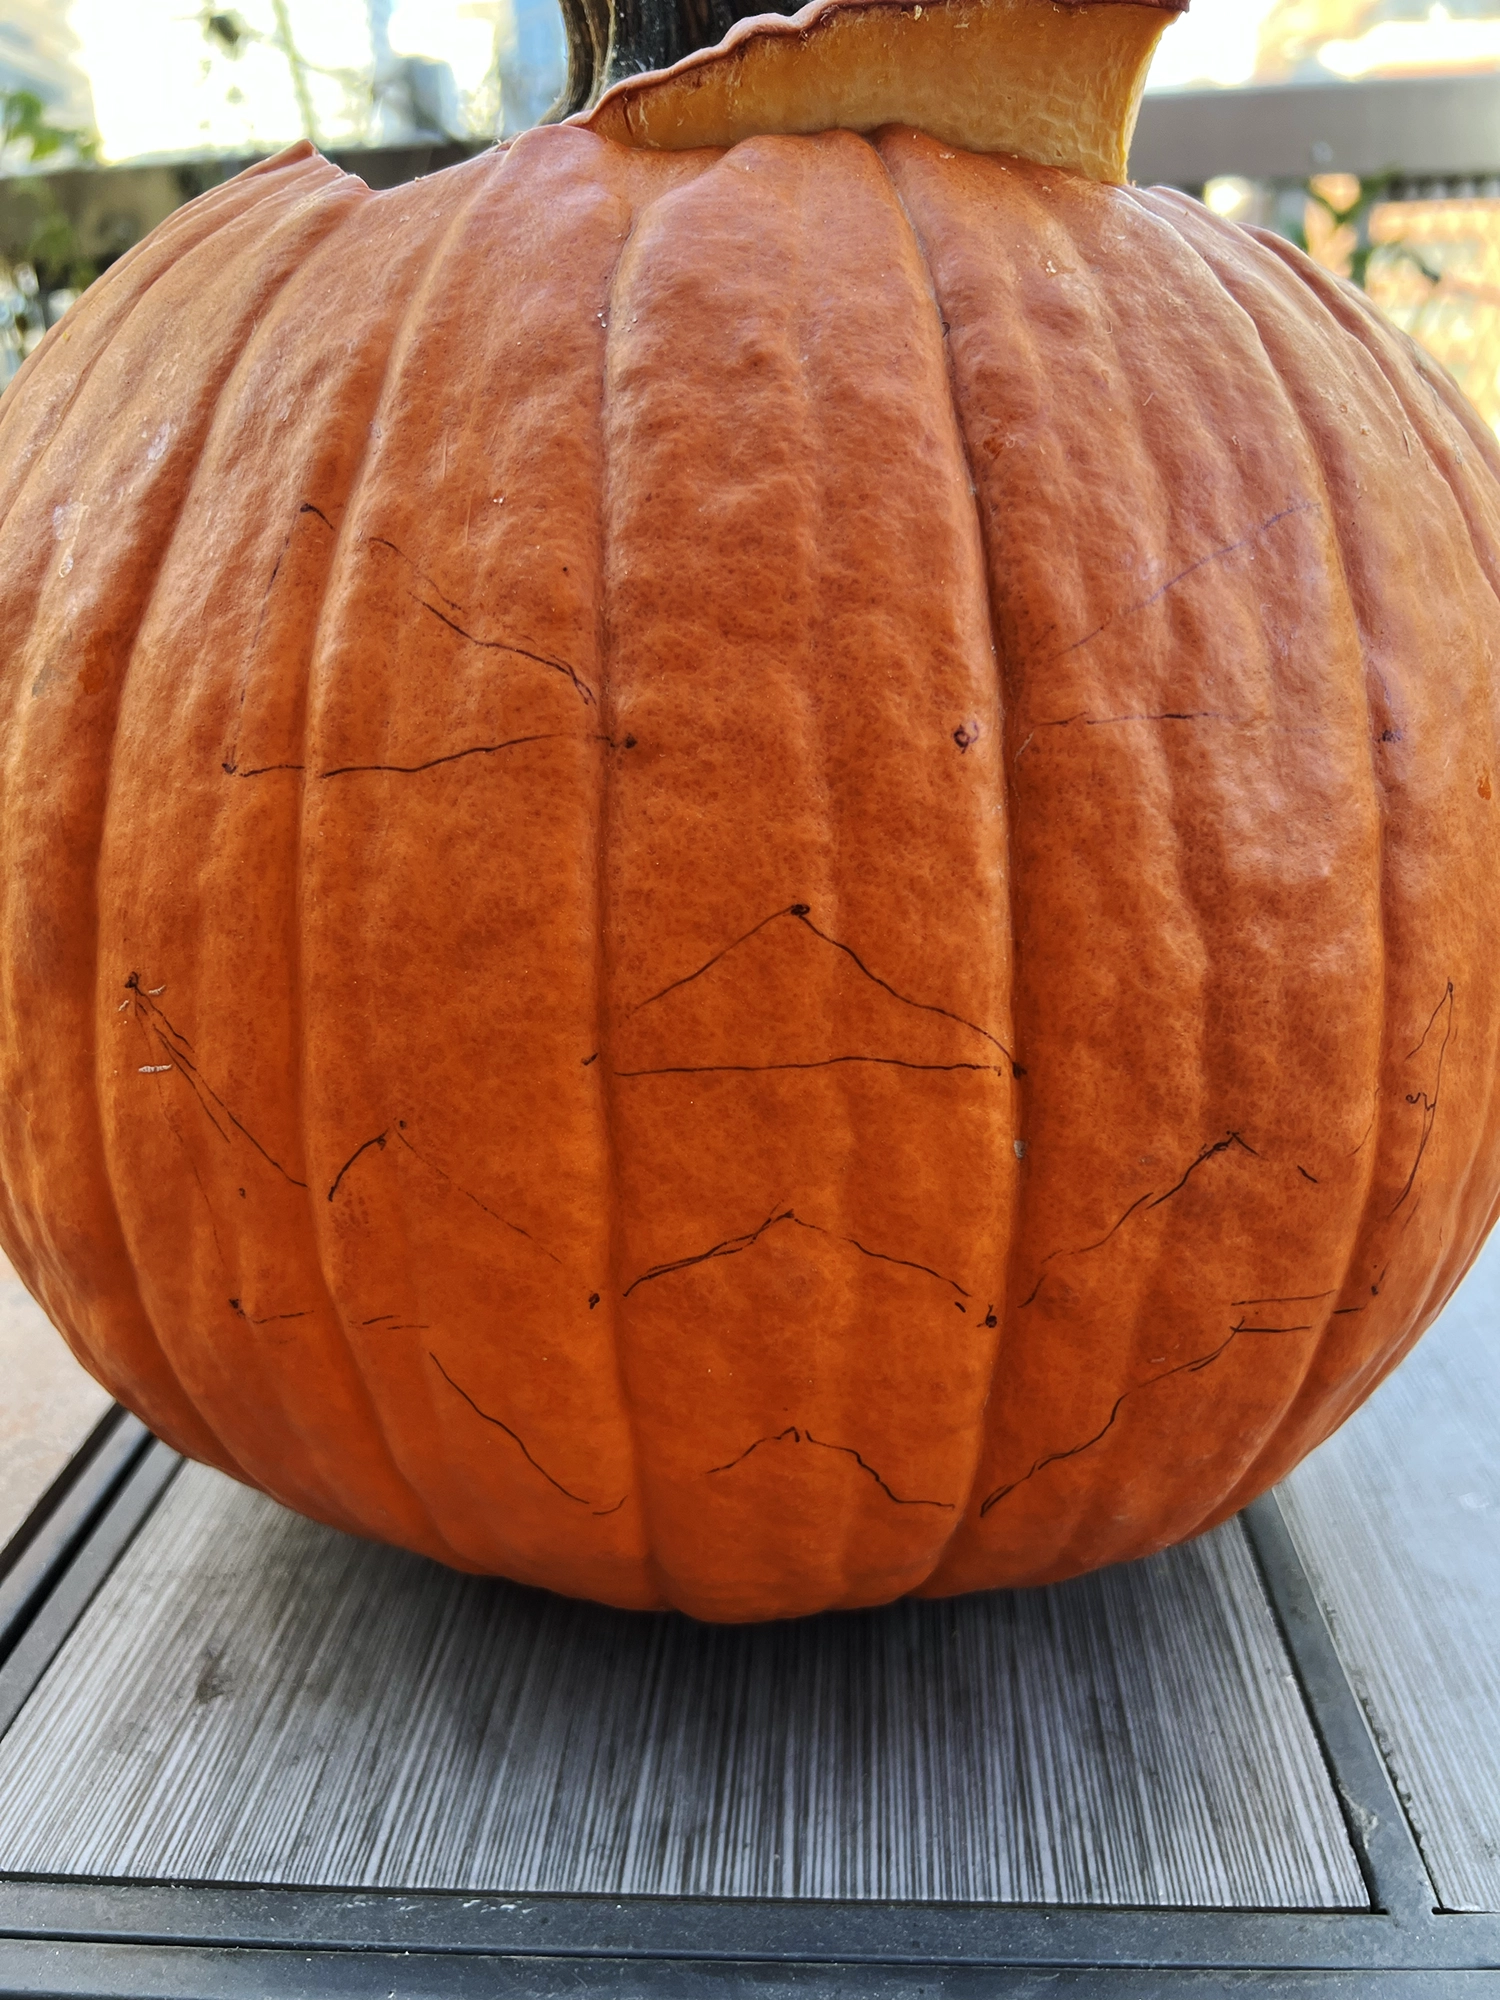
4. Draw your design
Use a washable marker or pencil to sketch your face. Classic triangle eyes and a wide grin always work, but you can find plenty of free templates online if you want something more creative.
5. Start carving
Use a small serrated knife or a pumpkin carving kit. Begin with the smaller details and work your way out. Don’t push too hard; let the knife do the work.
6. Add the light
Place a small LED candle or tealight inside. LED lights are safer and last longer, but if you use a real candle, cut a small vent hole at the top so the heat can escape.
7. Make it last longer
Brush the cut edges with a bit of lemon juice or petroleum jelly to prevent drying. Keep the pumpkin cool at night; outside on the balcony is perfect.
Bonus tip: For a more professional look, try carving without cutting all the way through. Gently scrape off only the orange outer layer in certain areas. When you turn on the light, those spots will glow beautifully, giving your pumpkin a warm, three dimensional look.