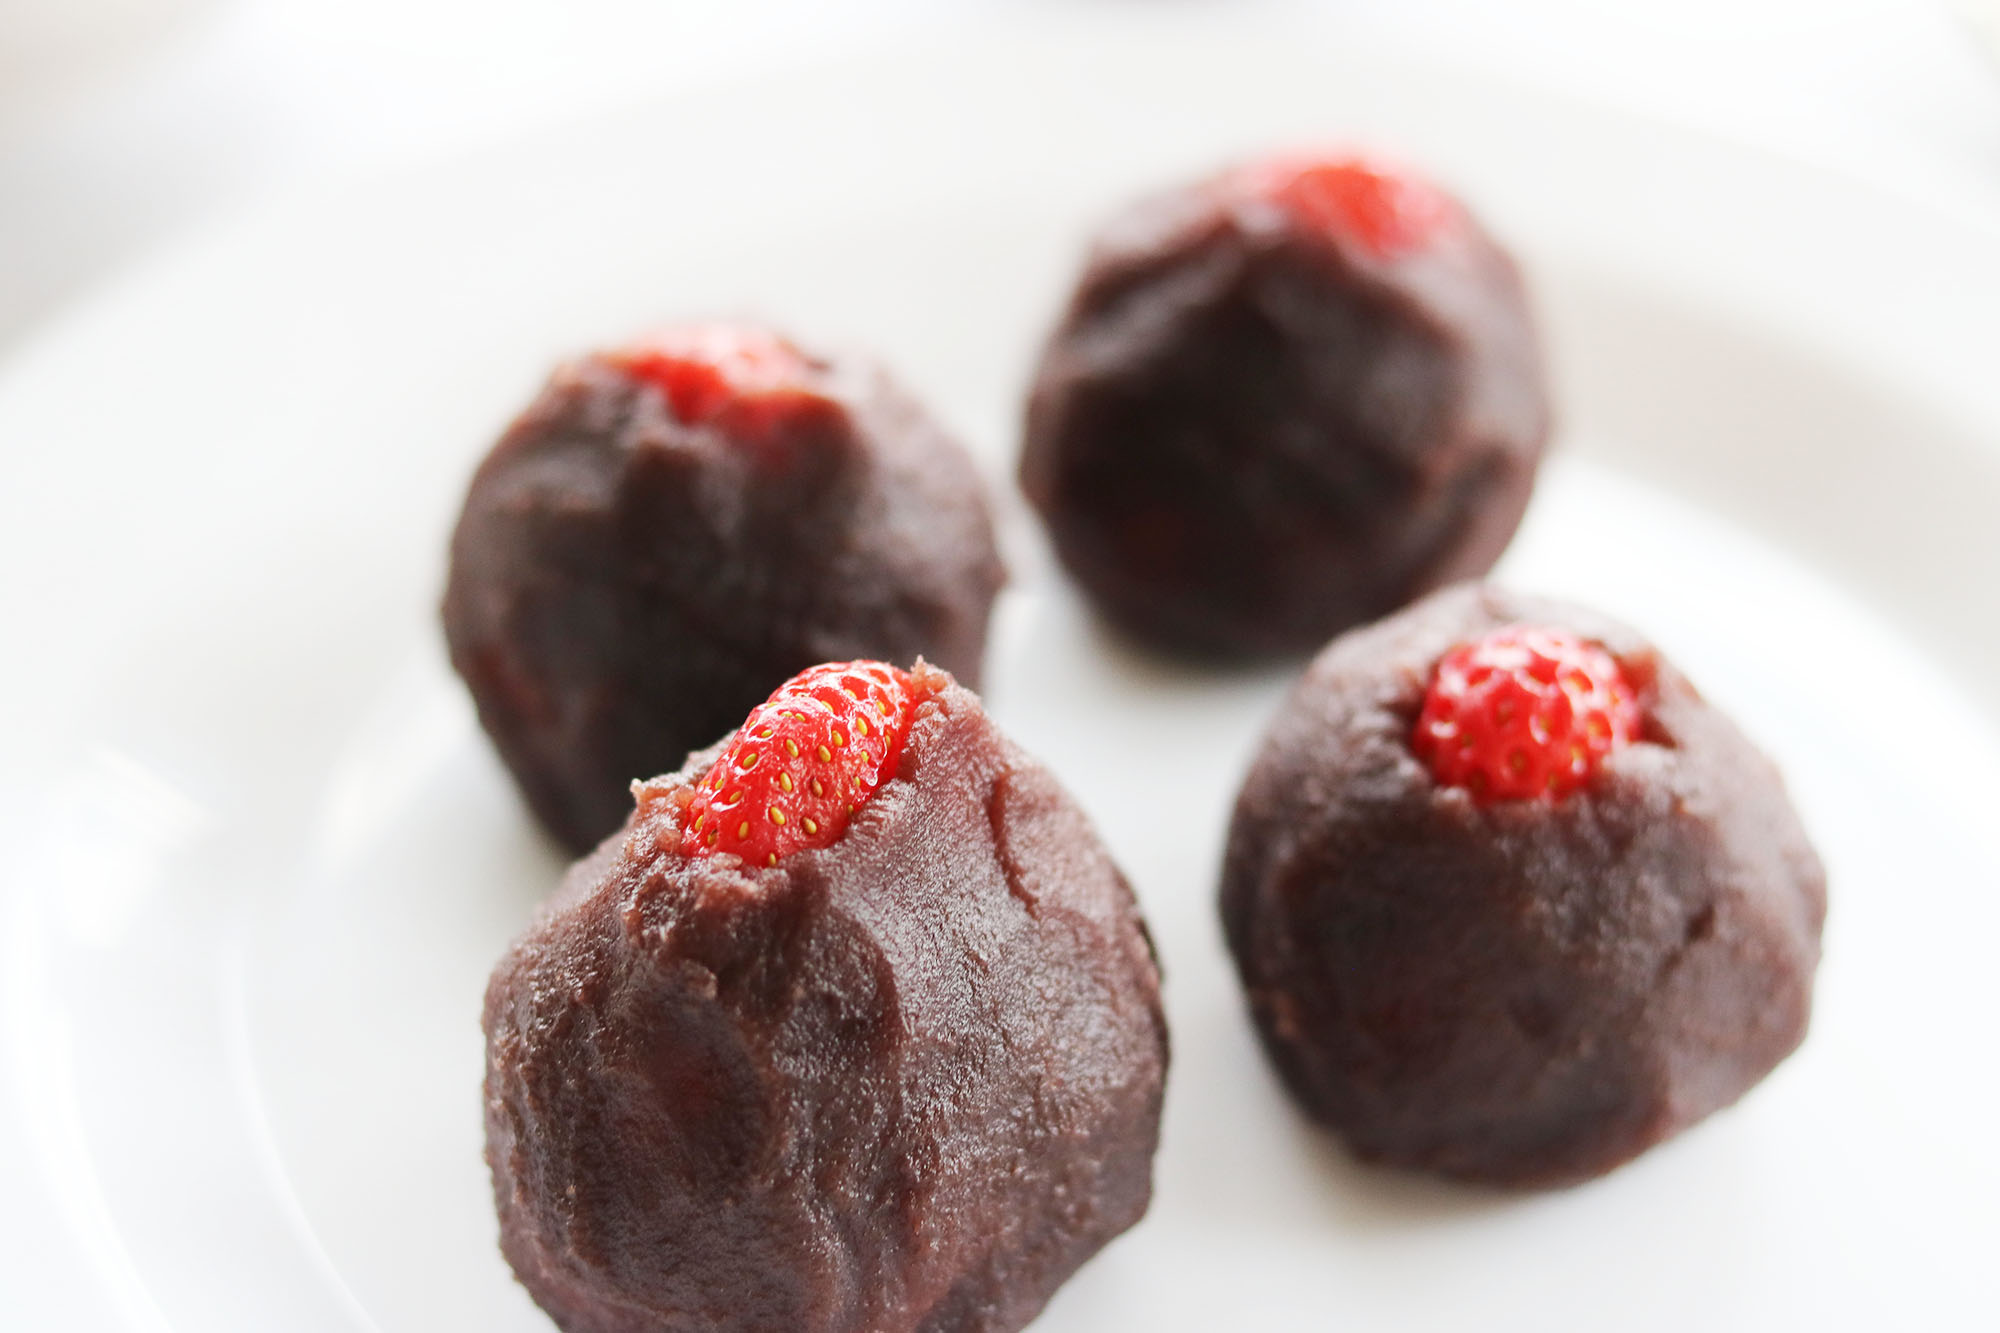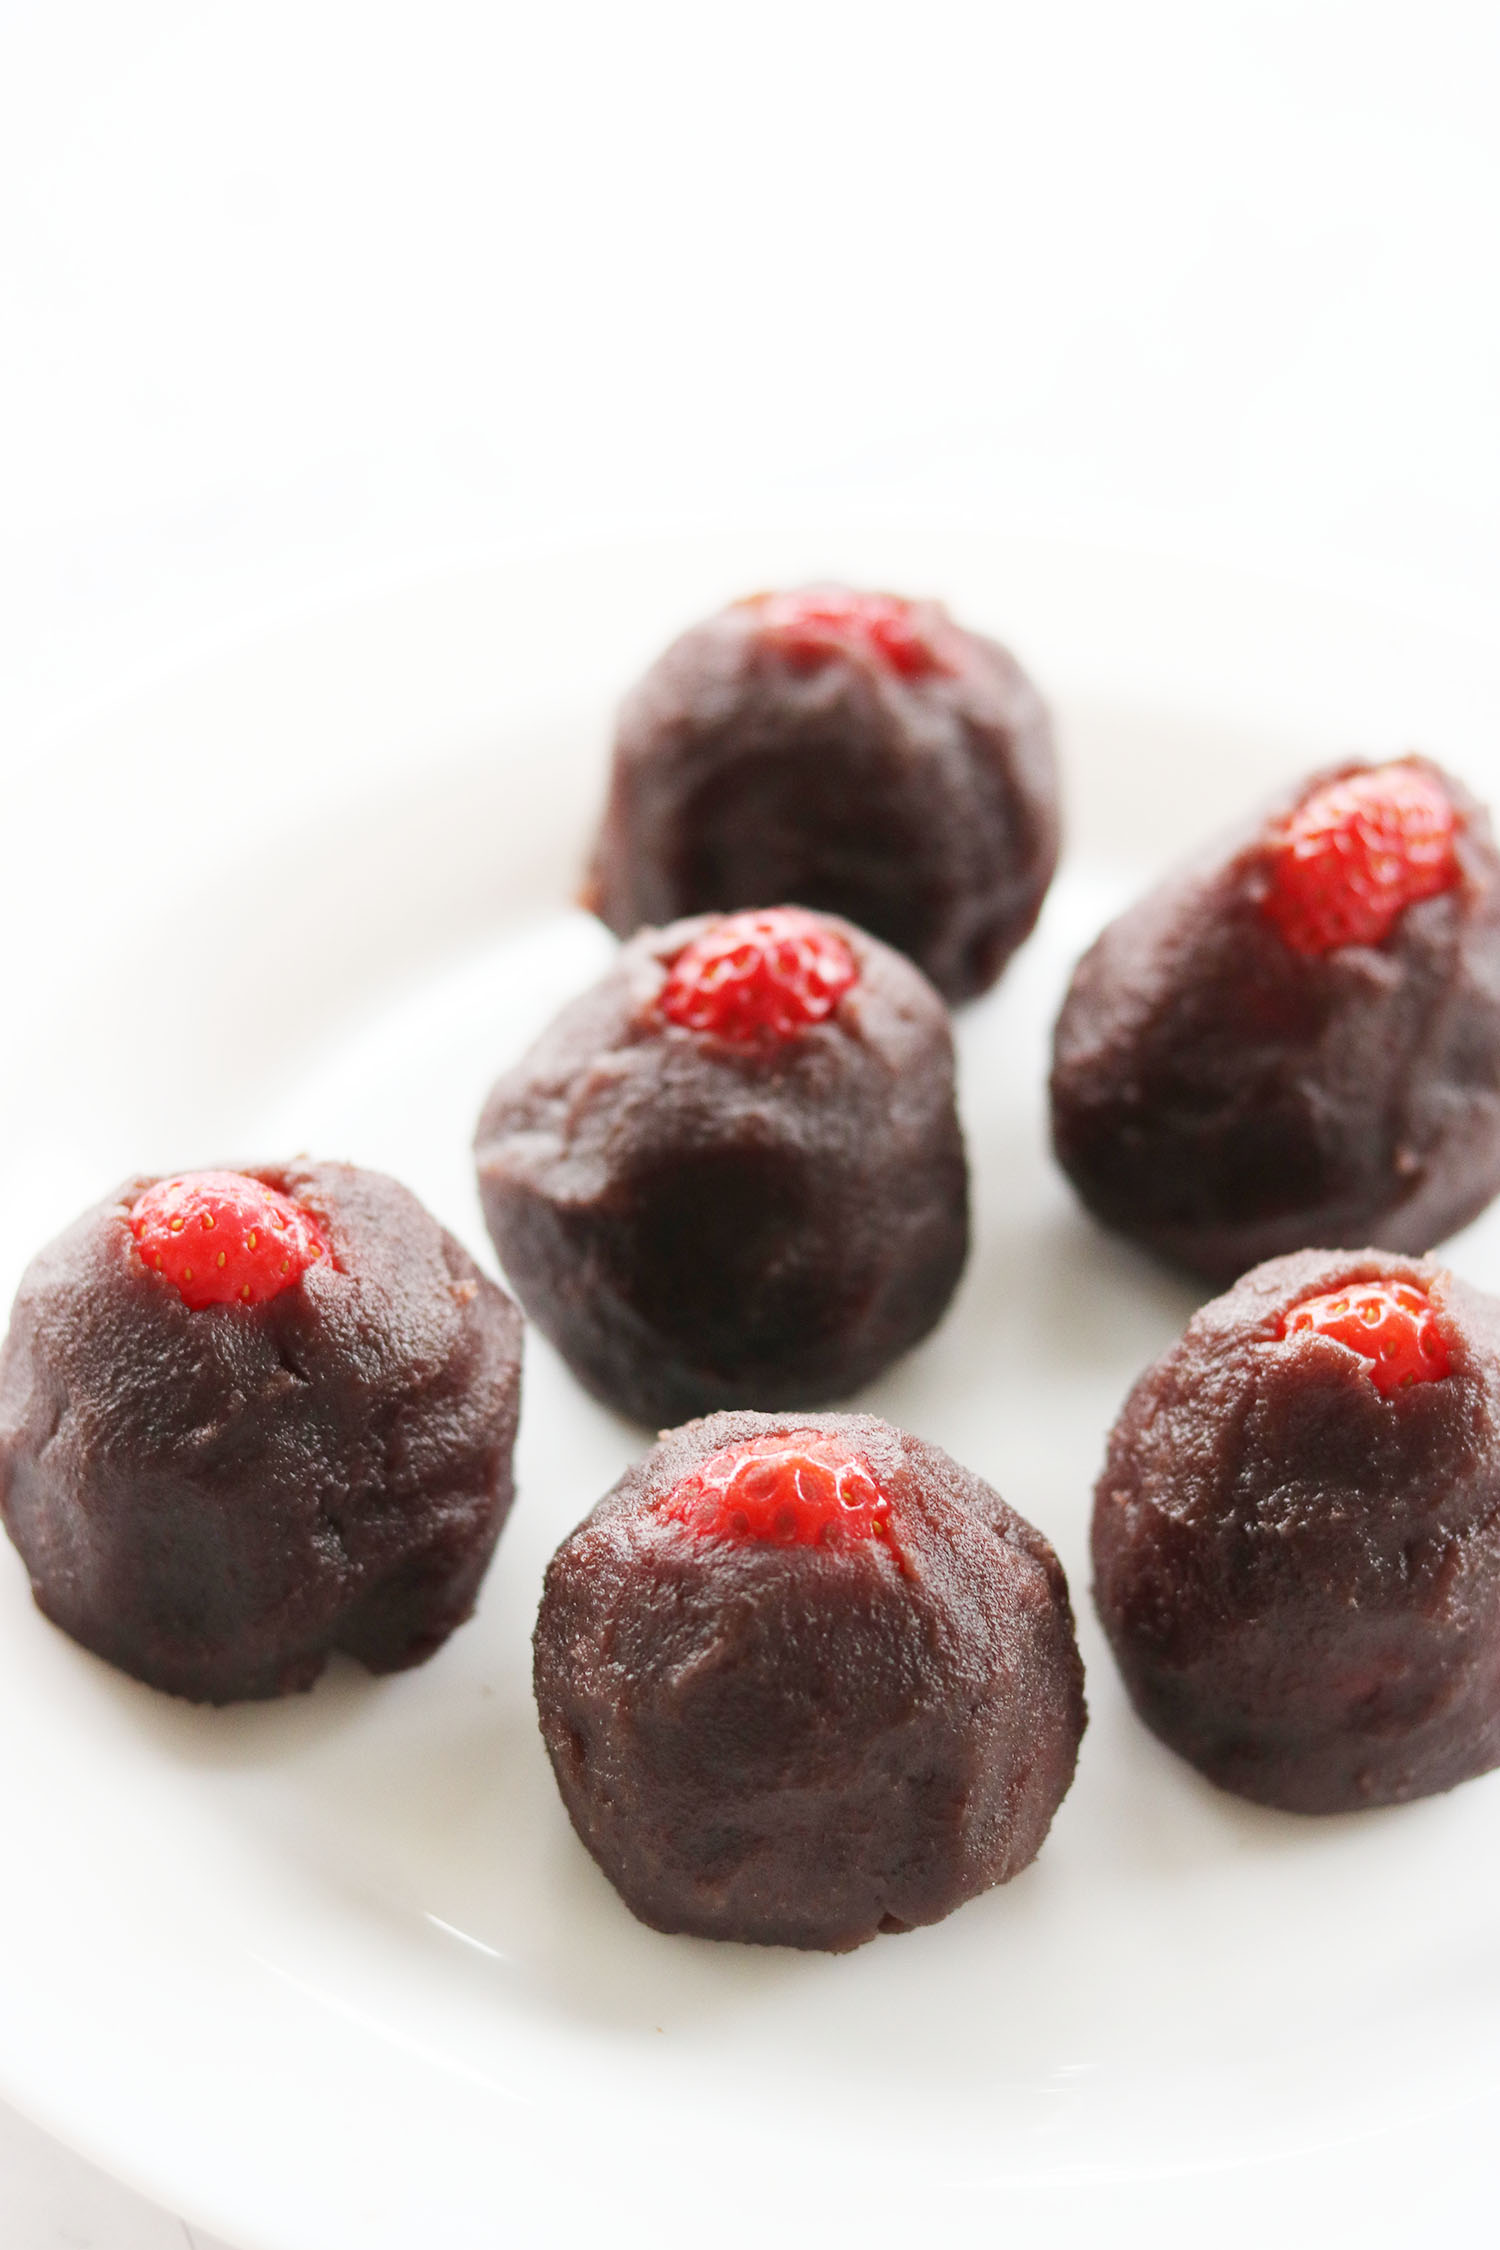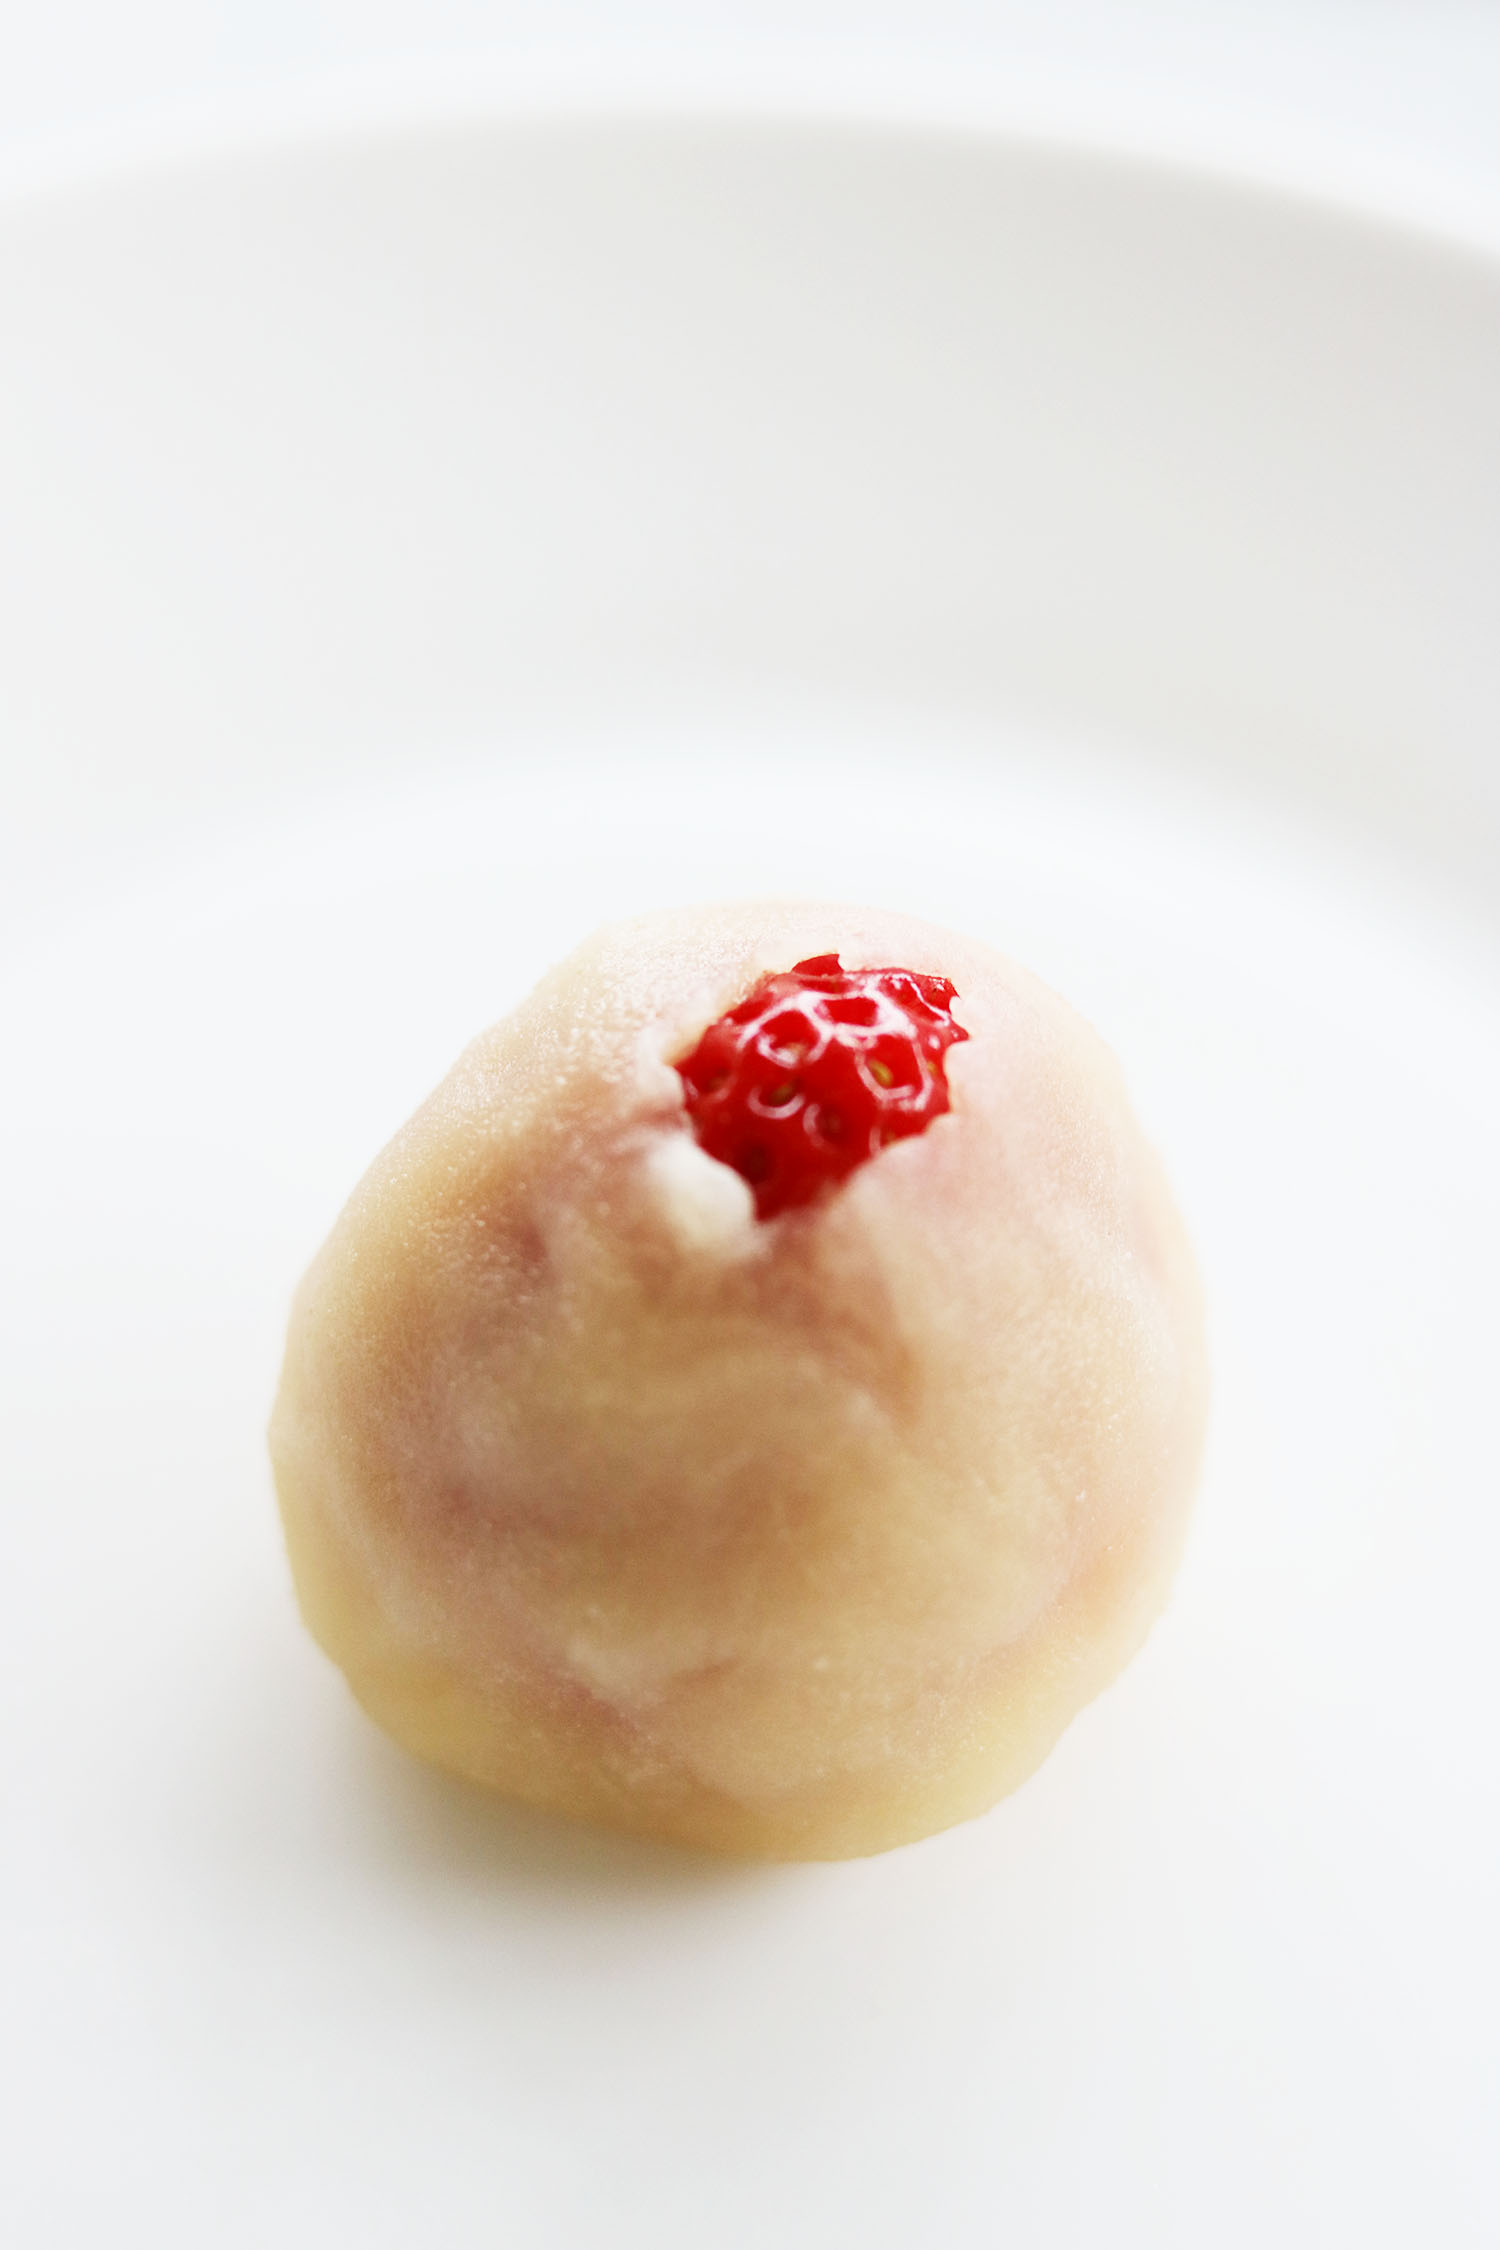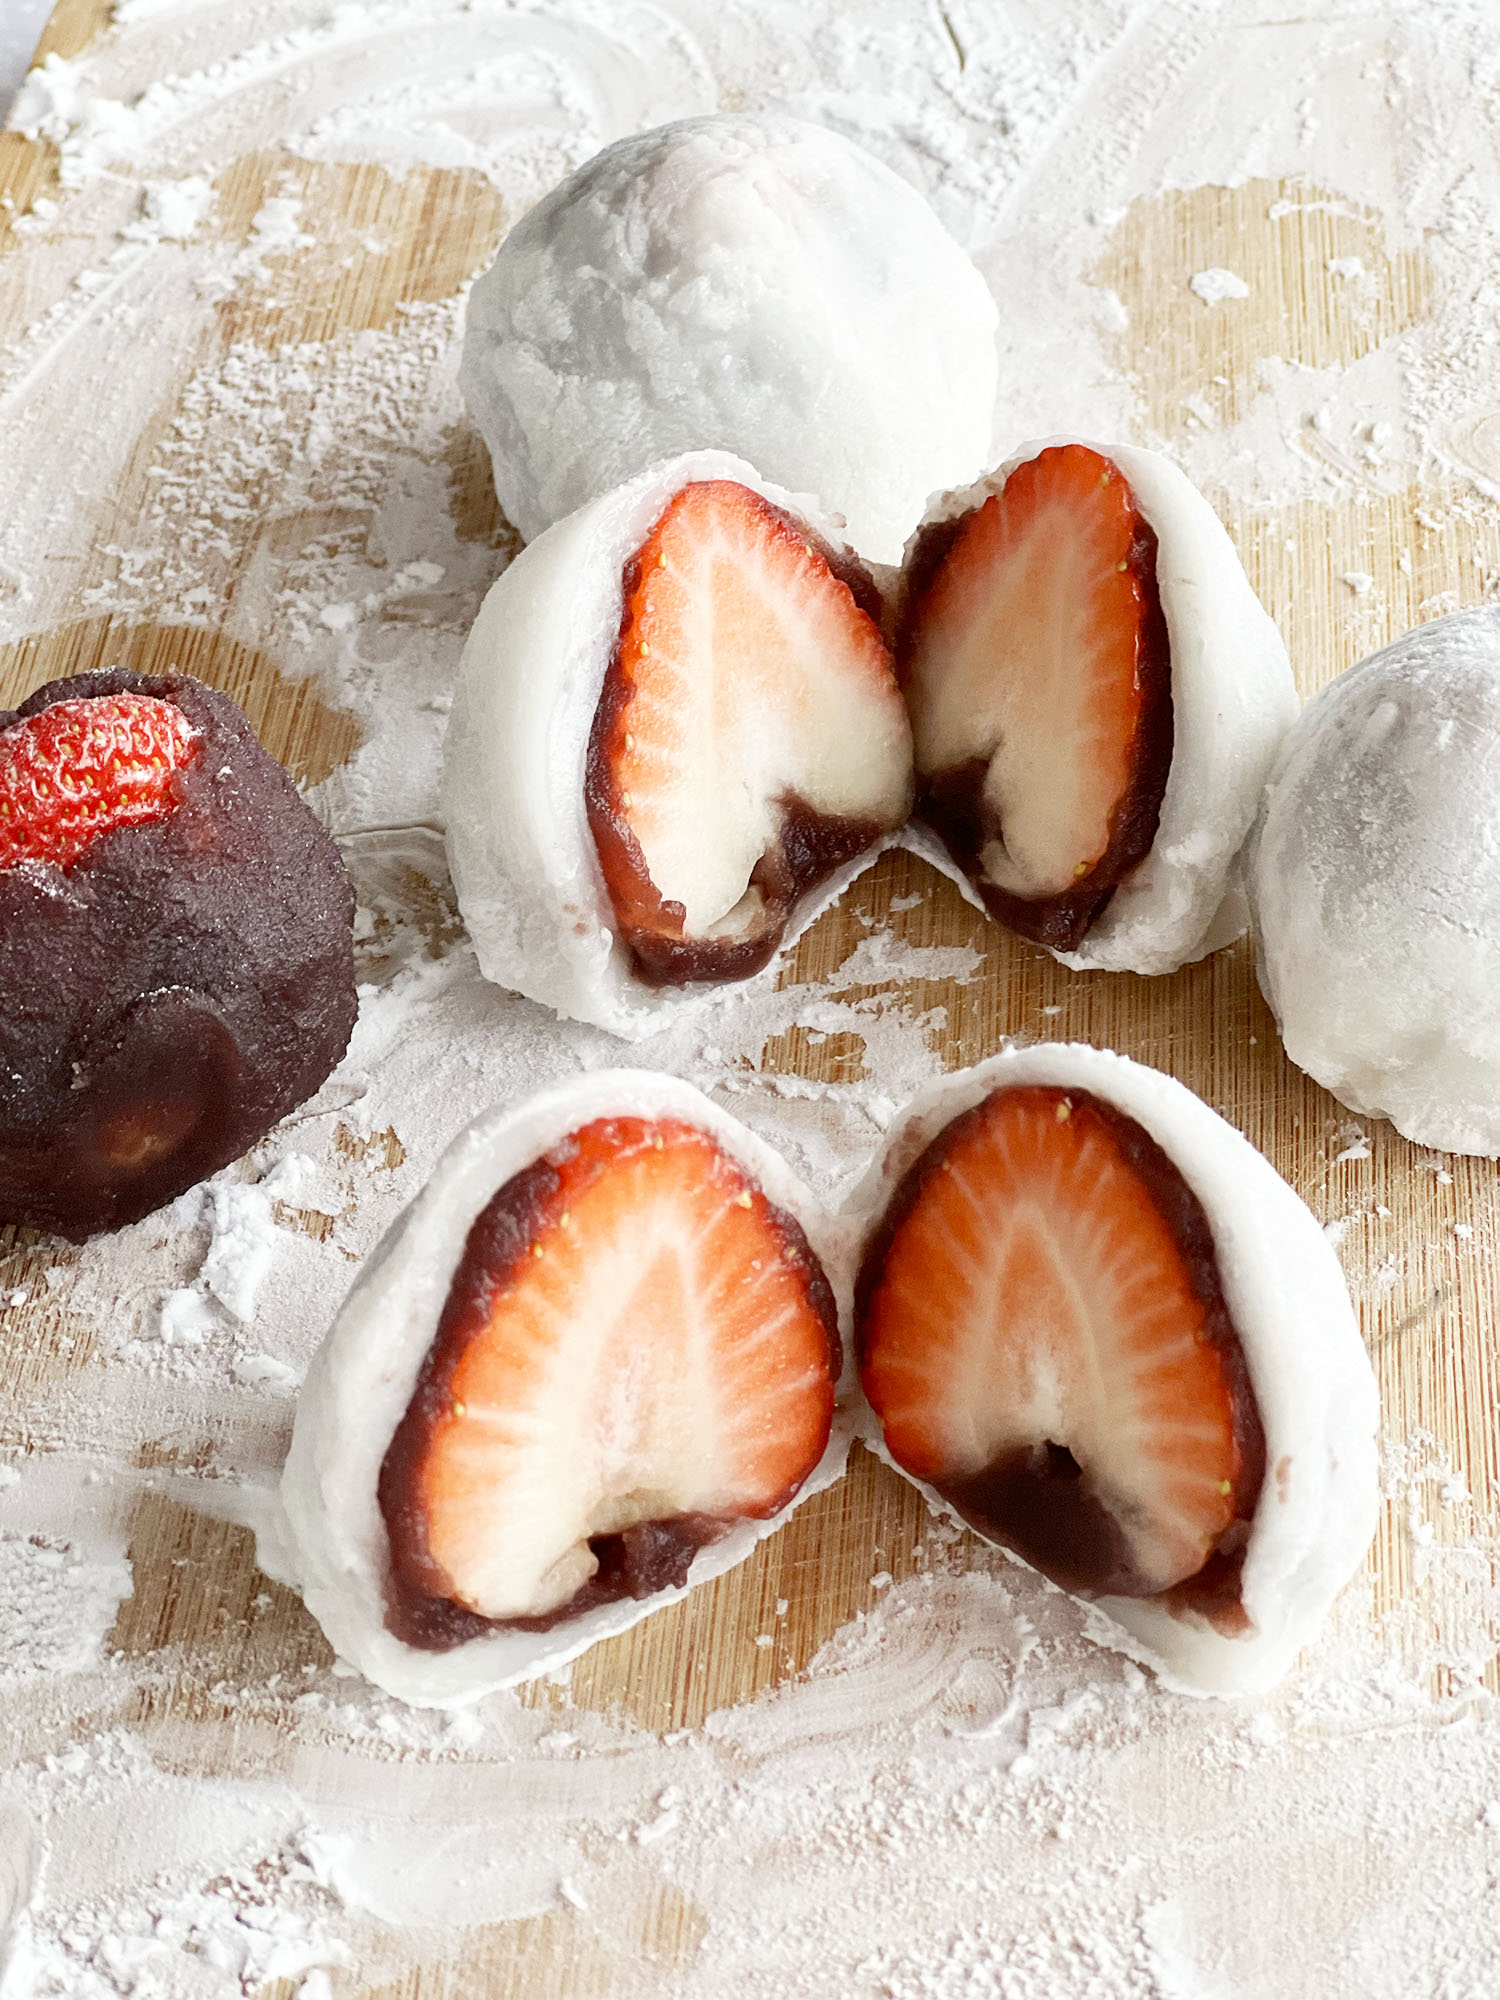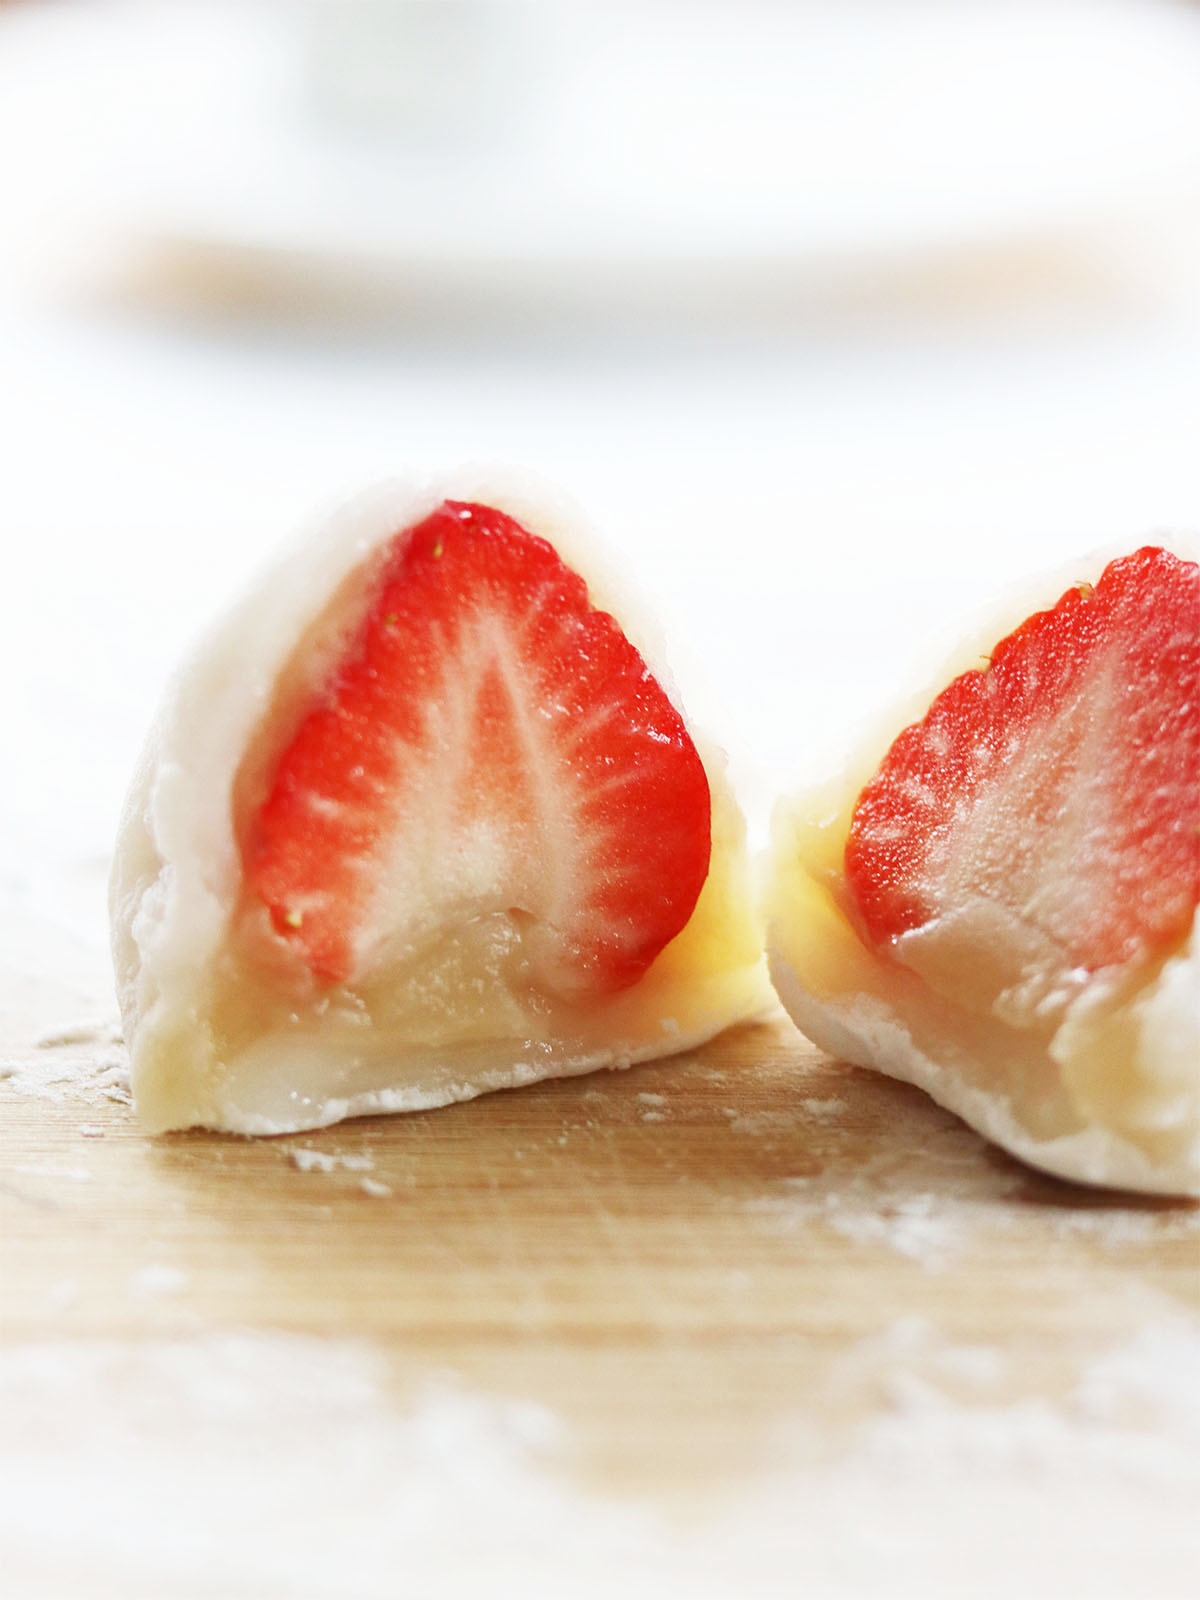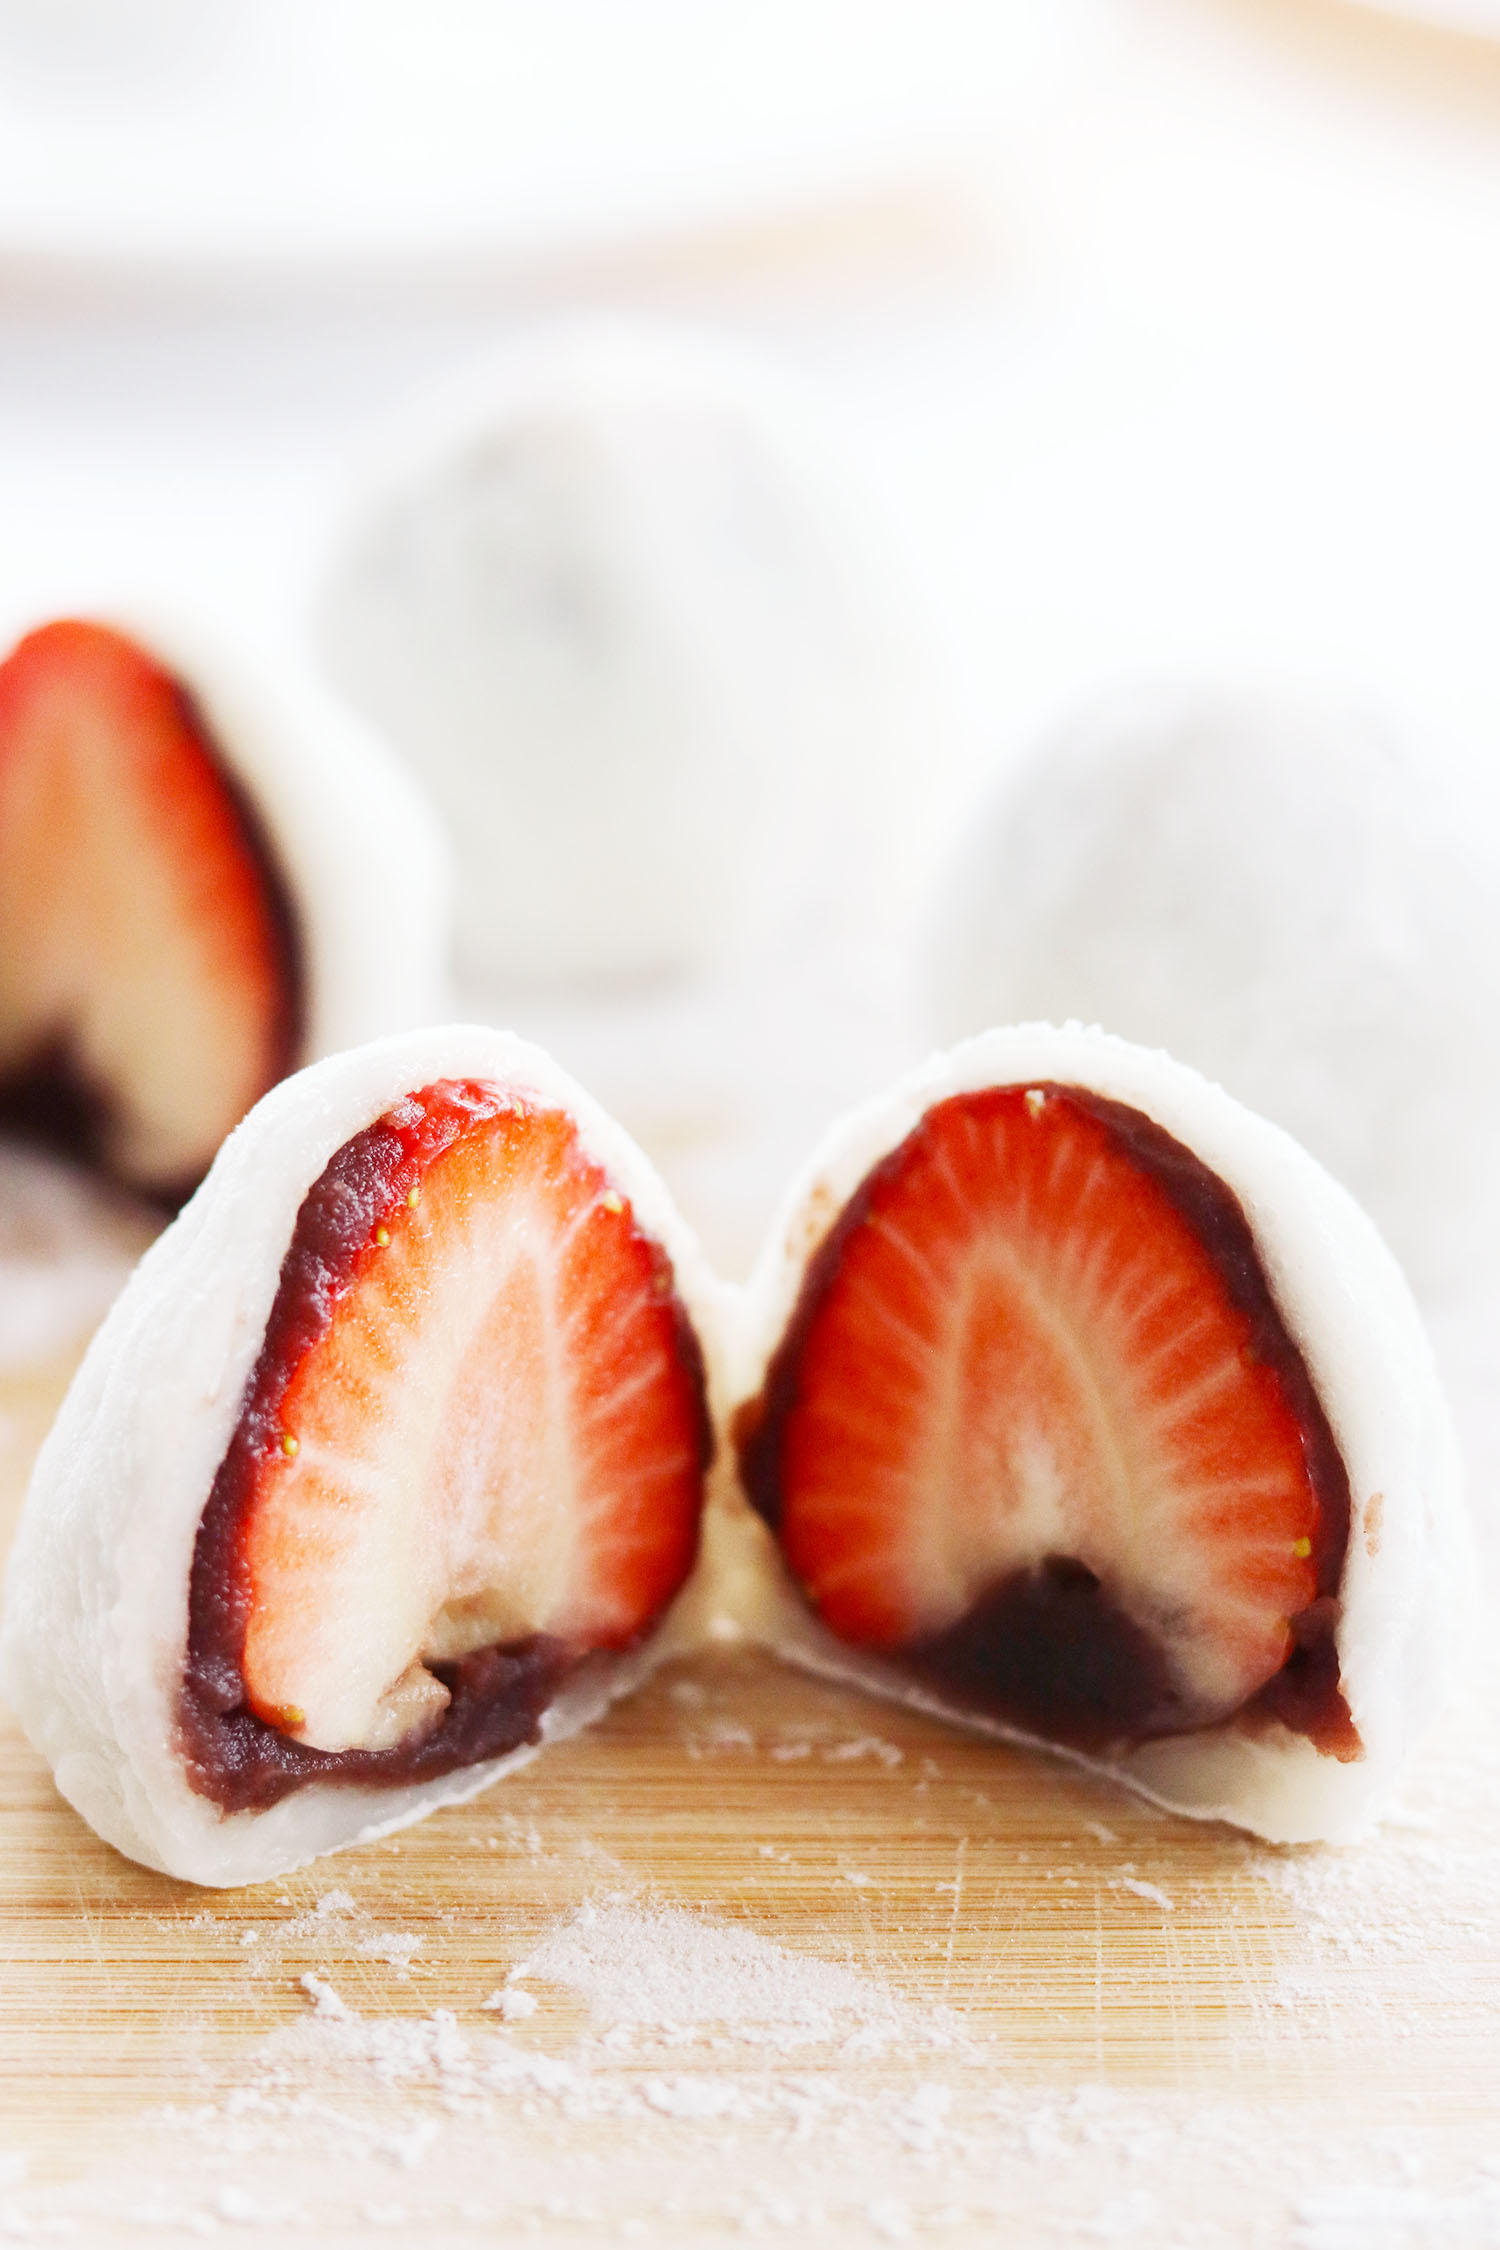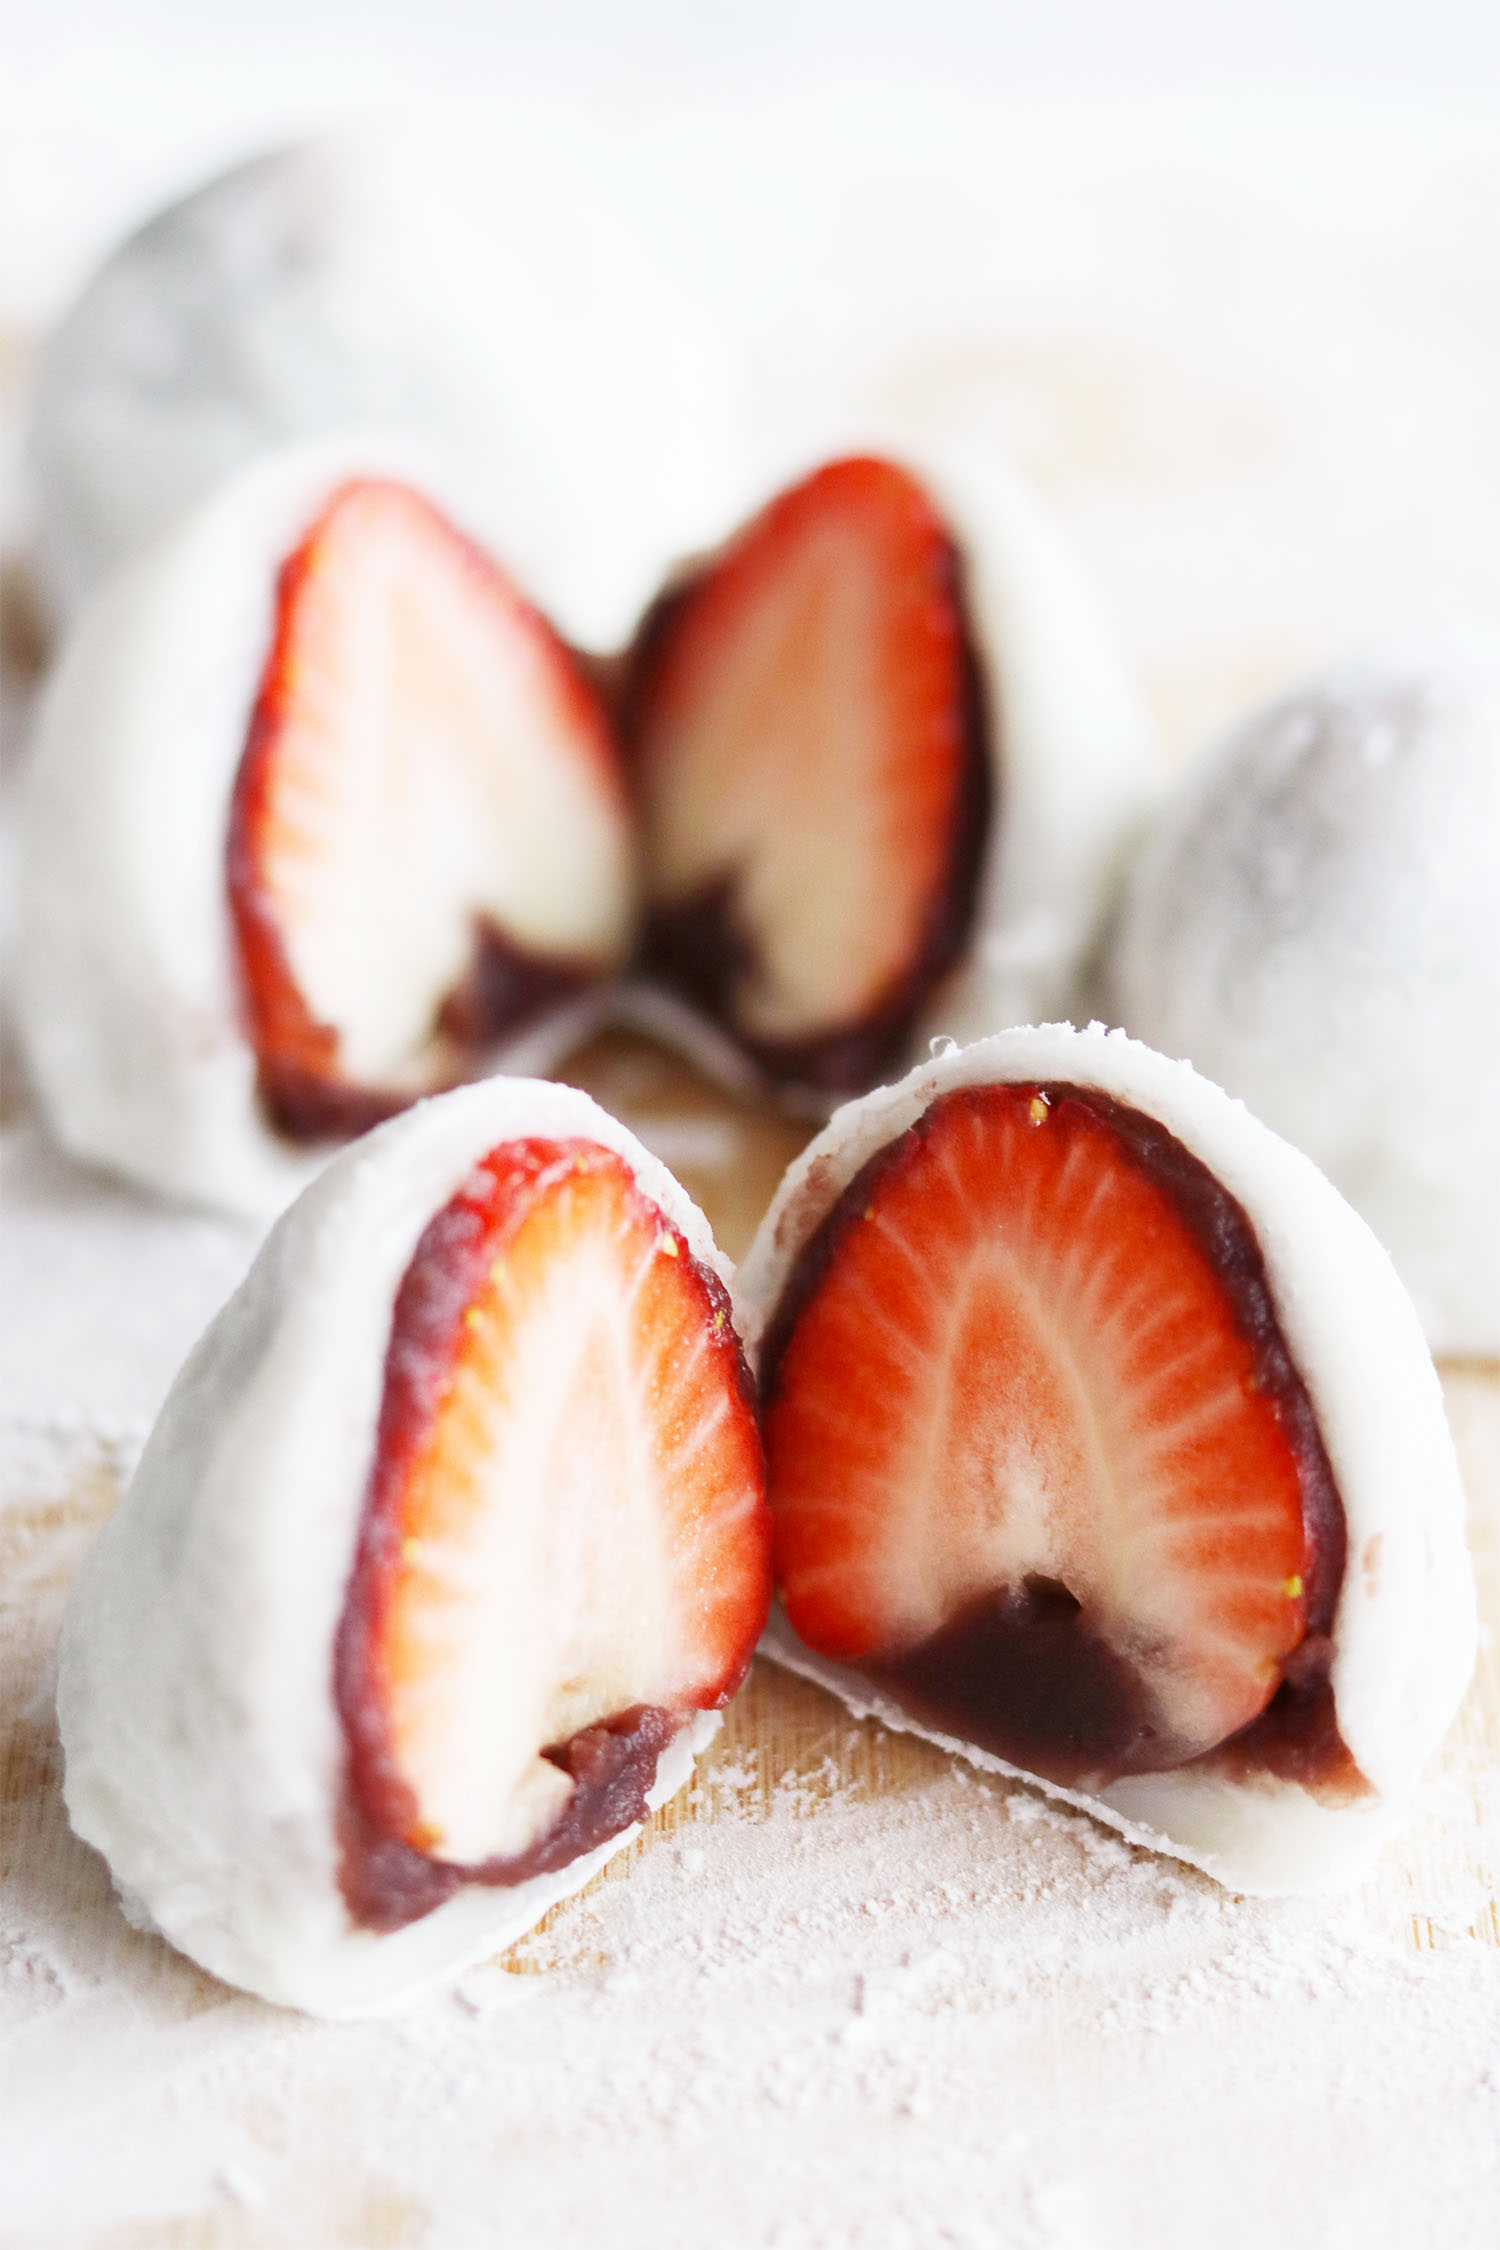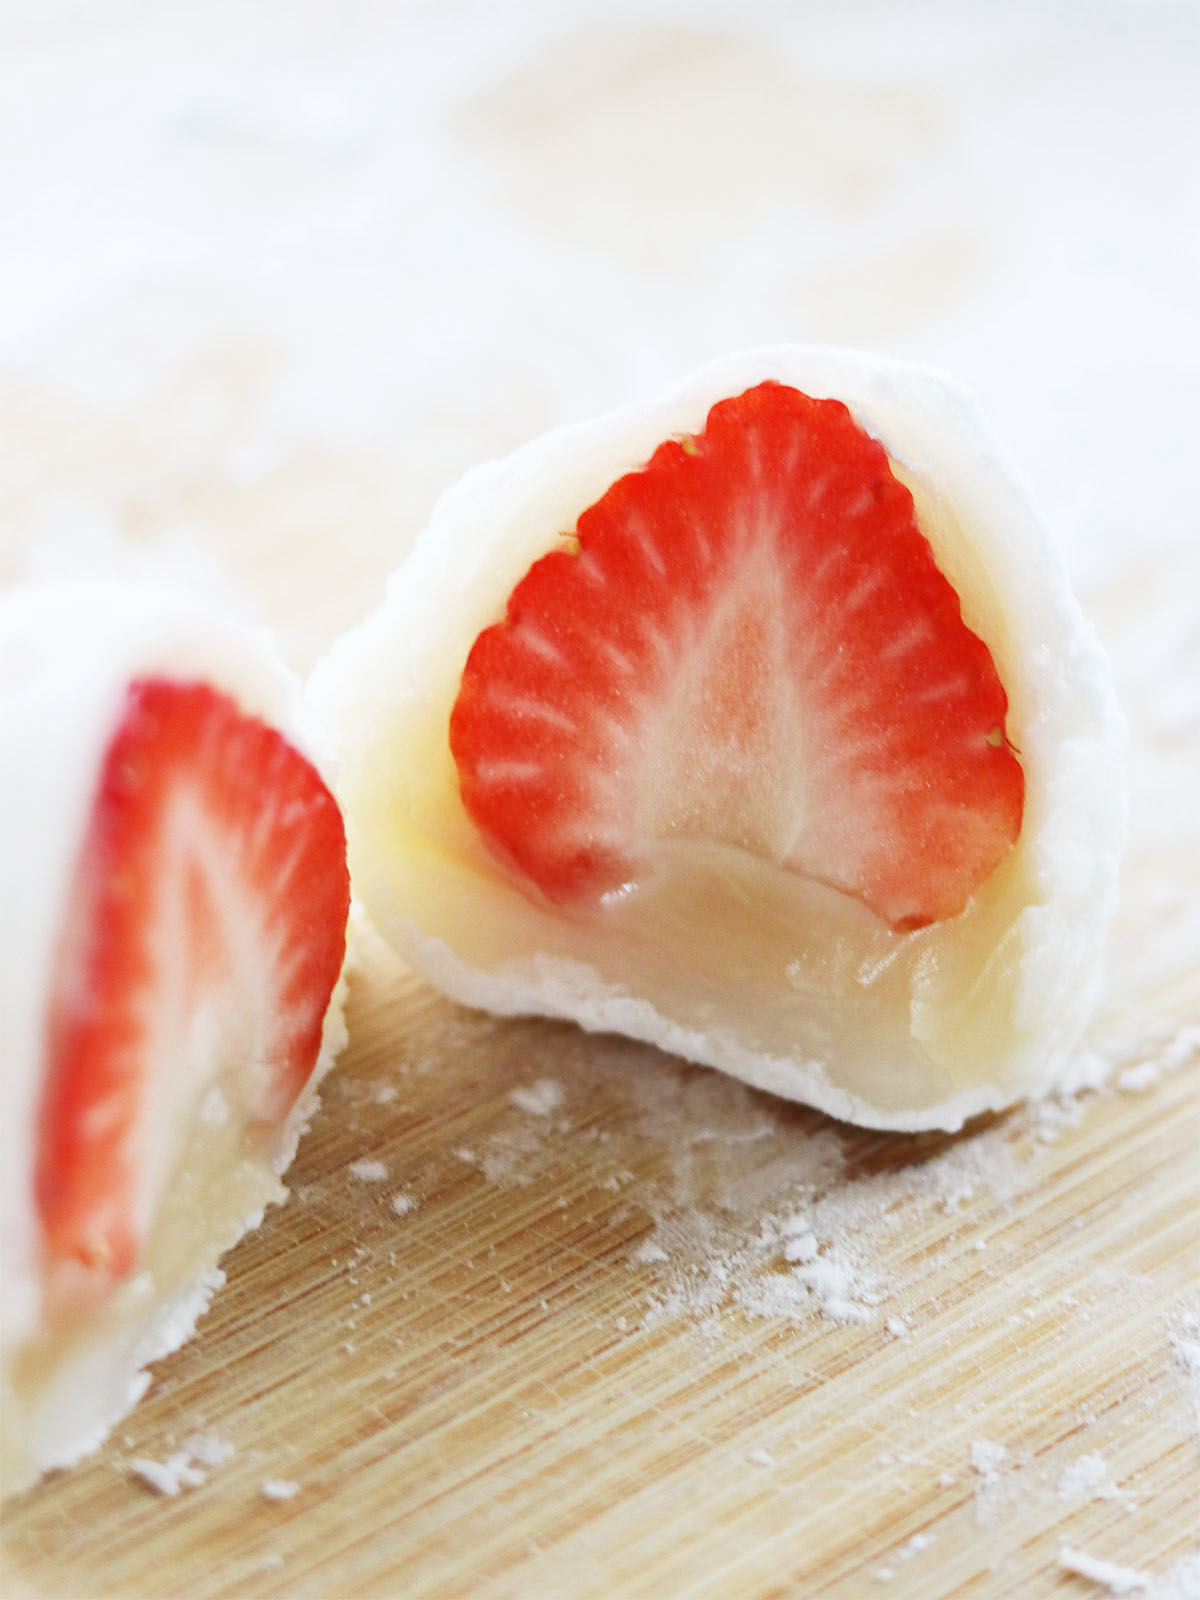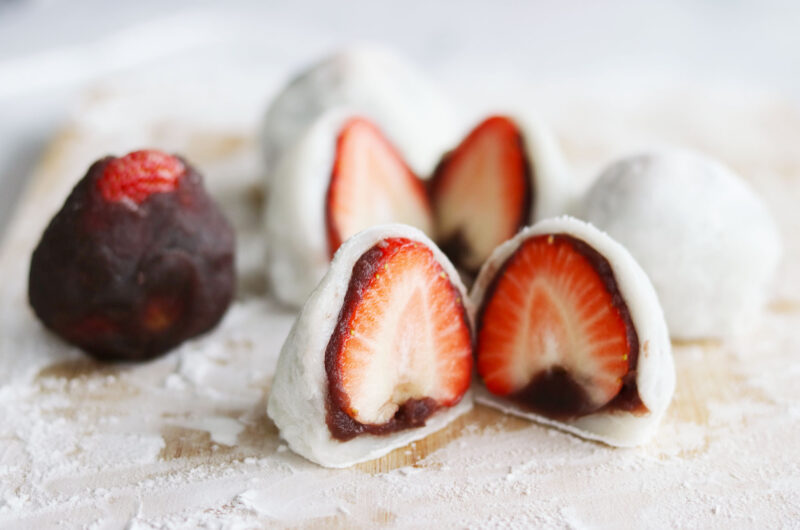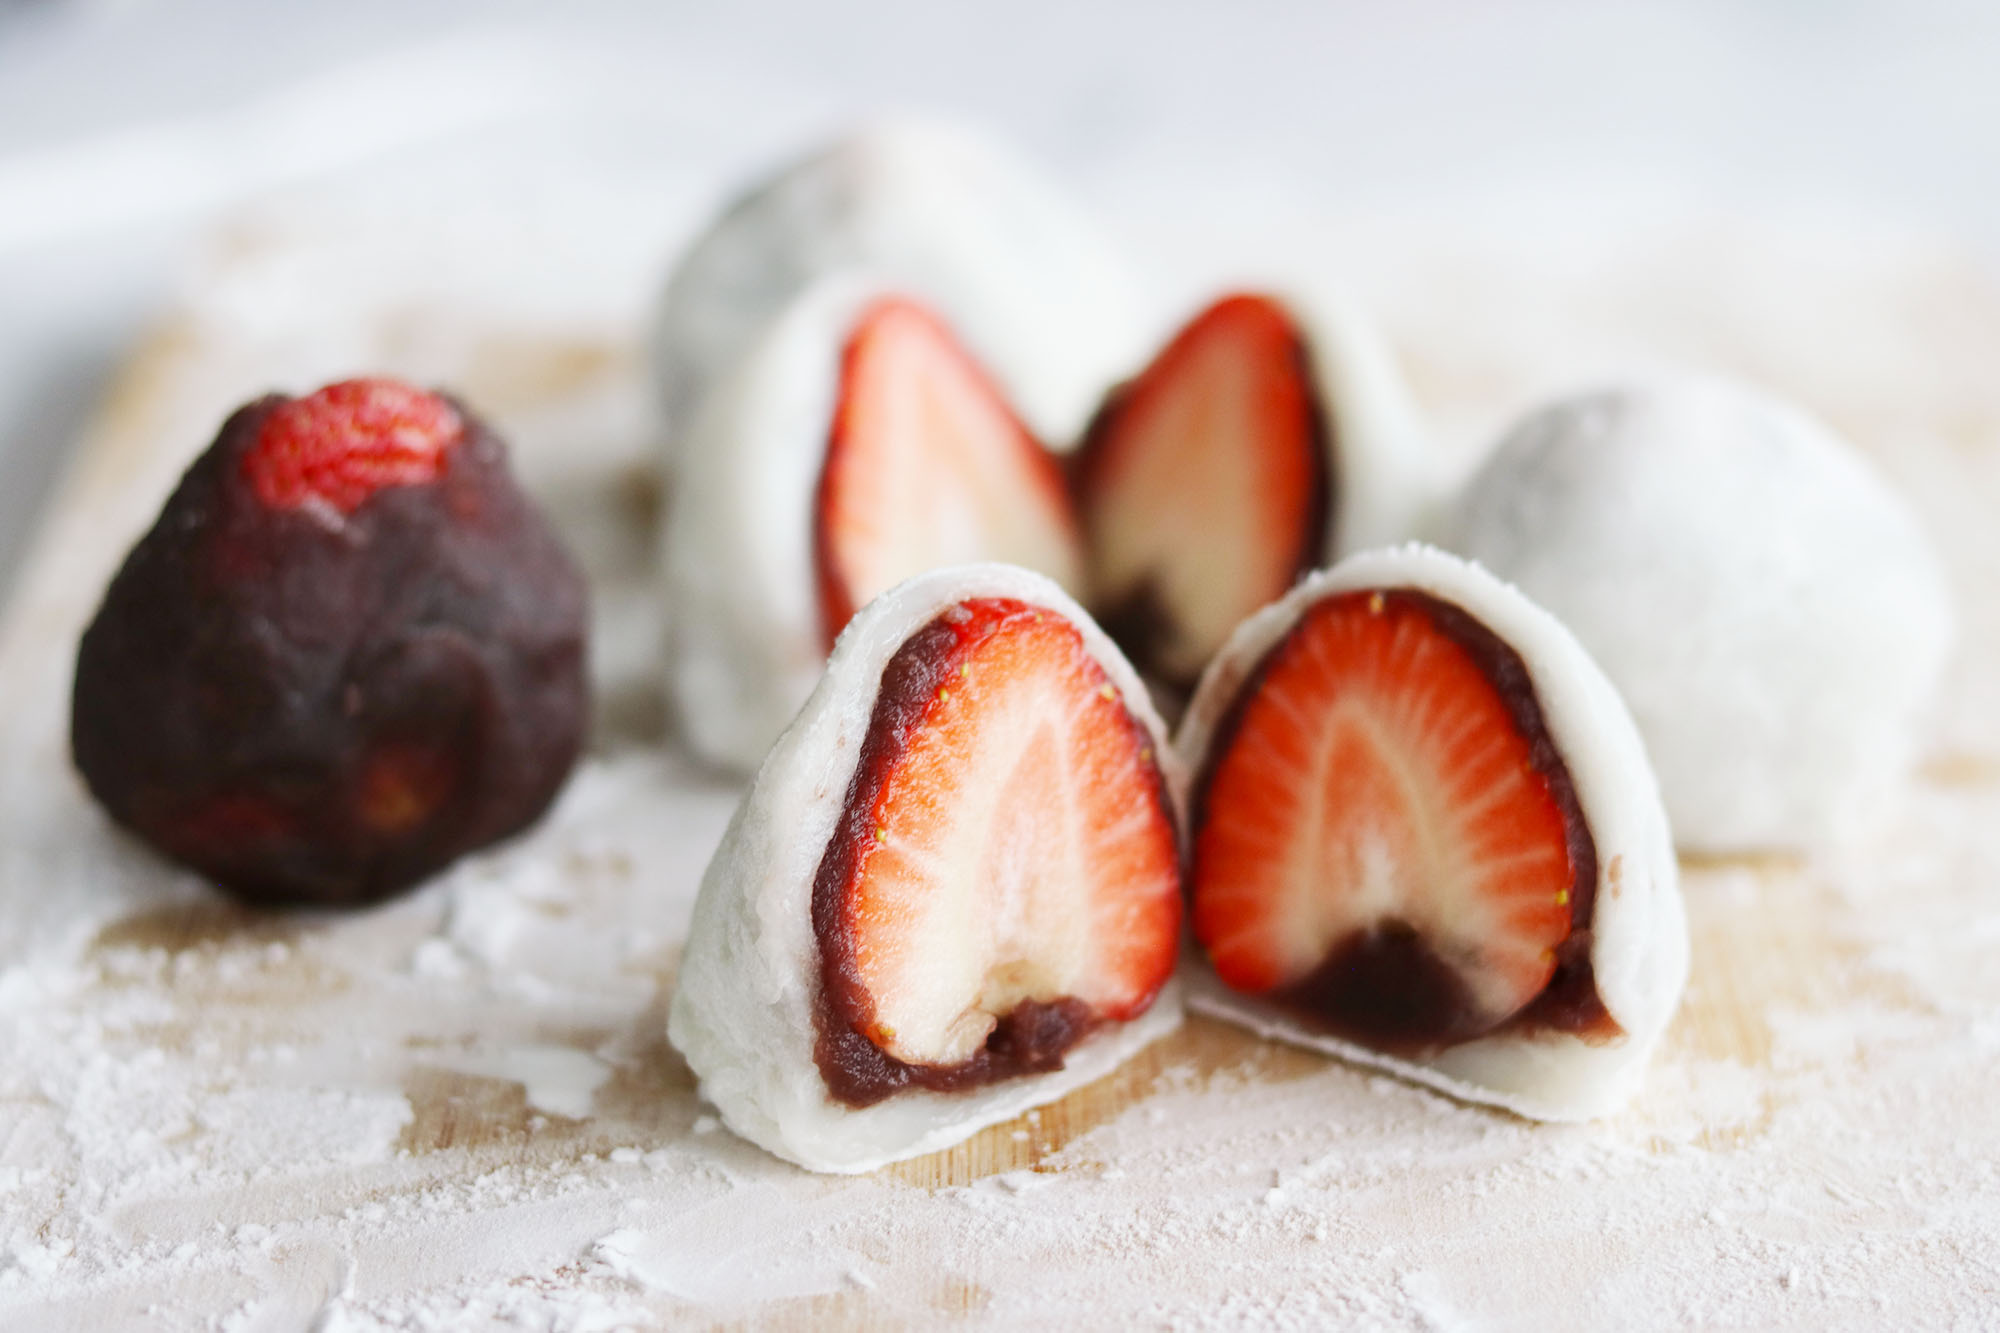
Ichigo daifuku is a beloved Japanese treat that combines the chewy goodness of mochi with the sweet, juicy bite of fresh strawberries. While traditional daifuku, made from sticky rice dough filled with sweet red bean paste, has been enjoyed for centuries, the addition of fresh strawberry is a relatively new thing, and the creation of this modern twist on the classic daifuku is attributed to a wagashi maker (confectioner) in Japan during the 1980s. It quickly became popular, particularly during the strawberry season in Japan, which peaks from December to May. During these months, ichigo daifuku is a common sight at wagashi shops and supermarkets.
I love mochi, and I love strawberries, so this beautiful little treat is right down my alley. I had my first daifuku ichigo many years ago in Myeong-Dong, Seoul, which is a shopping and street food area in Seoul where you’ll find all the latest food trends from Asia. However, it took a while before I started making ichigo daifuku at home, as I figured it would be too difficult and messy. I was right about the messiness, but it’s a lot easier than you would think. Furthermore, nothing beats freshly made mochi when it comes to flavor and texture. Velvety soft, slightly chewy, and amazing together with the red bean paste and the strawberries.
Notes
It is crucial that you get fresh, sweet strawberries. If in doubt, take a sniff. They should smell sweet and ripe. If there’s no smell, there’s probably also no flavor. The strawberries should be small-medium in size. If they’re too big, you won’t have enough mochi to cover them.
For making mochi, Shiratamako is the most commonly used kind of rice flour. Shiratamako is made from glutinous rice, and its texture is finer and stickier compared to regular rice flour. It gives mochi its characteristic chewy and smooth texture.
Regarding the microwaving, it varies how long the mochi dough needs to spend in the microwave oven depending on the oven settings. I’ve made mochi several times, and I’ve had different results with the same microwave oven and the same ingredients. Sometimes it only needs 2 x 1 minute, sometimes, it’s 2 x 1 minute + 30 seconds.
Regarding the bean paste, some prefer white bean paste over red bean paste. Choose whichever one you like.
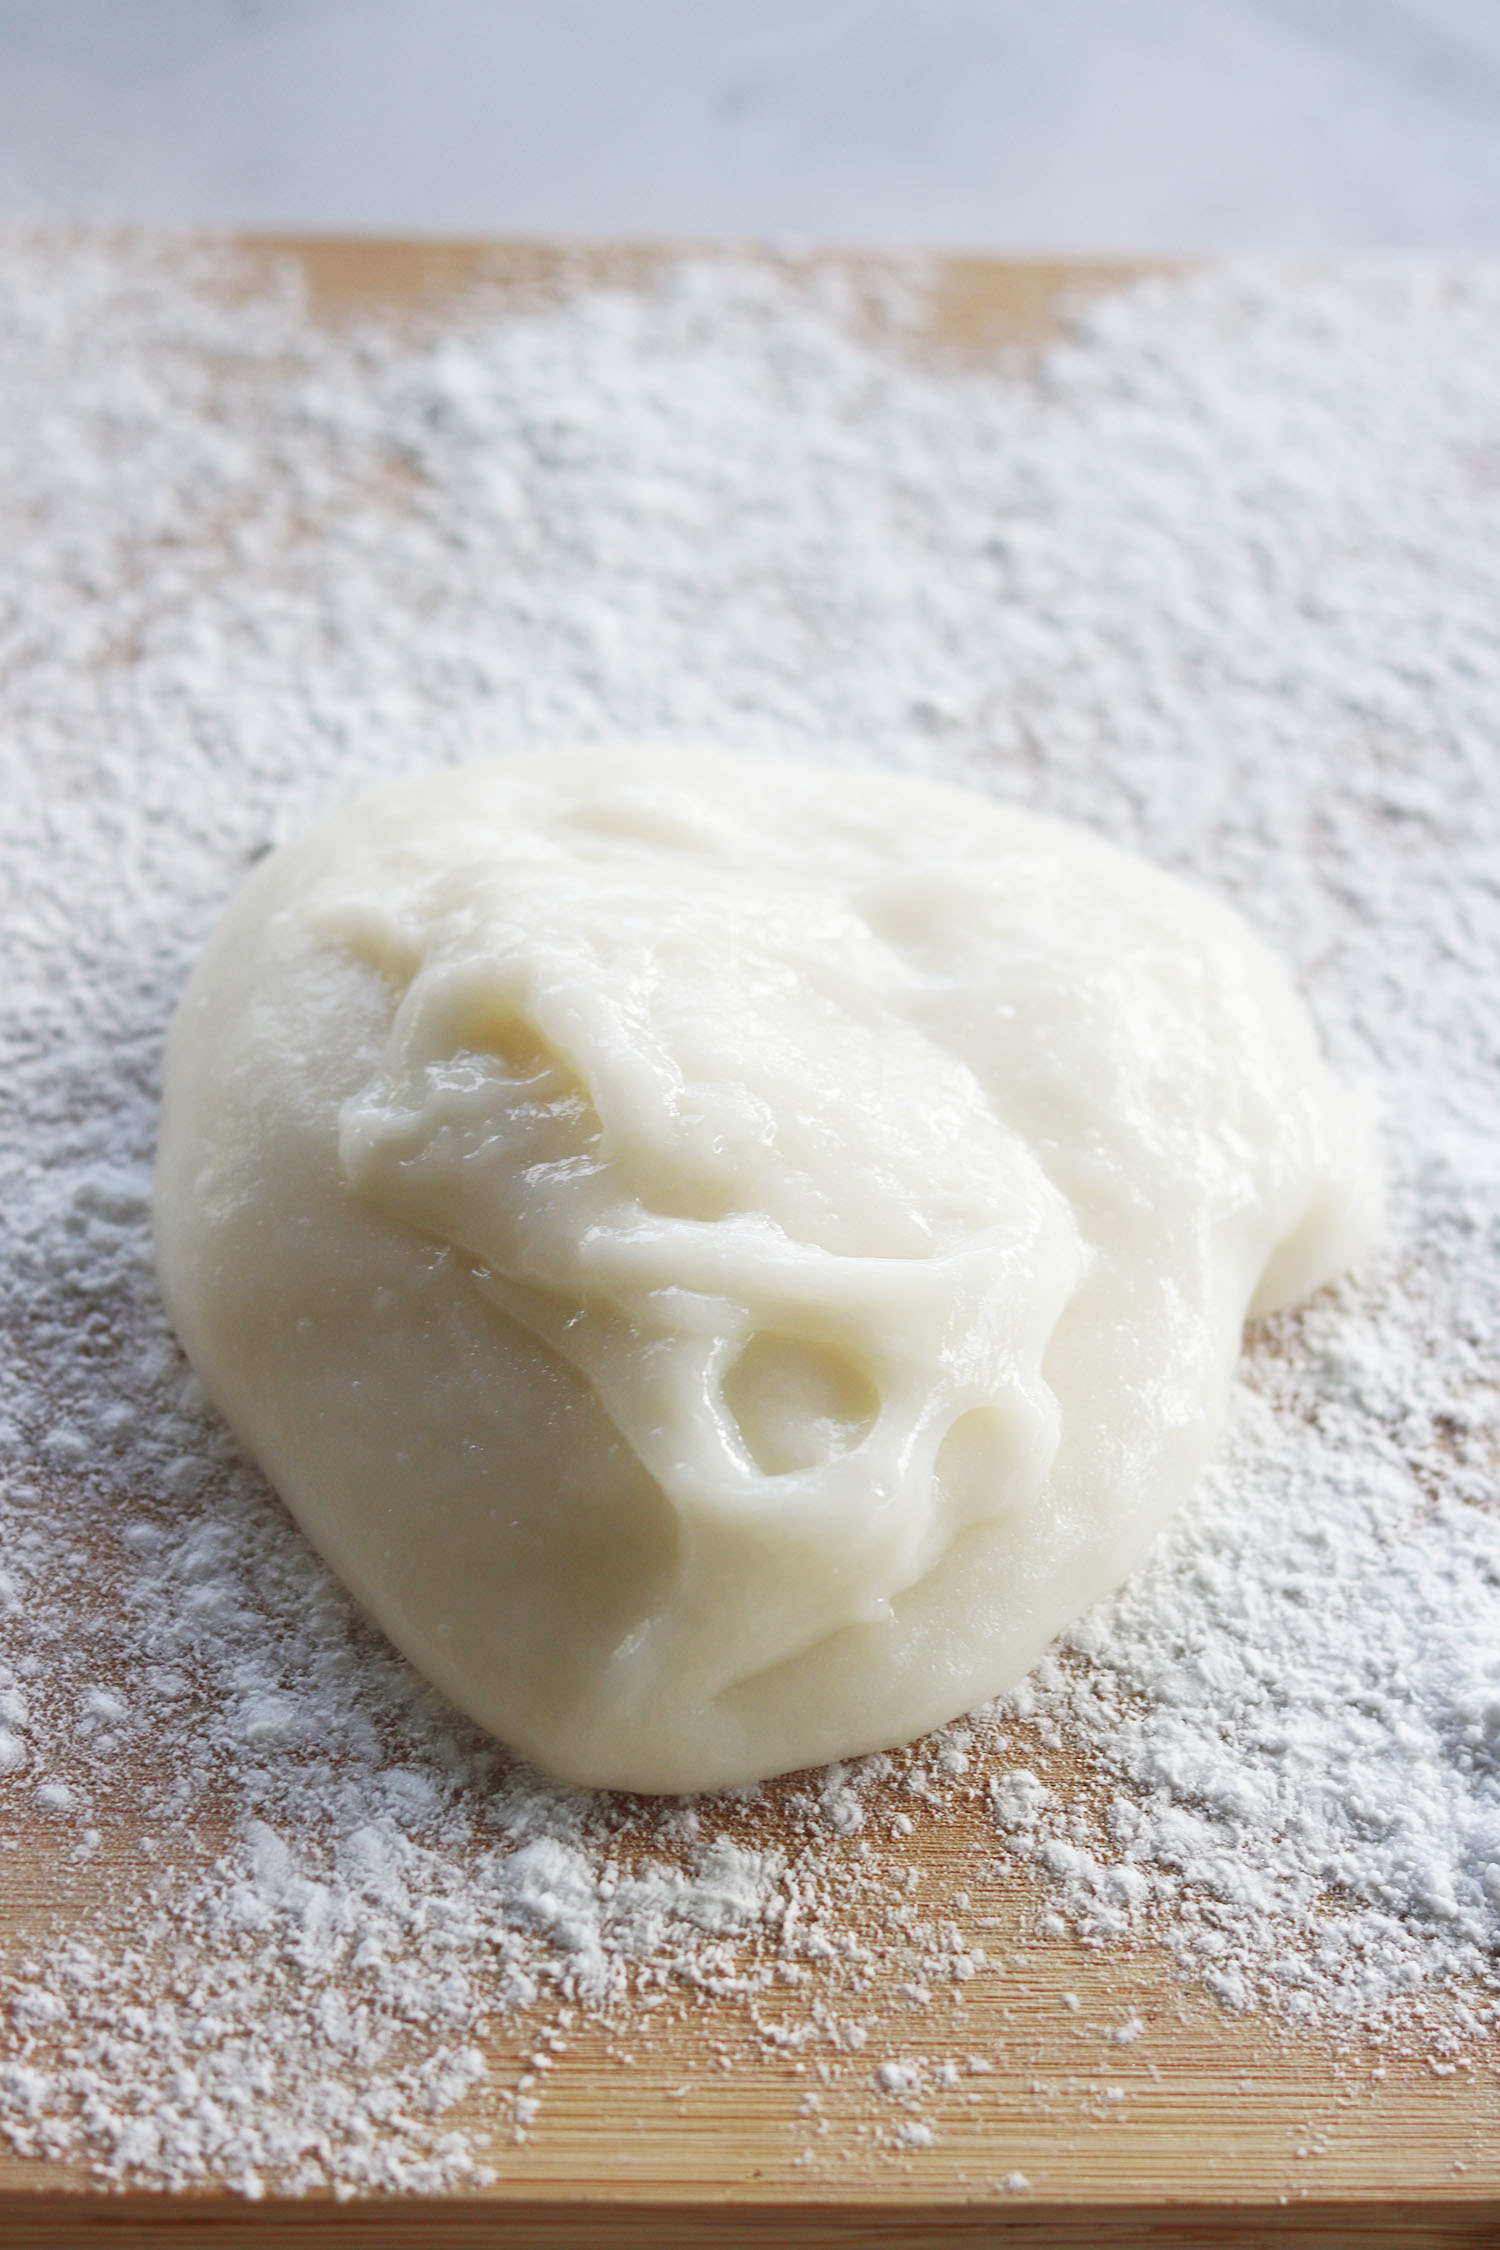
Mochi dough is super sticky, so make sure you keep potato starch within reach at all times.
Recipe: Ichigo Daifuku – Mochi with fresh strawberries
6
mochiI love mochi, and I love strawberries, so this beautiful little treat is right down my alley. I had my first daifuku ichigo many years ago in Myeong-Dong, Seoul, which is a shopping and street food area in Seoul where you’ll find all the latest food trends from Asia. However, it took a while before I started making ichigo daifuku at home, as I figured it would be too difficult and messy. I was right about the messiness, but it’s a lot easier than you would think. Furthermore, nothing beats freshly made mochi when it comes to flavor and texture. Velvety soft, slightly chewy, and amazing together with the red bean paste and the strawberries.
Keep the screen of your device on
Ingredients
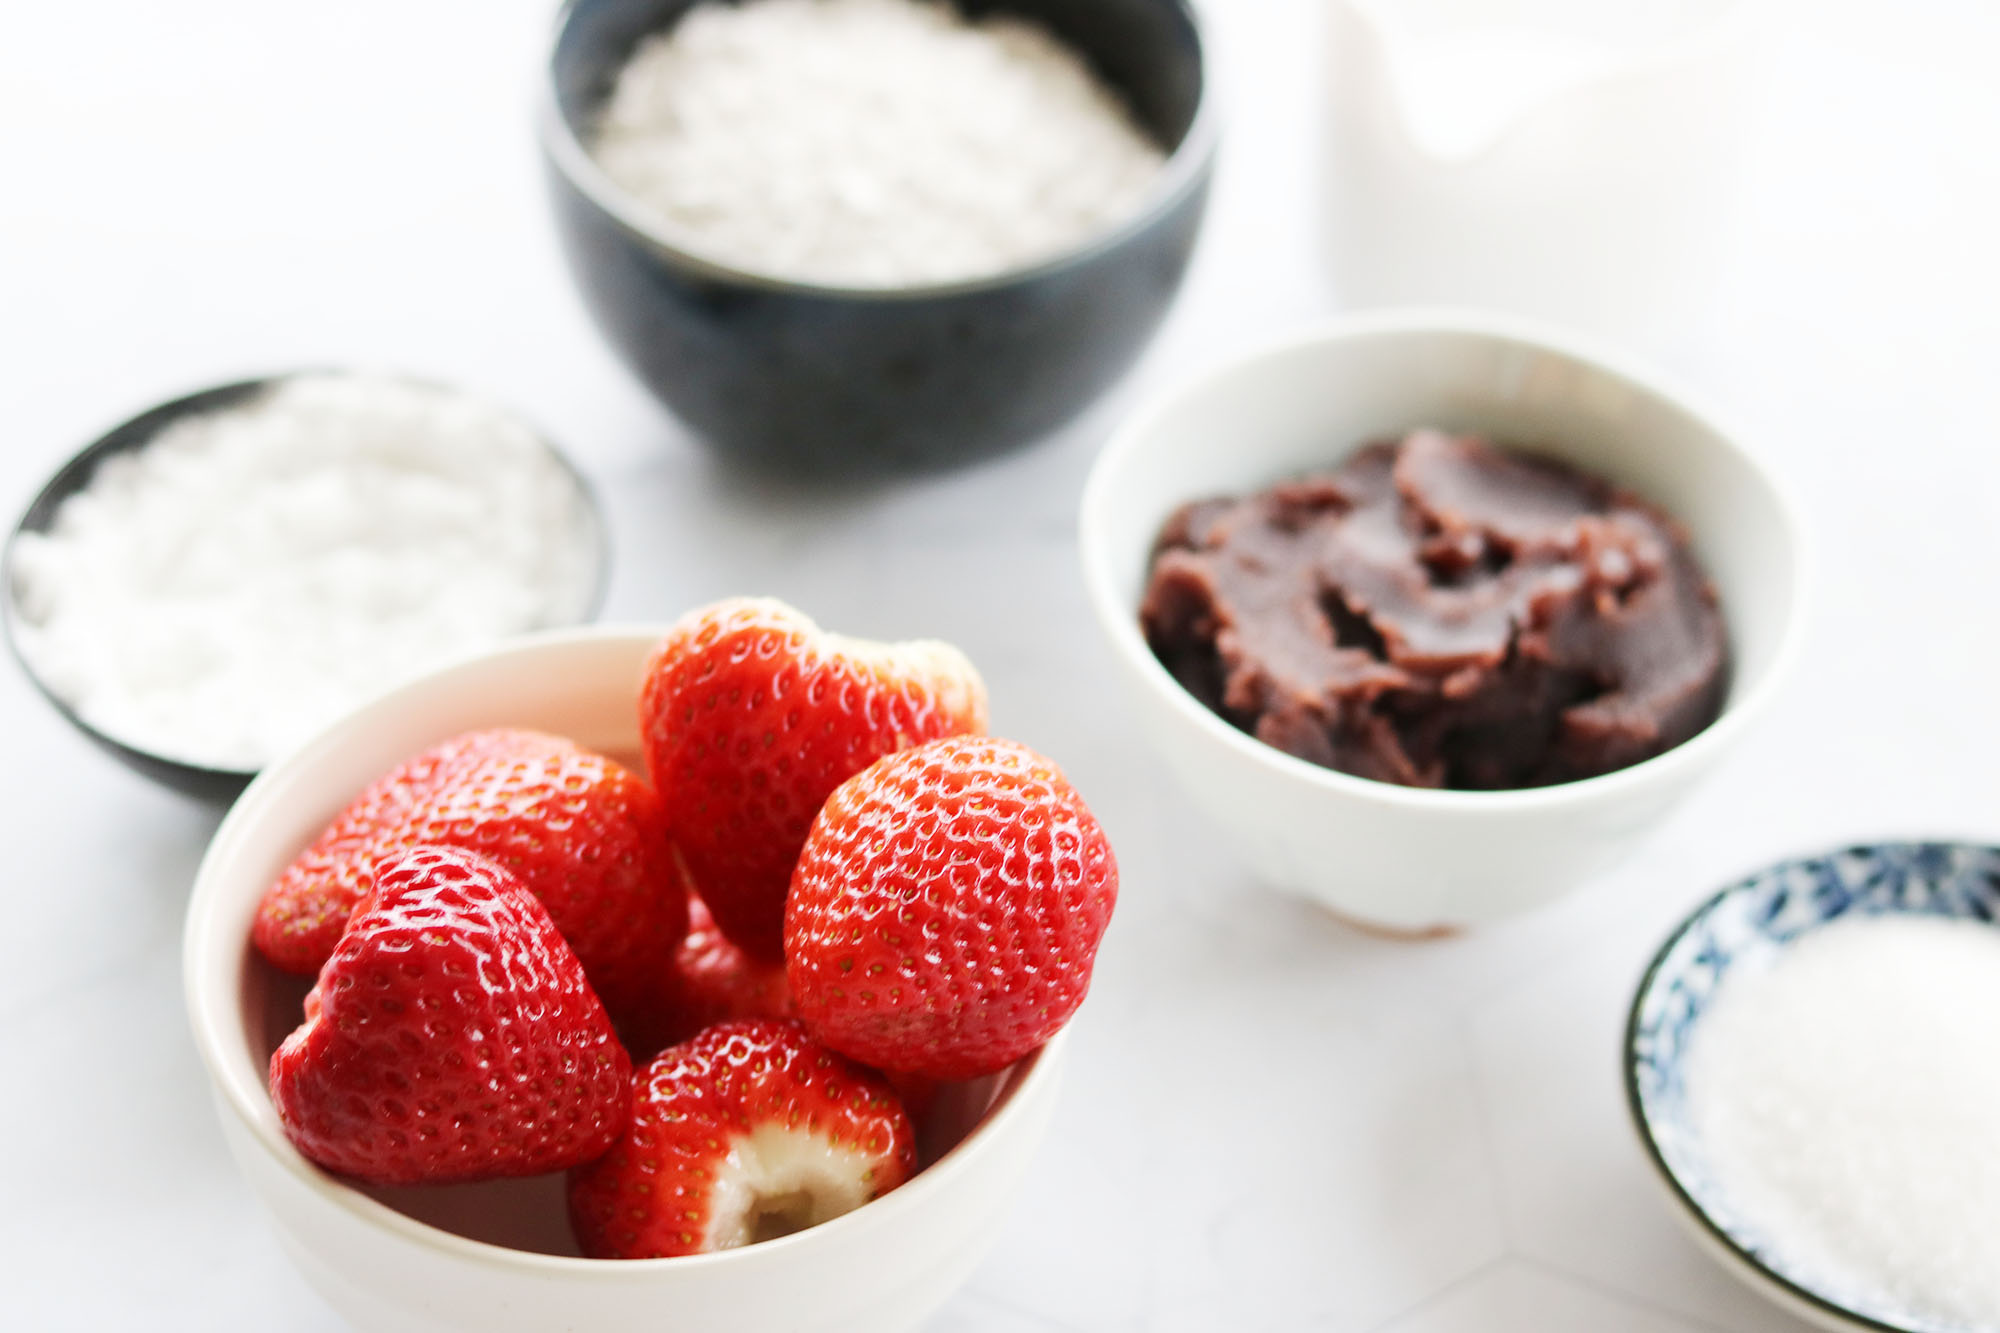
5.3 oz 5.3 (150g) red bean paste
3.5 oz 3.5 (100g) shiratamako rice flour
⅔ cup ⅔ (150ml) water
2 tablespoons 2 (25g) sugar
Potato starch for dusting
6 6 small to medium-sized strawberries
Directions
- Prepare the Strawberries
- Wash the strawberries and remove the stems. Pat them dry with a paper towel.
- Divide the red bean paste into 6 equal portions (about 1 tbsp each)
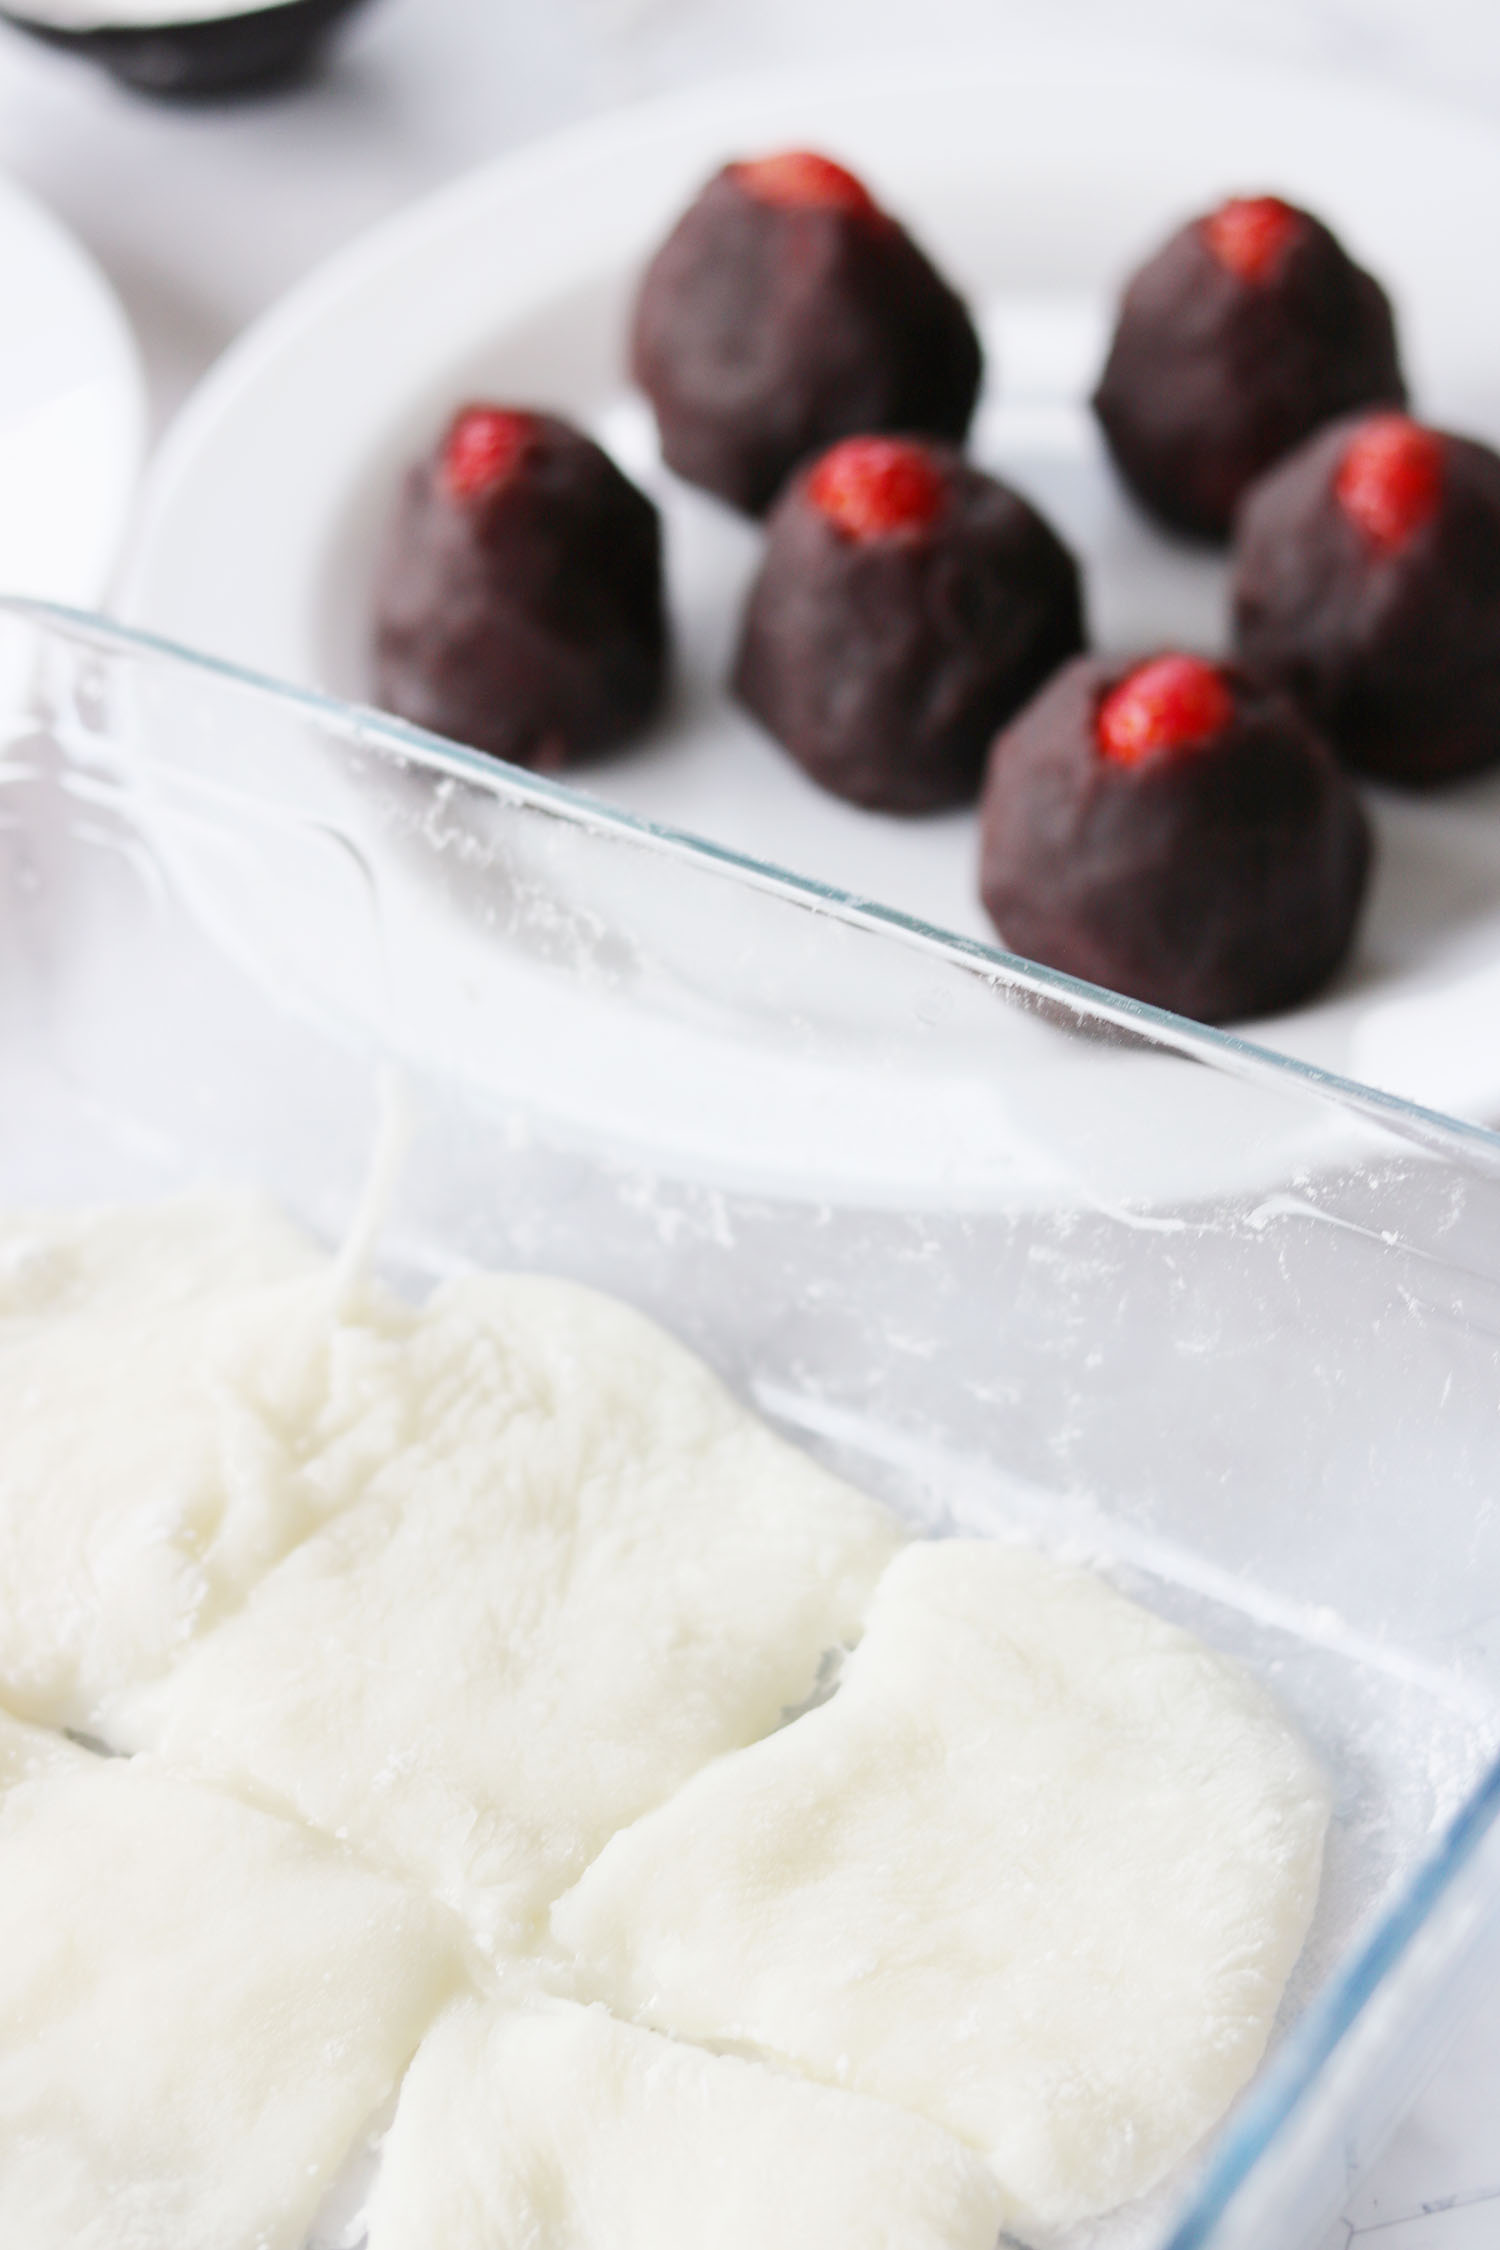
- Gently wrap the red bean paste around each strawberry, covering the body of the strawberry while leaving the tip exposed. Smooth the red bean paste around the strawberry so it’s evenly covered
- Make the Mochi Dough
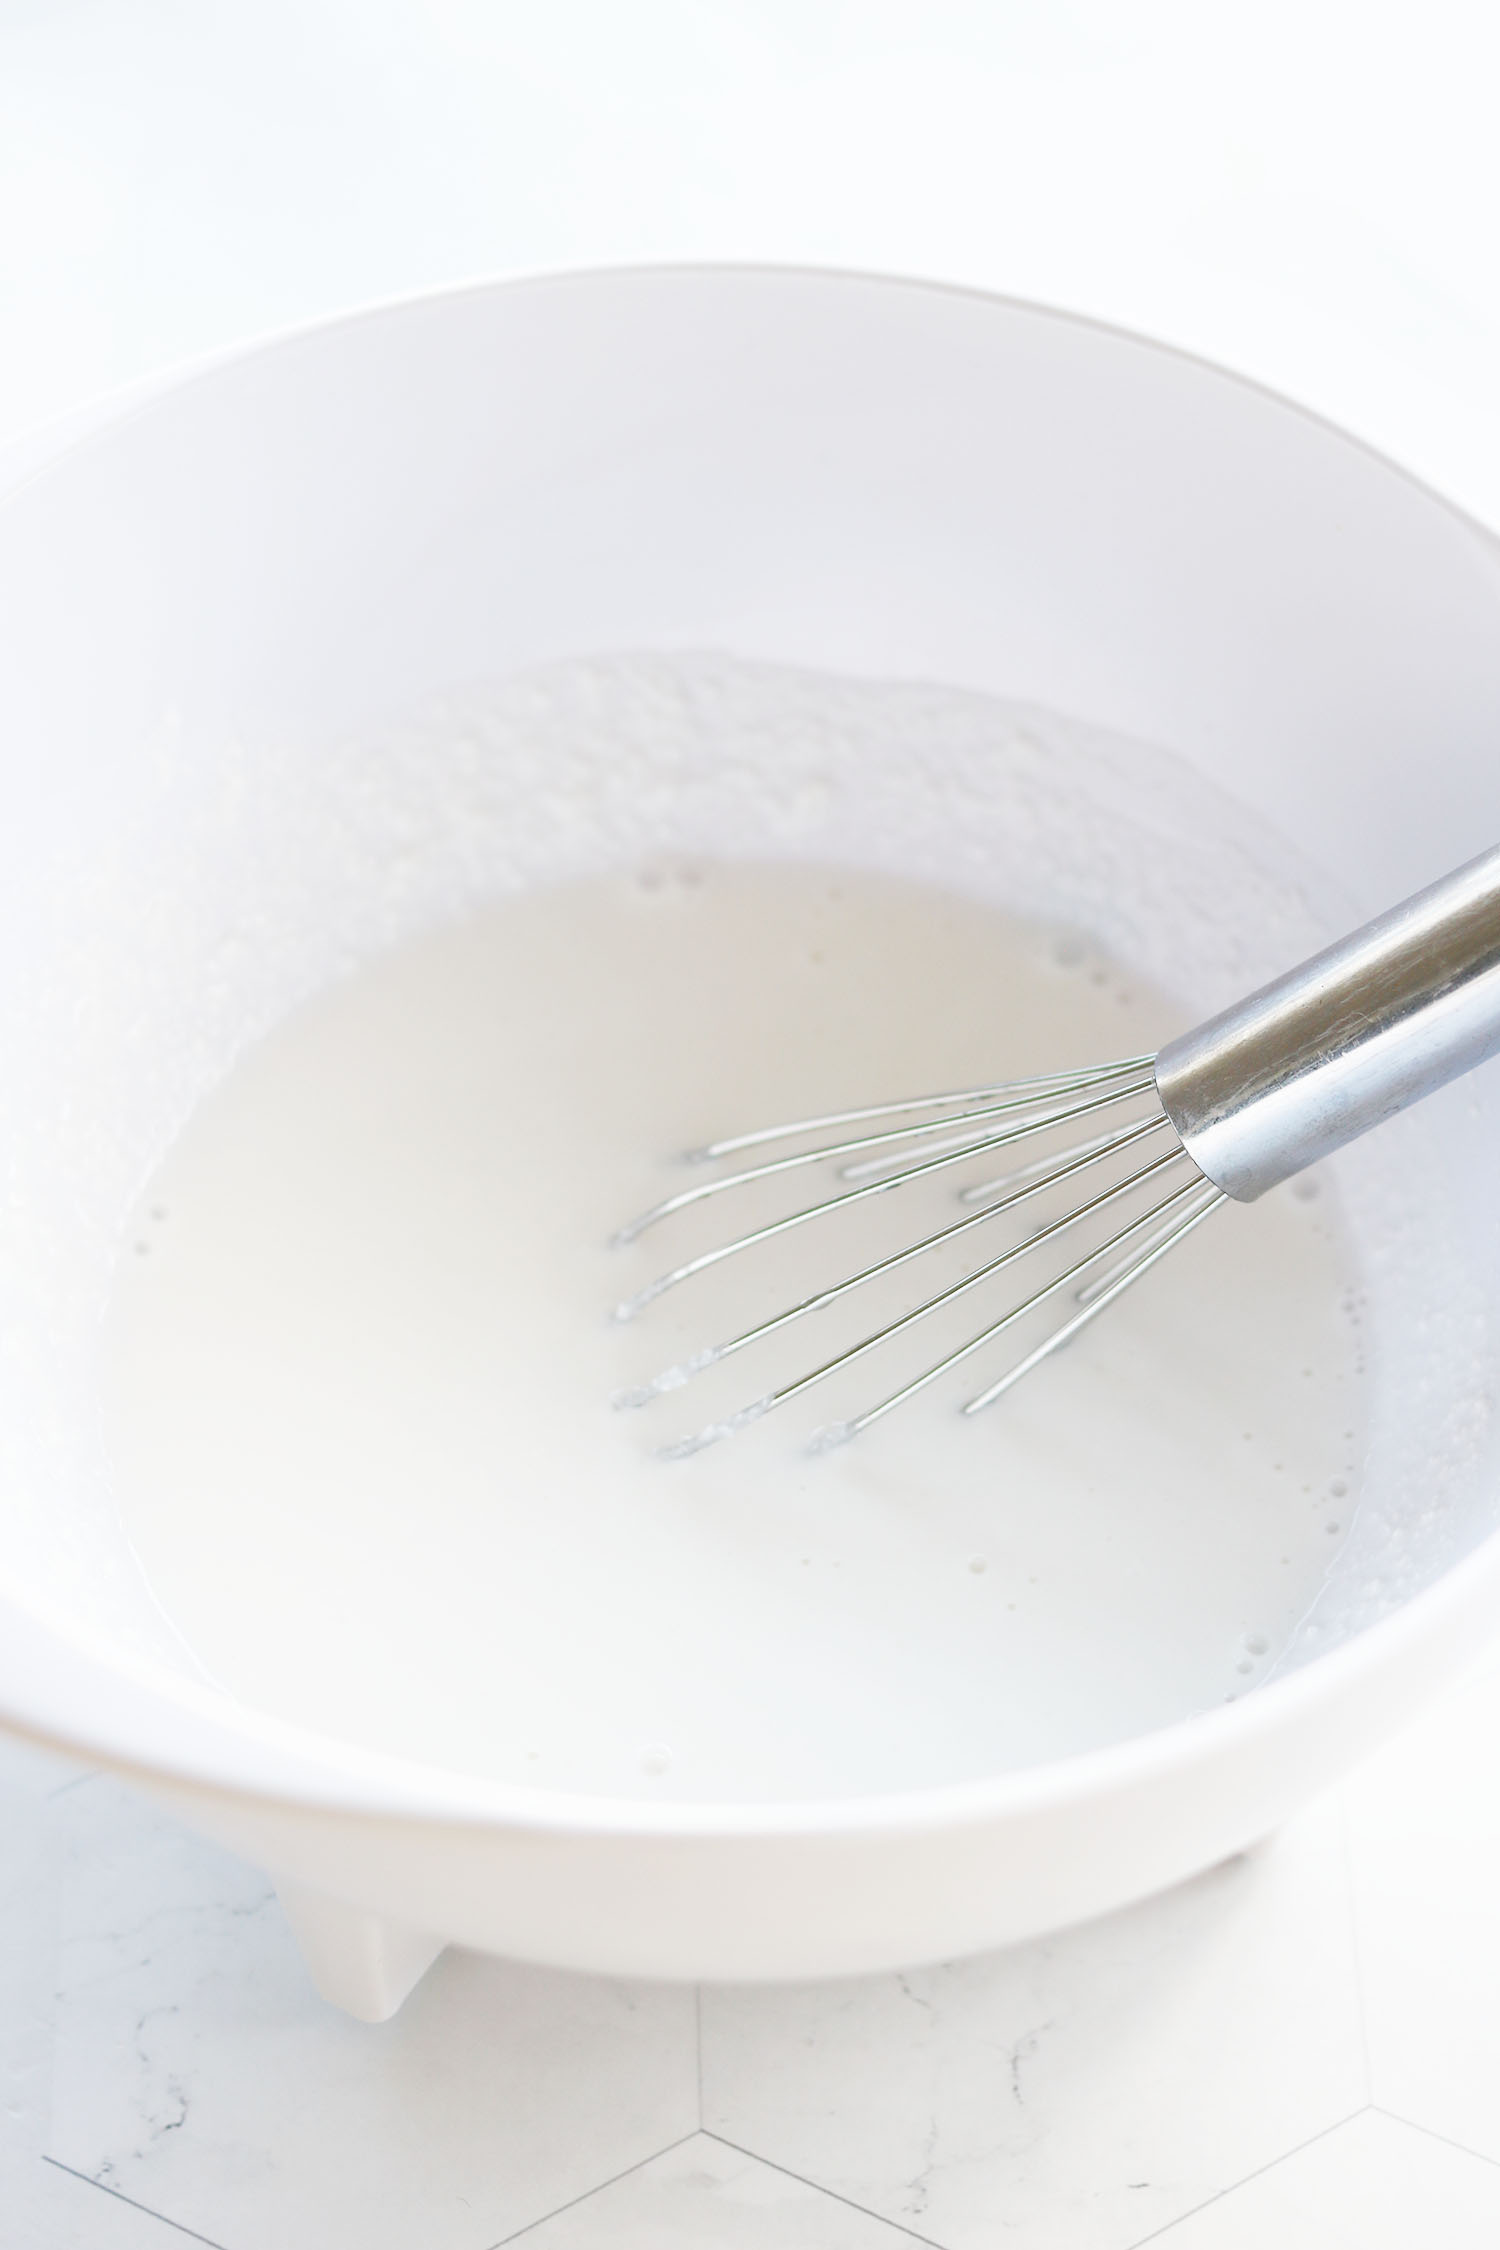
- Combine the rice flour and sugar. Gradually add the water, stirring until the mixture is smooth and lump-free.
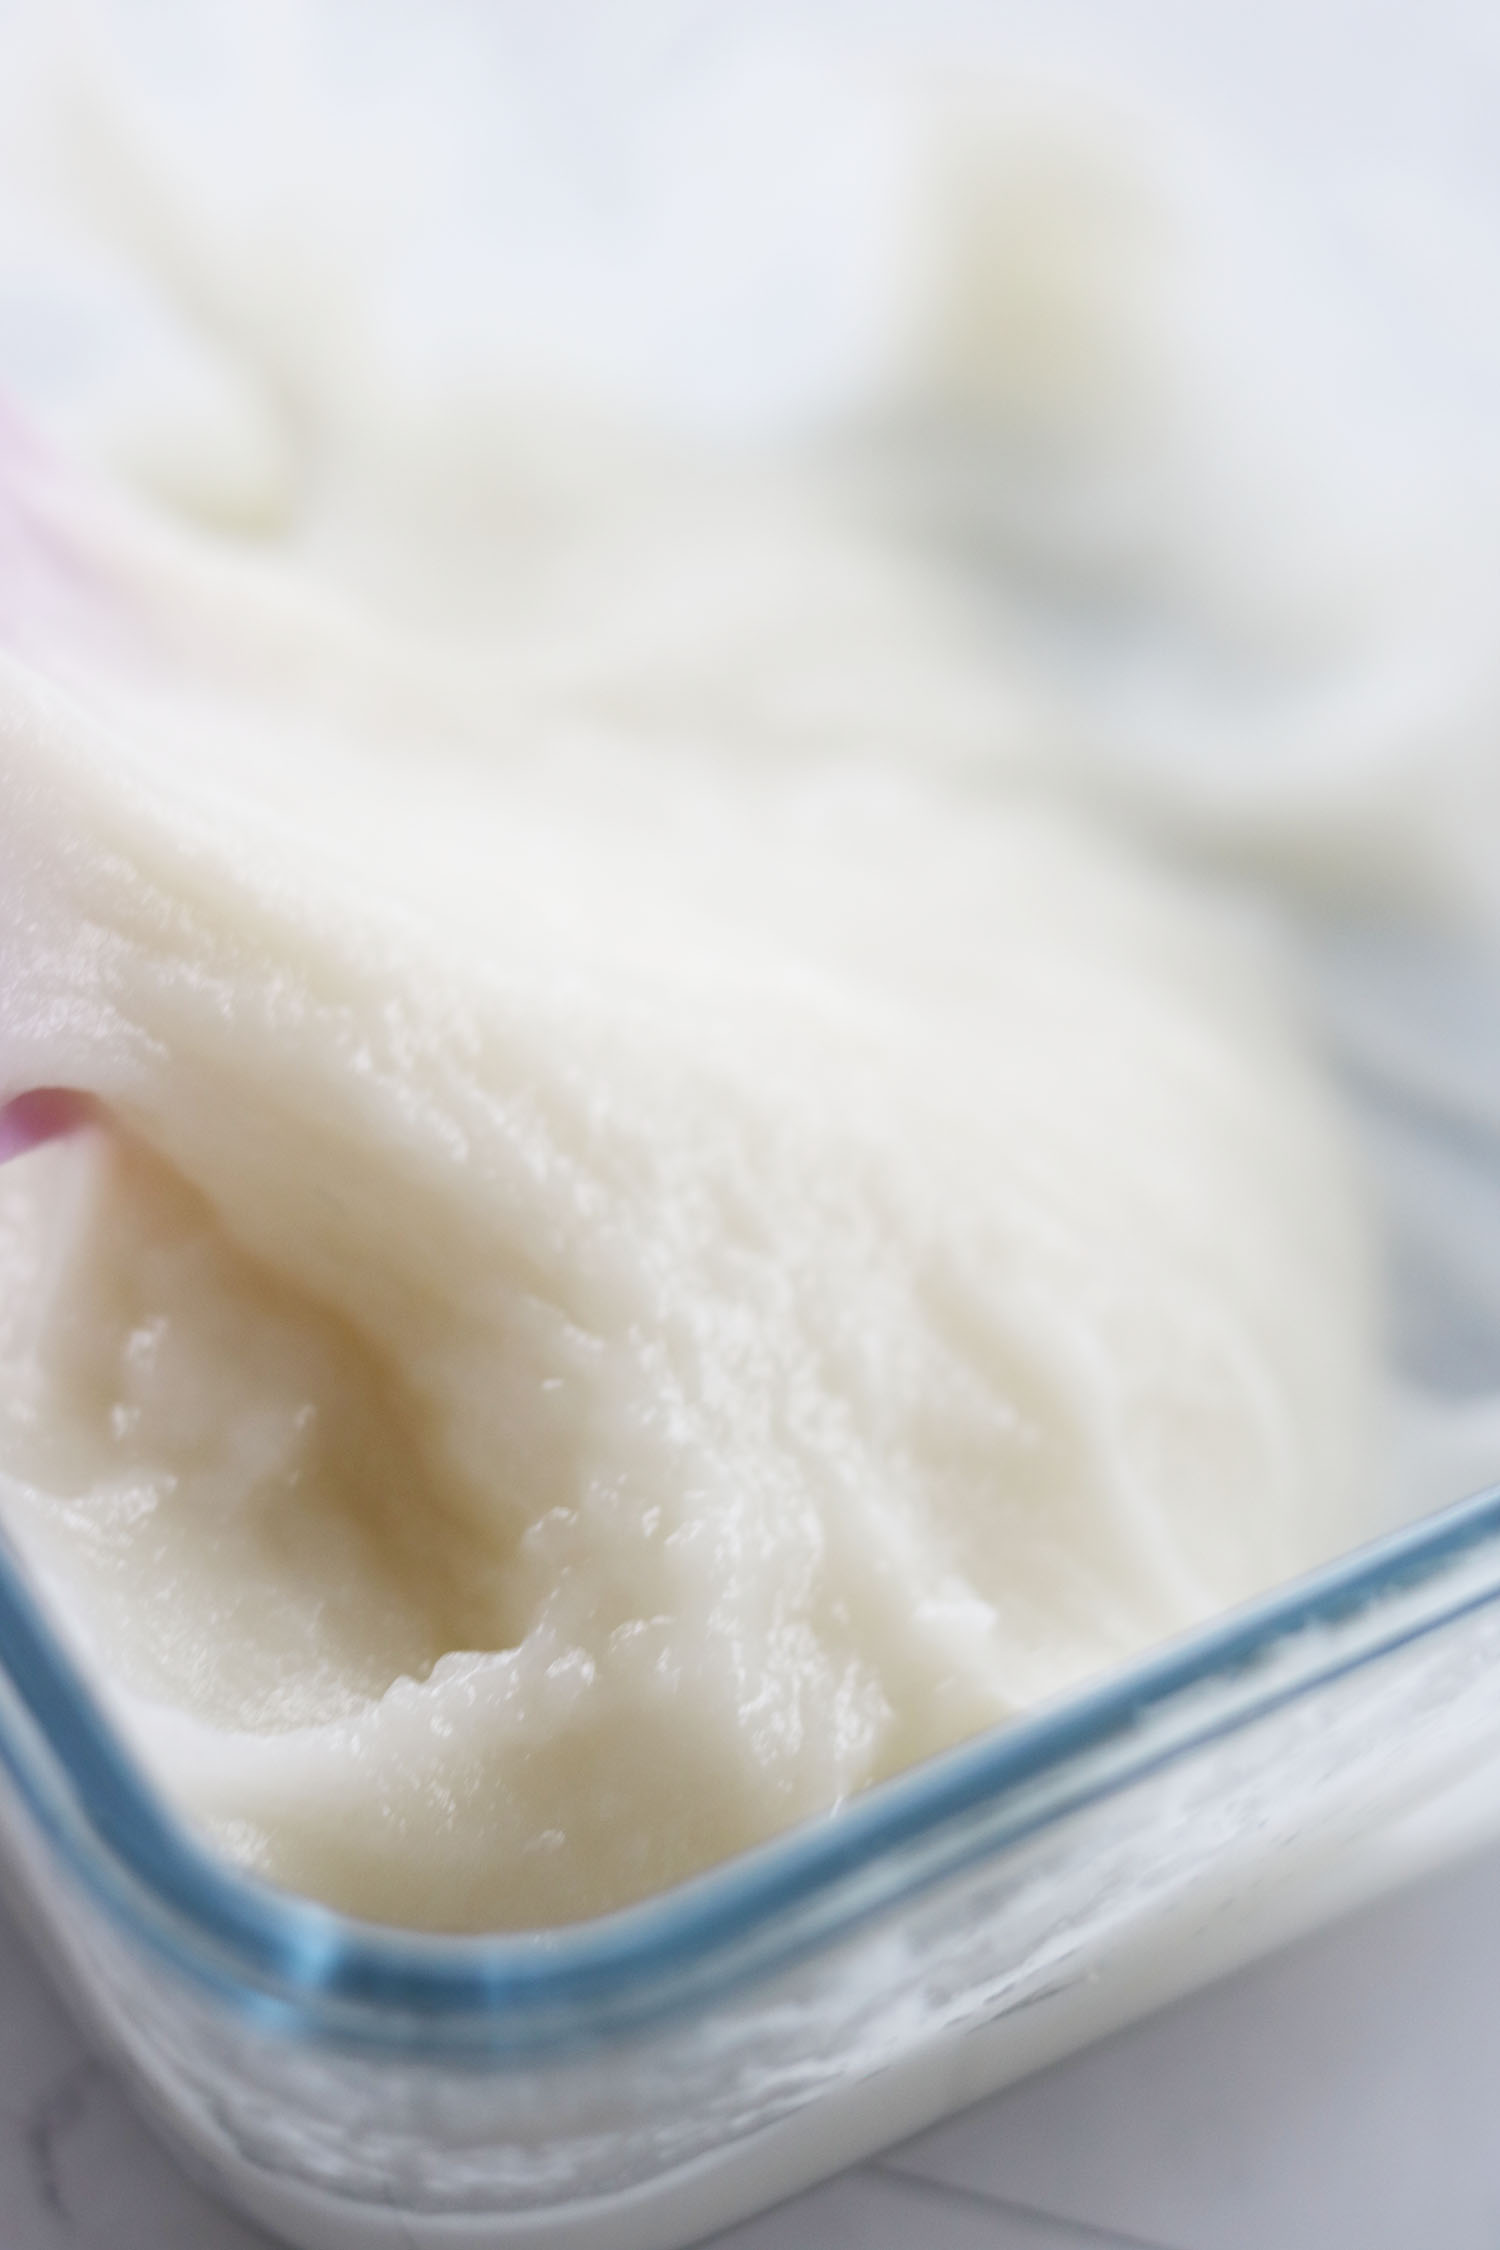
- Transfer to a microwave-safe bowl. Cover the bowl with plastic wrap and microwave the mixture on high for 1 minute. Stir, then microwave for another 1 minute. Stir again. Maybe the dough is ready now. It should be smooth, sticky, and slightly translucent. If not, microwave in 30-second intervals. You shouldn’t need to microwave more than about 2-3 minutes total. Let it cool for a few minutes.
- Shape the Mochi
- Dust a tray or a clean surface with potato starch to prevent the mochi from sticking.
- Once the dough is cool enough to handle, lightly dust your hands with potato starch and flatten the mochi dough. Divide the dough into 6 equal portions.
- Flatten each portion of dough into a circle or a sheet large enough to wrap around the strawberry covered with red bean paste.
- Place one prepared strawberry with the tip facing downward to the center of each dough sheet and gently fold the edges over the bottom of the strawberry, pinching to seal the mochi.
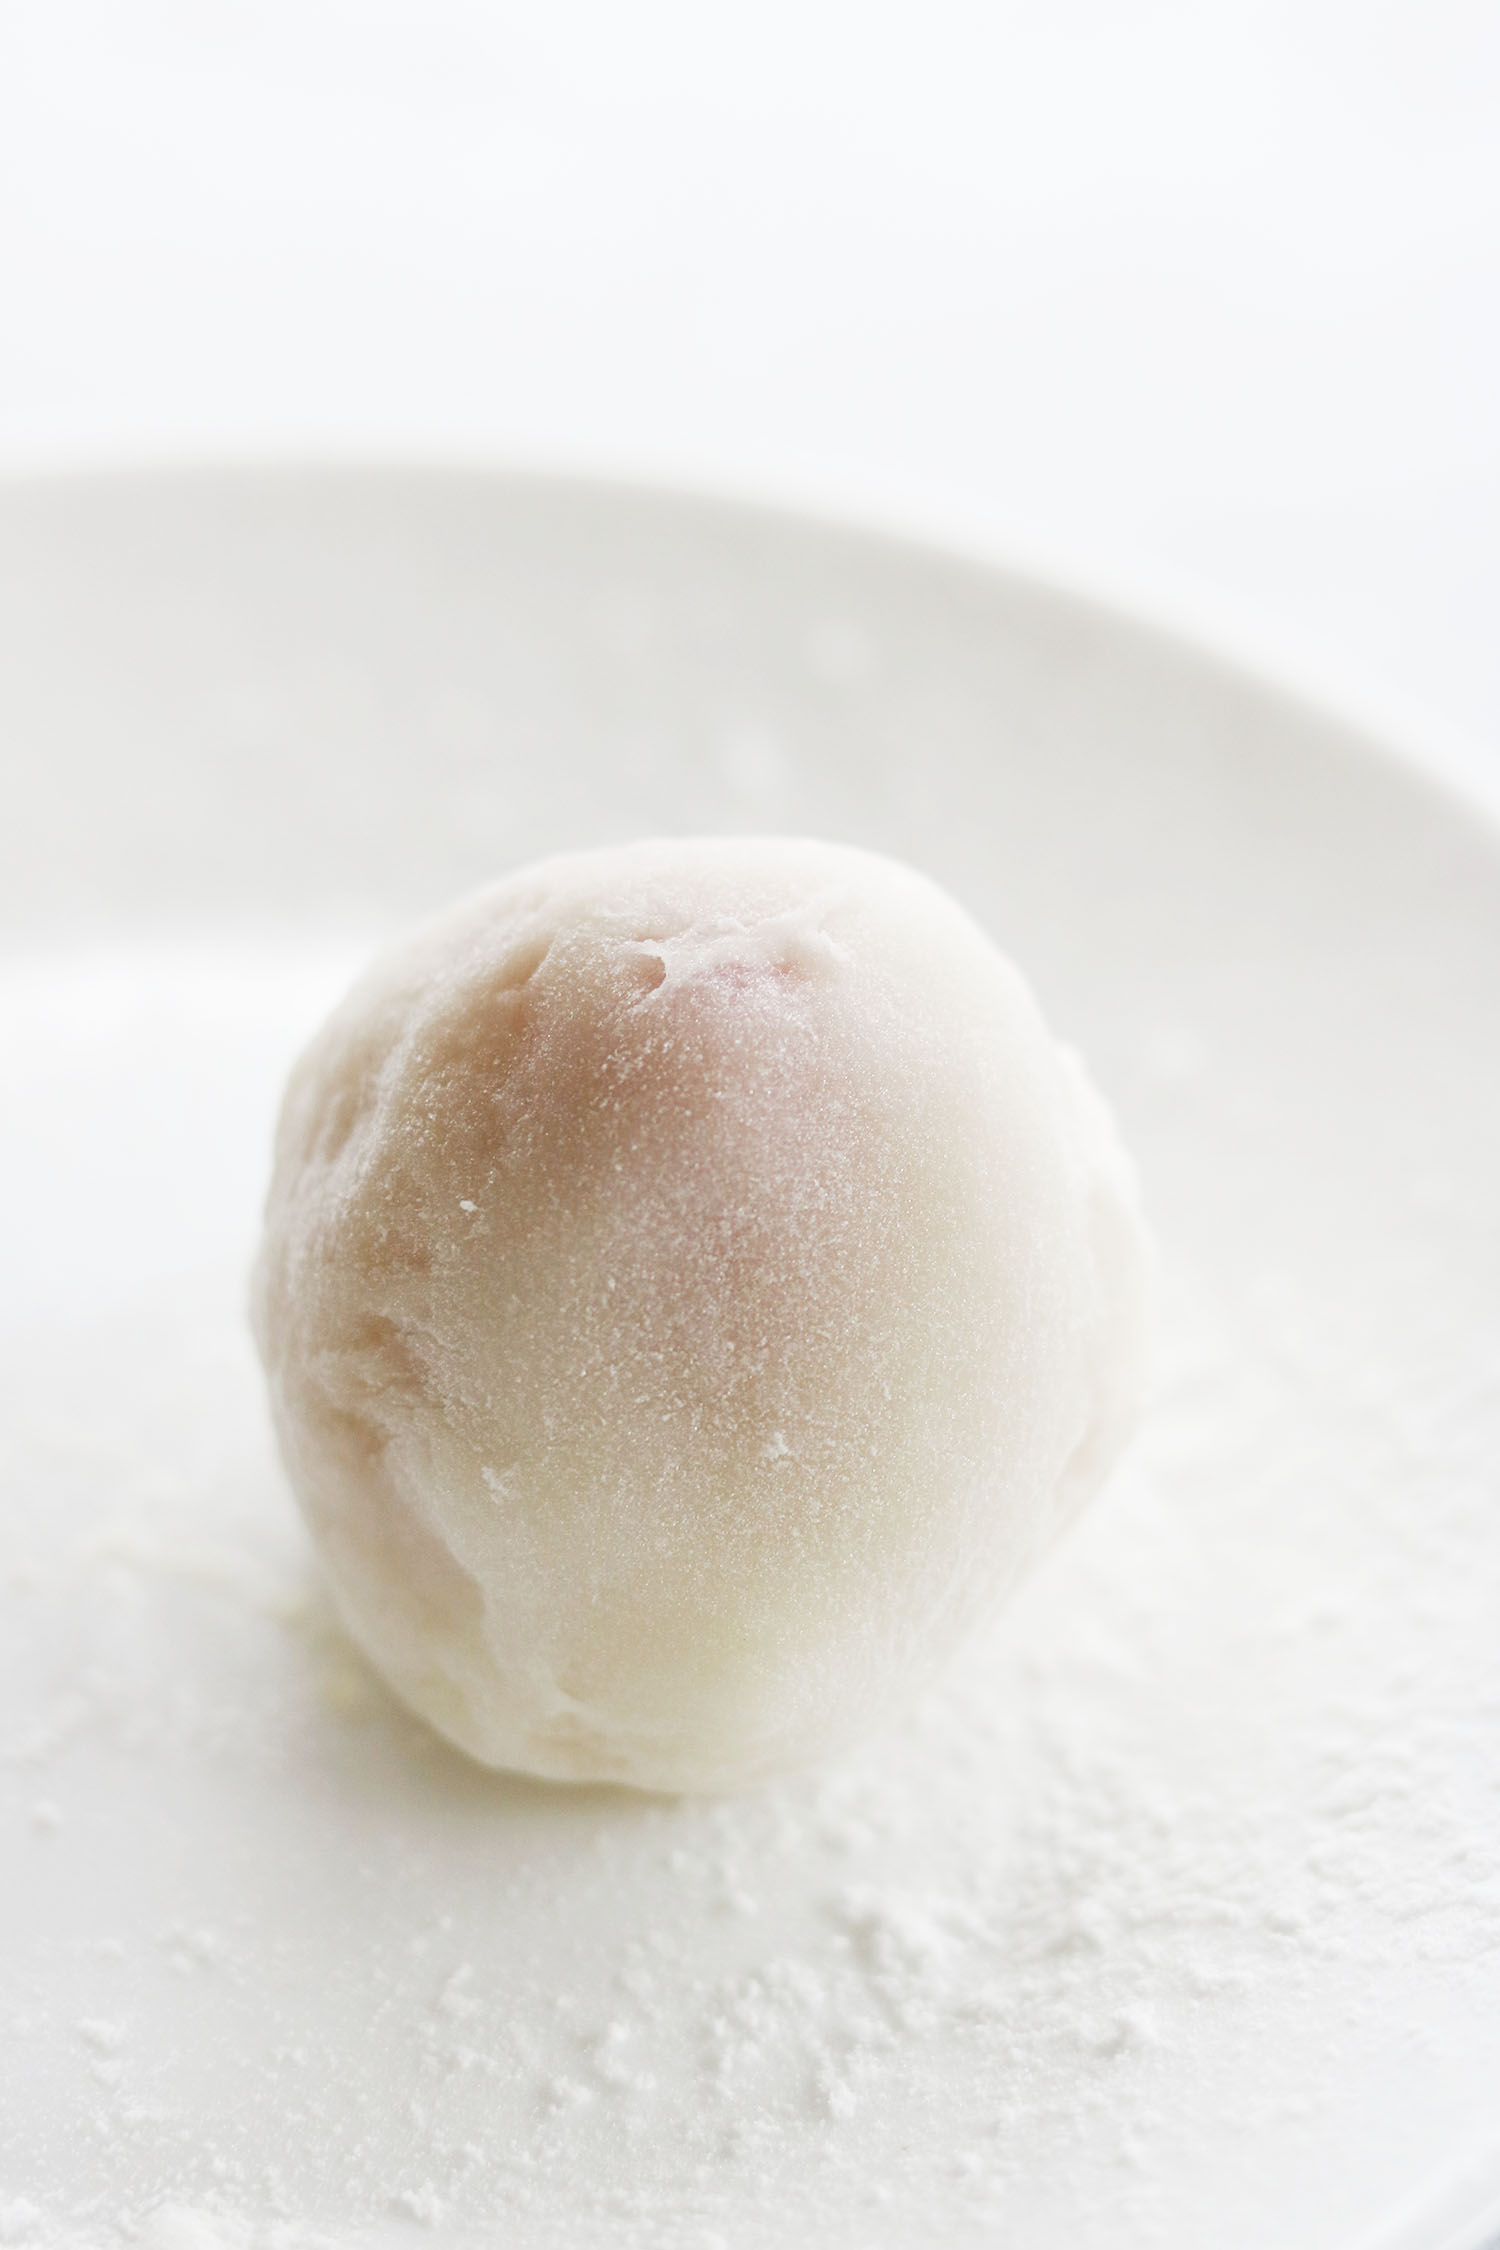
- Roll each finished mochi in potato starch to prevent sticking and give it a smooth finish. The mochi taste best when eaten immediately or at least the same day that they are made. You can keep them in the fridge for a day or two if you cover them with plastic wrap, but they will get harder and more chewy compared to the freshly made mochi.
