Seems like Christmas starts earlier and earlier in Denmark and this year, Advent calendars, gløgg, and marshmallow Santas have been available in the supermarkets since mid October, and from late November you can visit Christmas in Tivoli which might be the coziest place in Denmark at this time of the year.
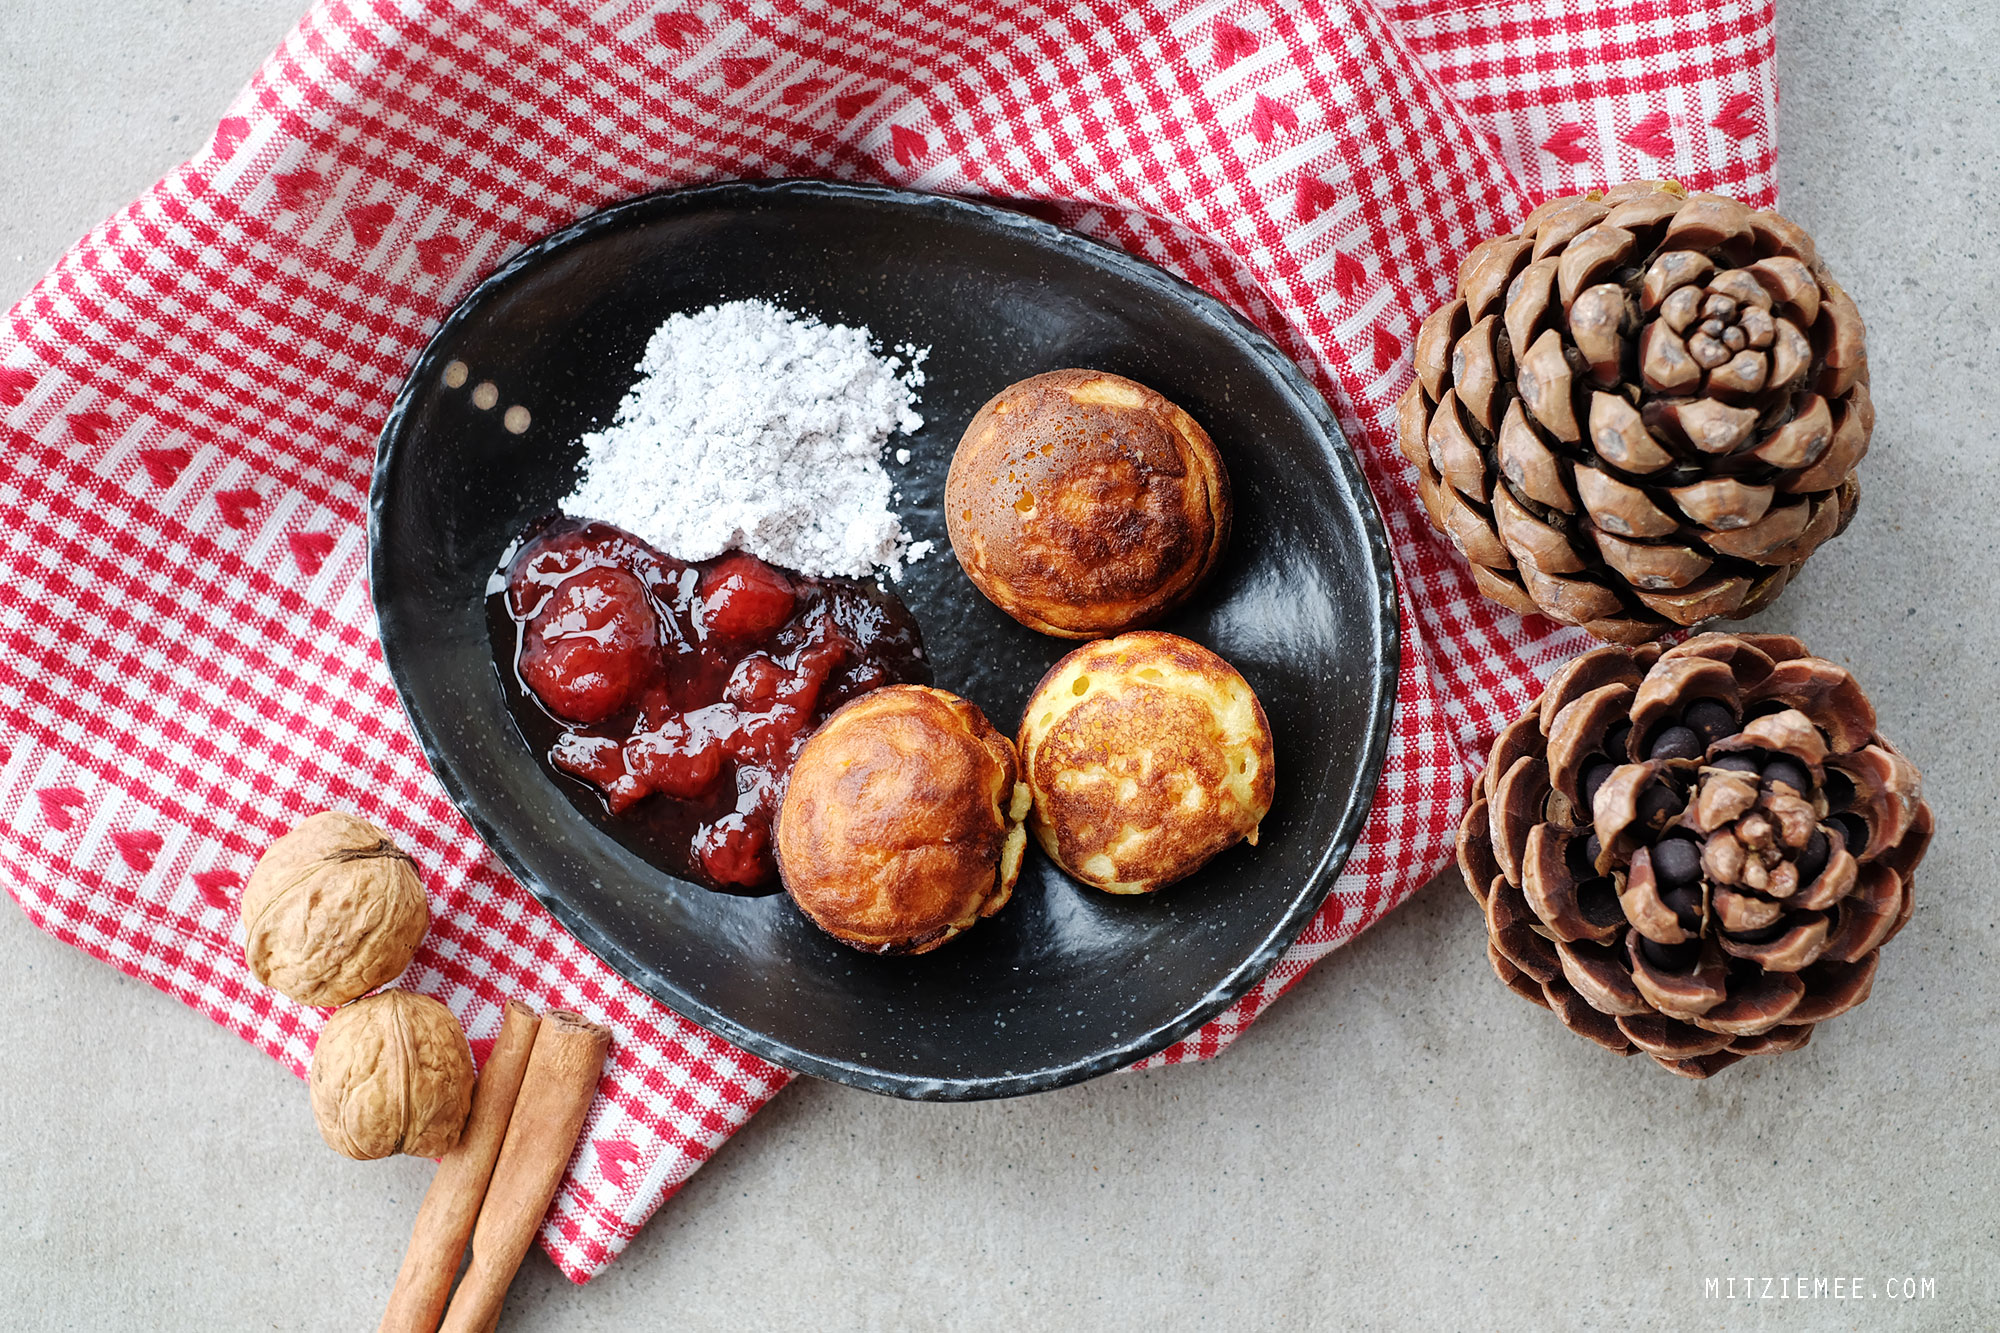
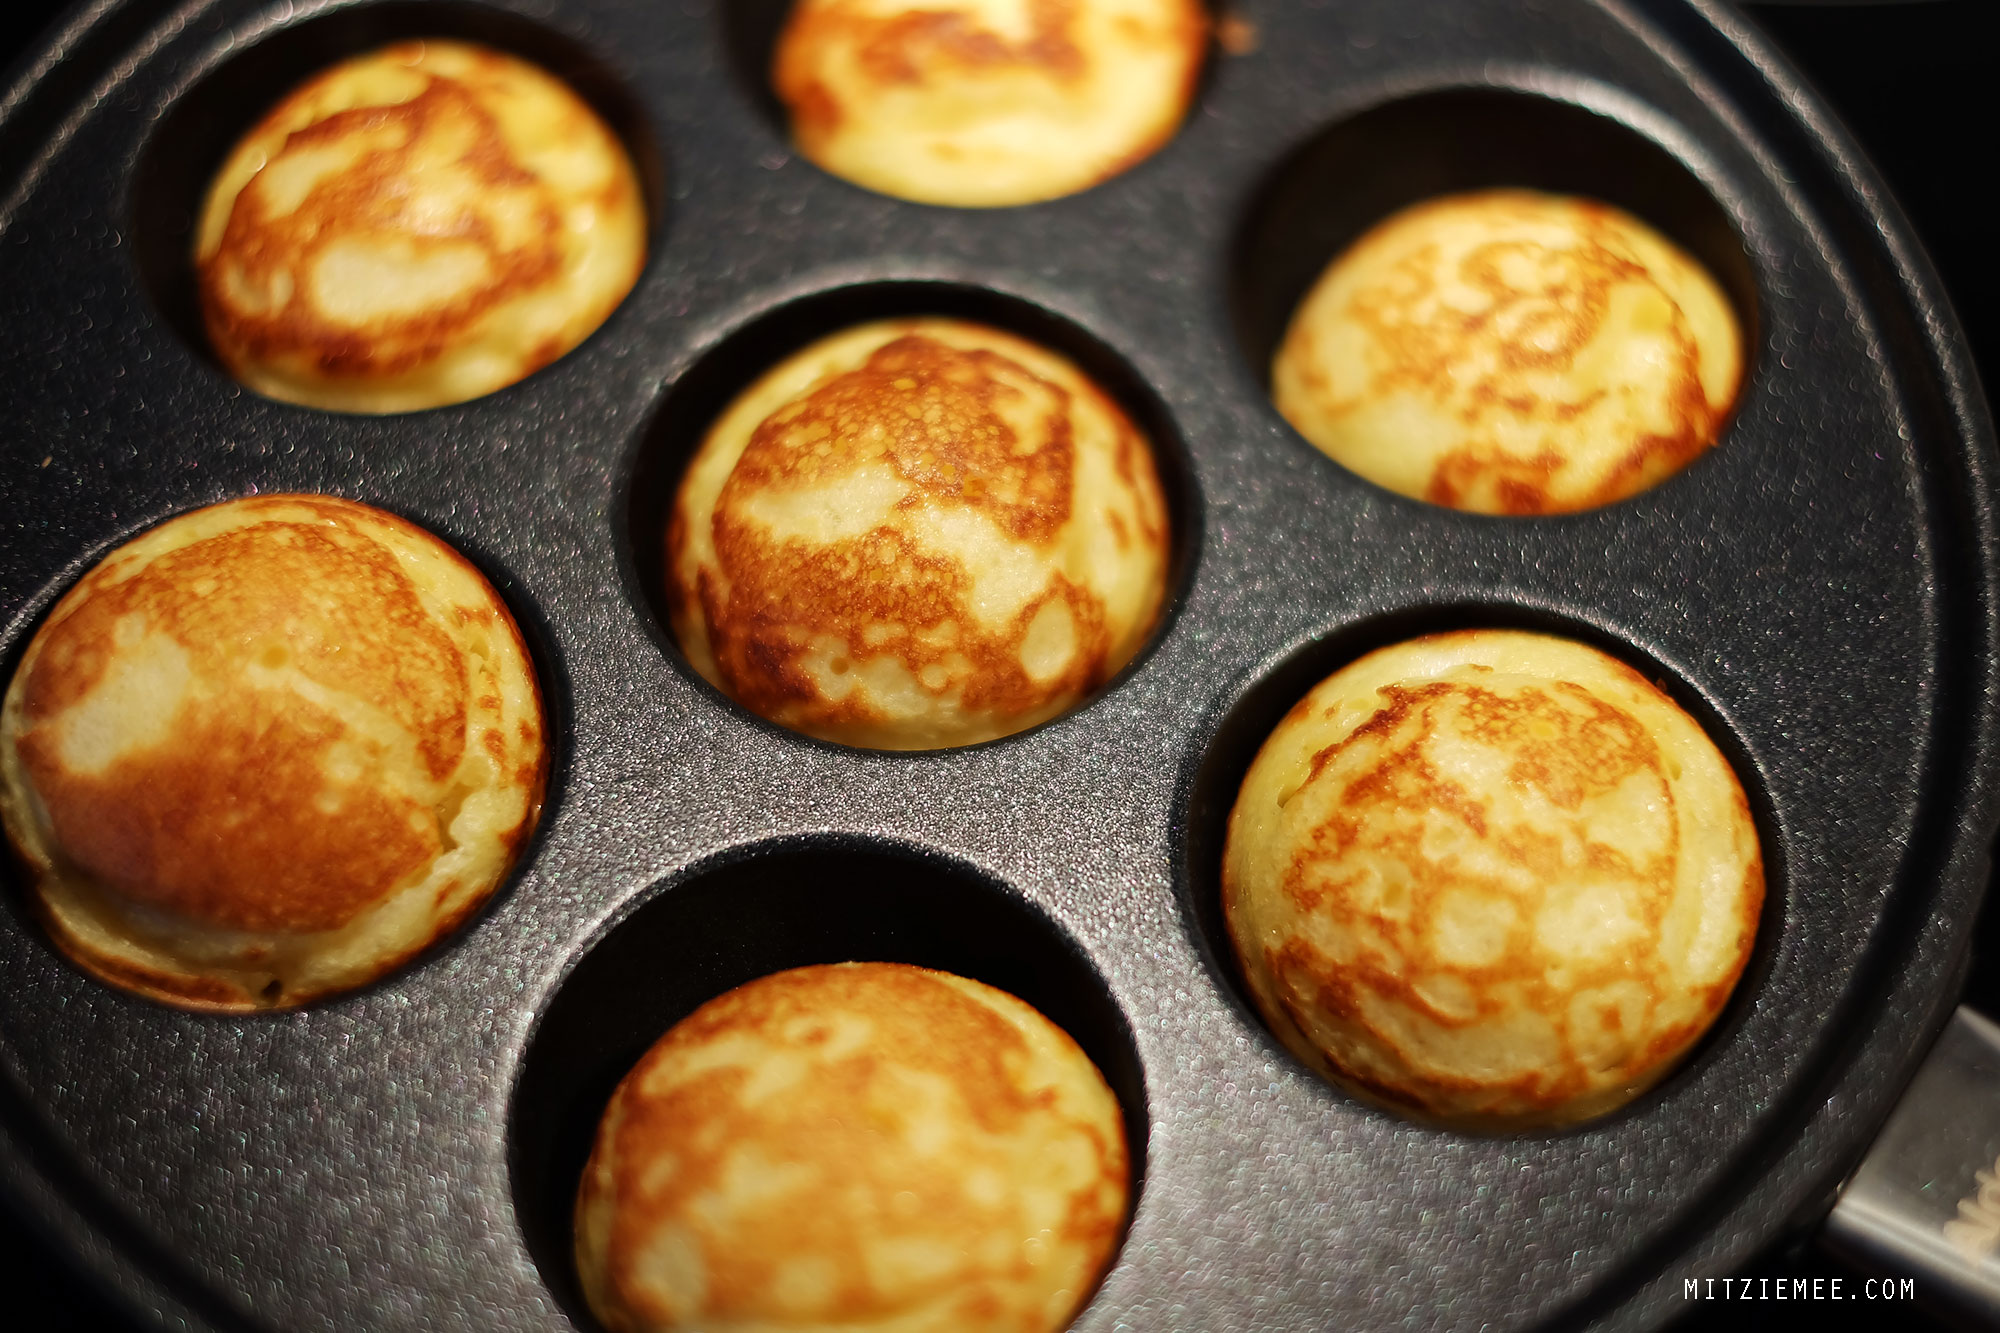
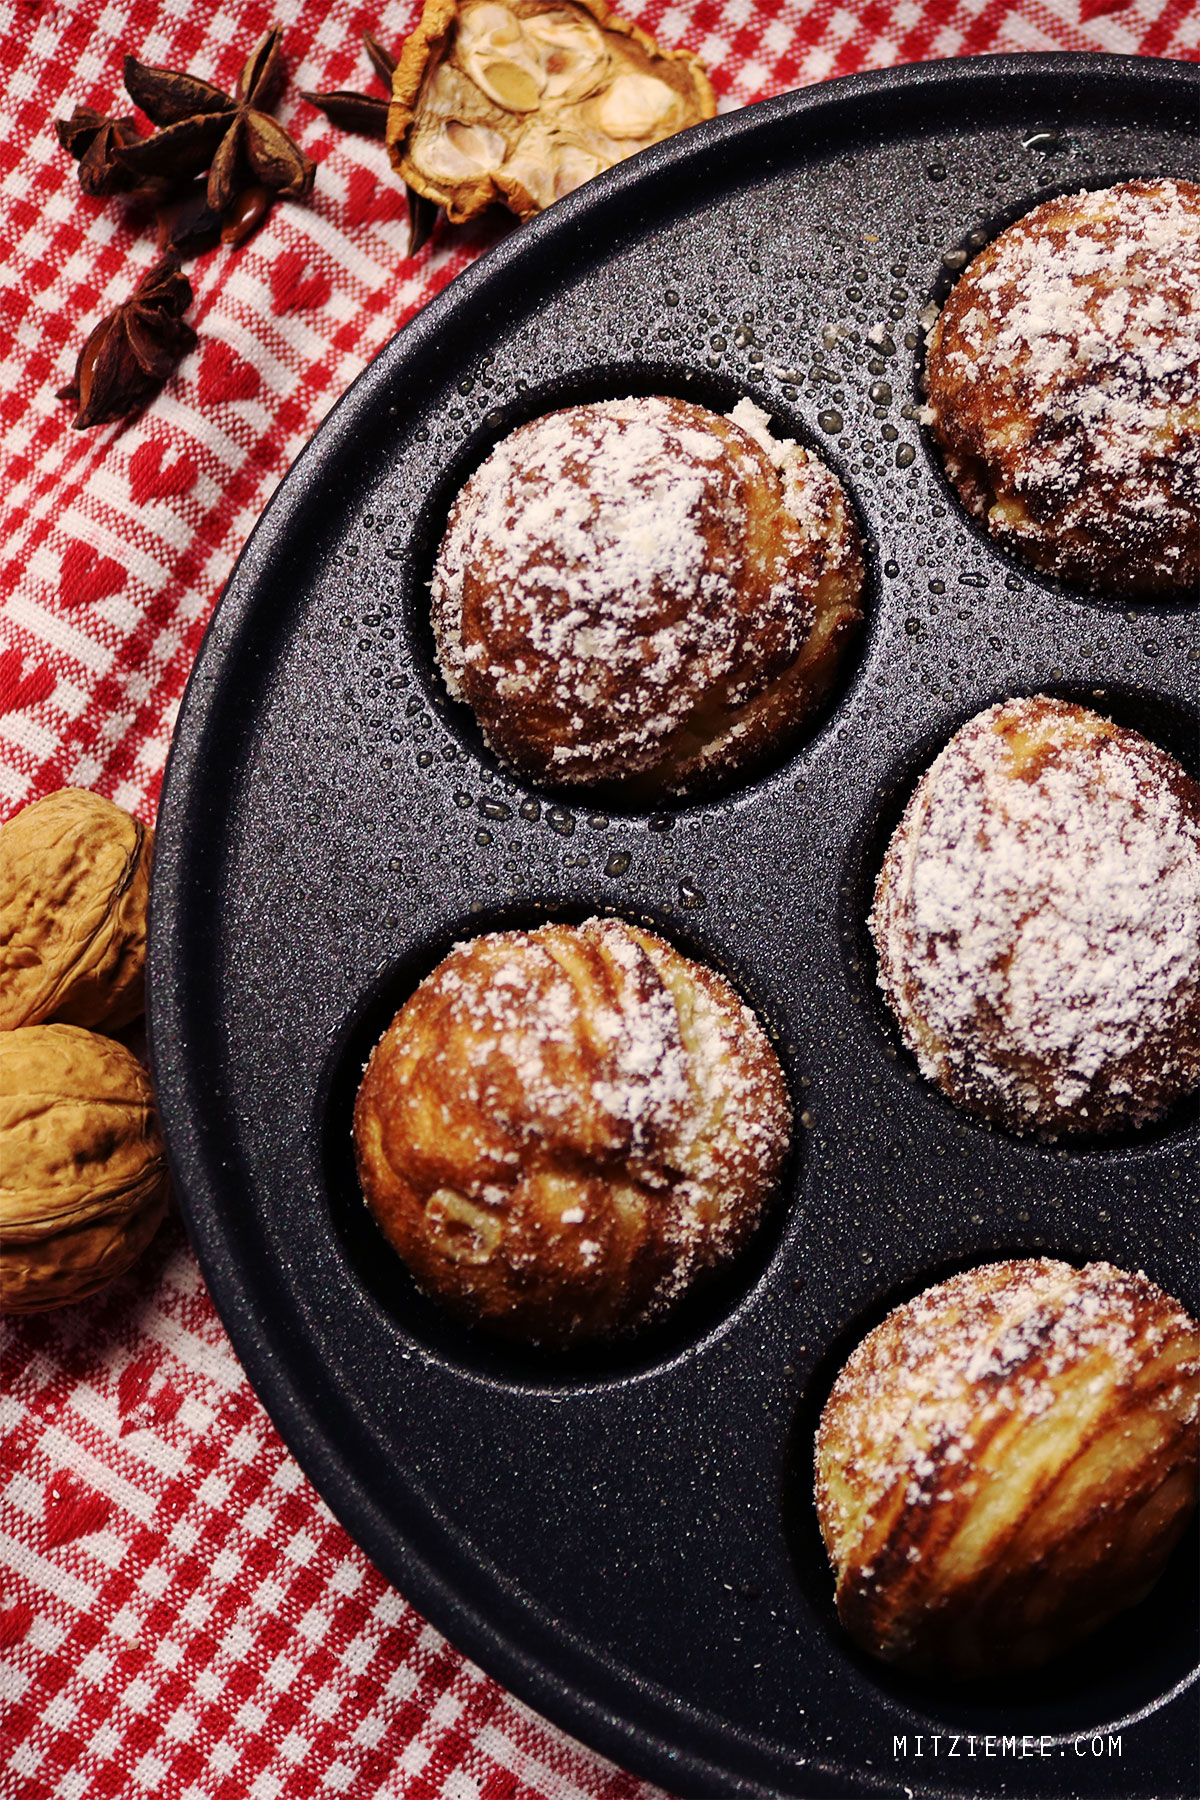
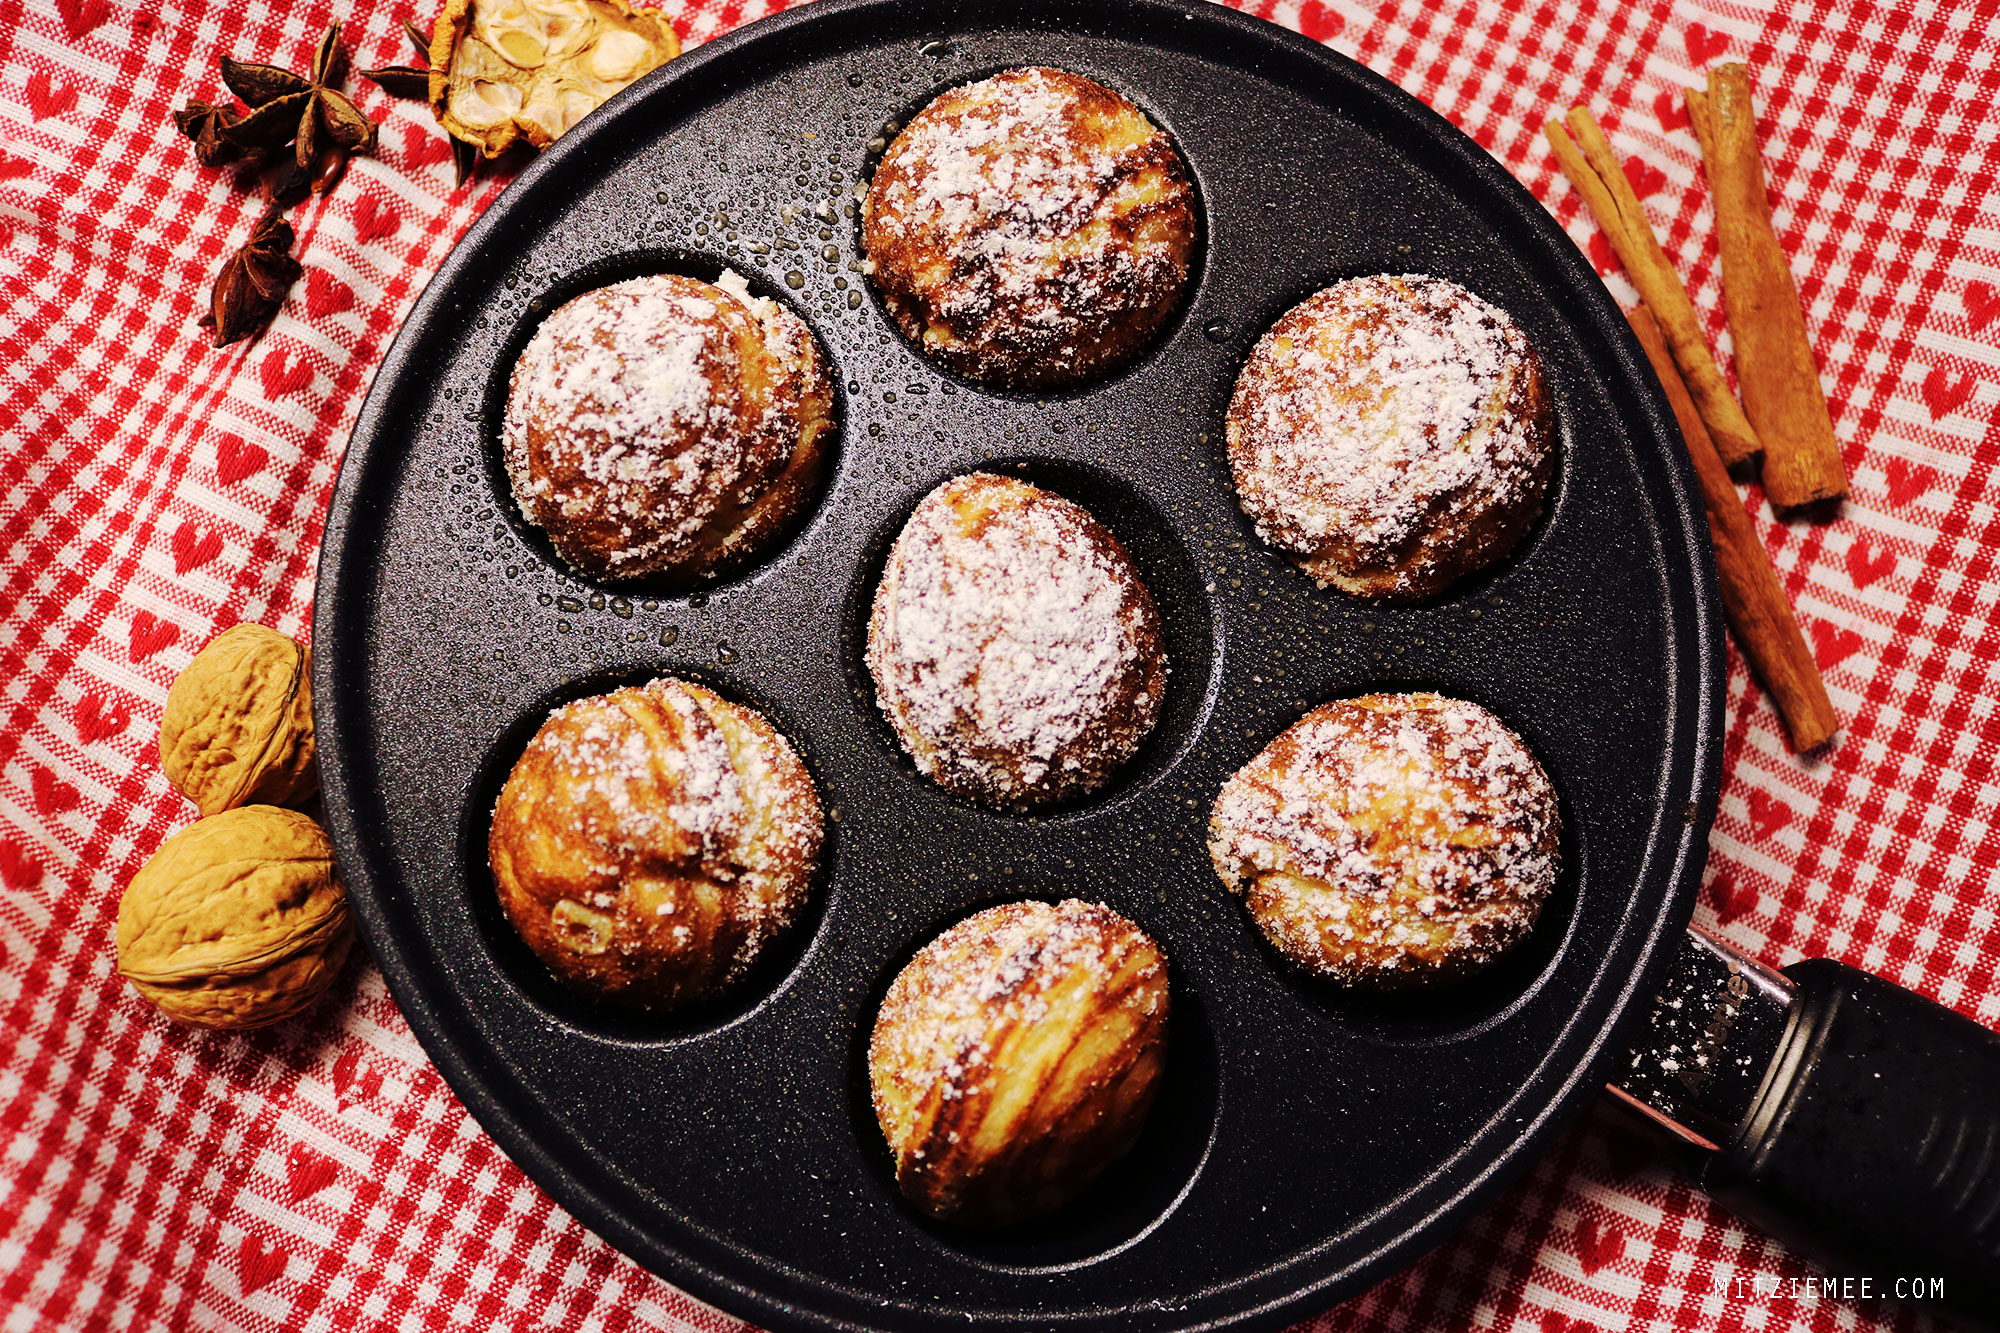
In addition to confections made from real marzipan (not sugar paste) and nougat, my favorite Christmas treat is æbleskiver. Æbleskiver is a kind of donut, which you fry in a special pan. You eat them with preserve and icing sugar, and they’re usually served with a big glass of hot gløgg (a kind of mulled wine with raisins and almonds).
I prefer homemade-from-scratch æbleskiver, and my mom’s recipe is the best. I could eat æbleskiver all year round, but my mom insists that it’s Christmas food, i.e. December only, so the photos in this post are from last year. Counting the days until it’s time for this year’s first serving of mom’s home-made æbleskiver..