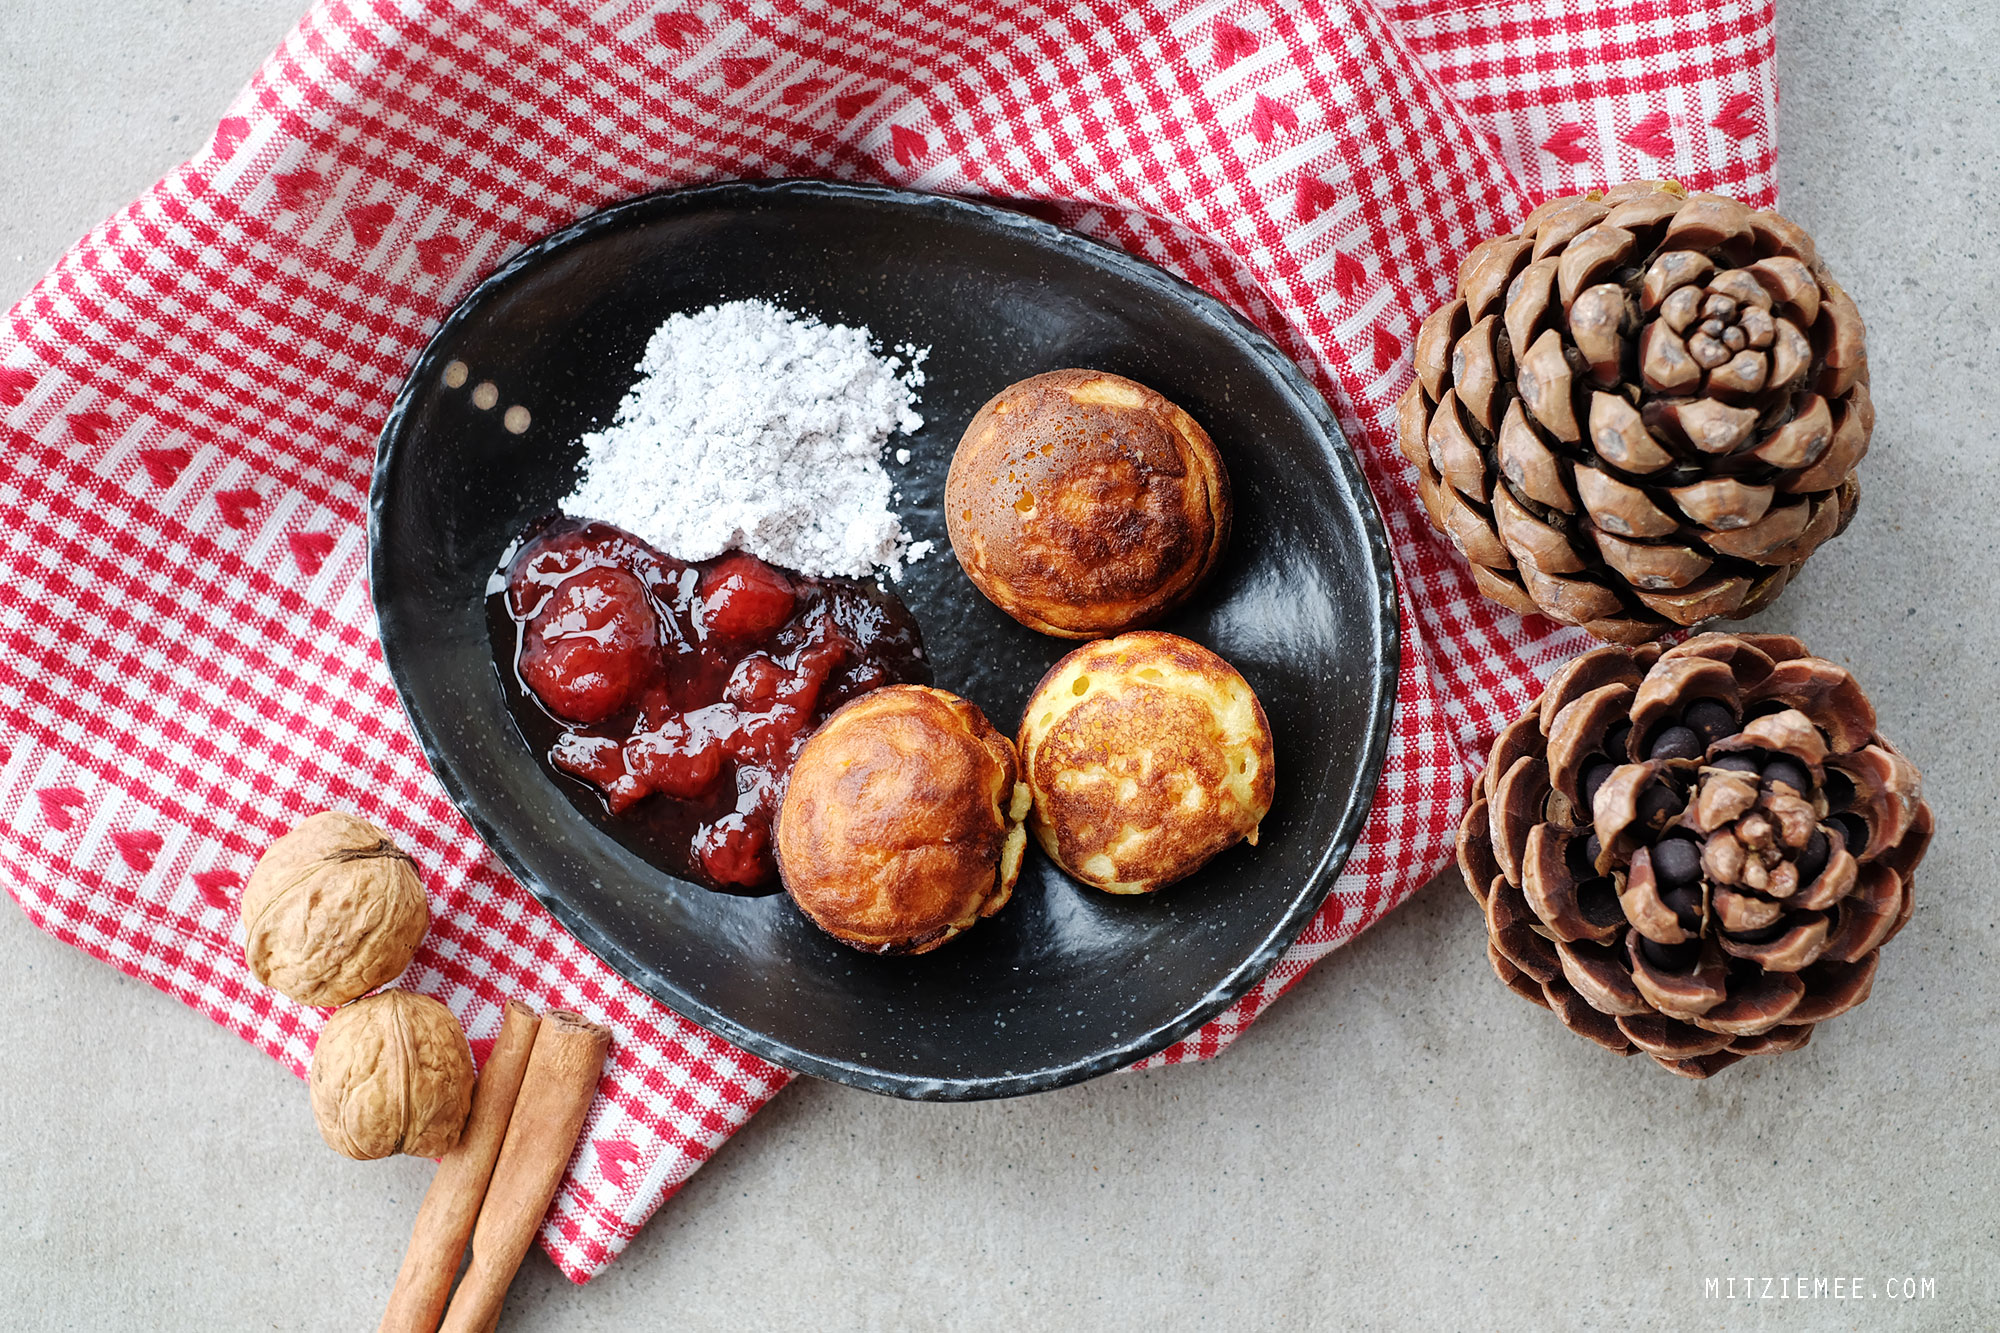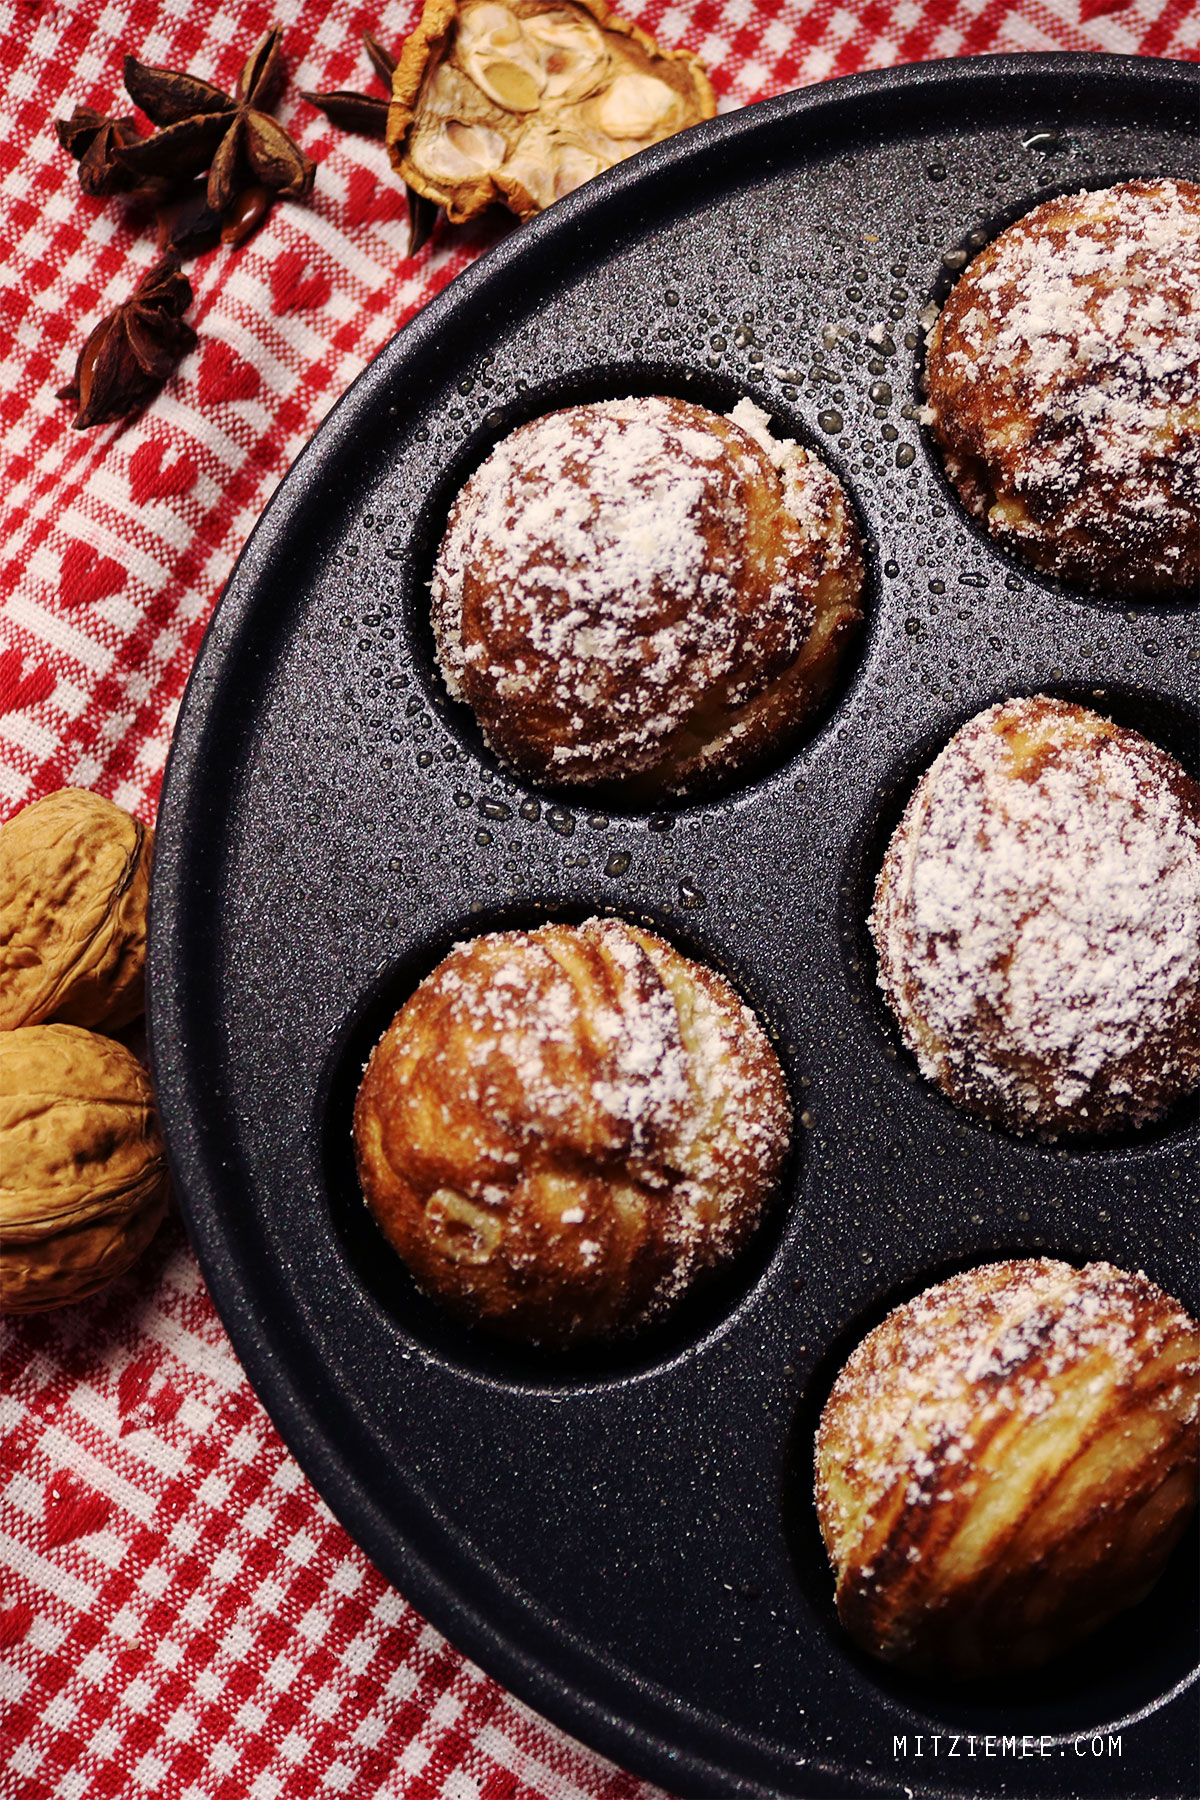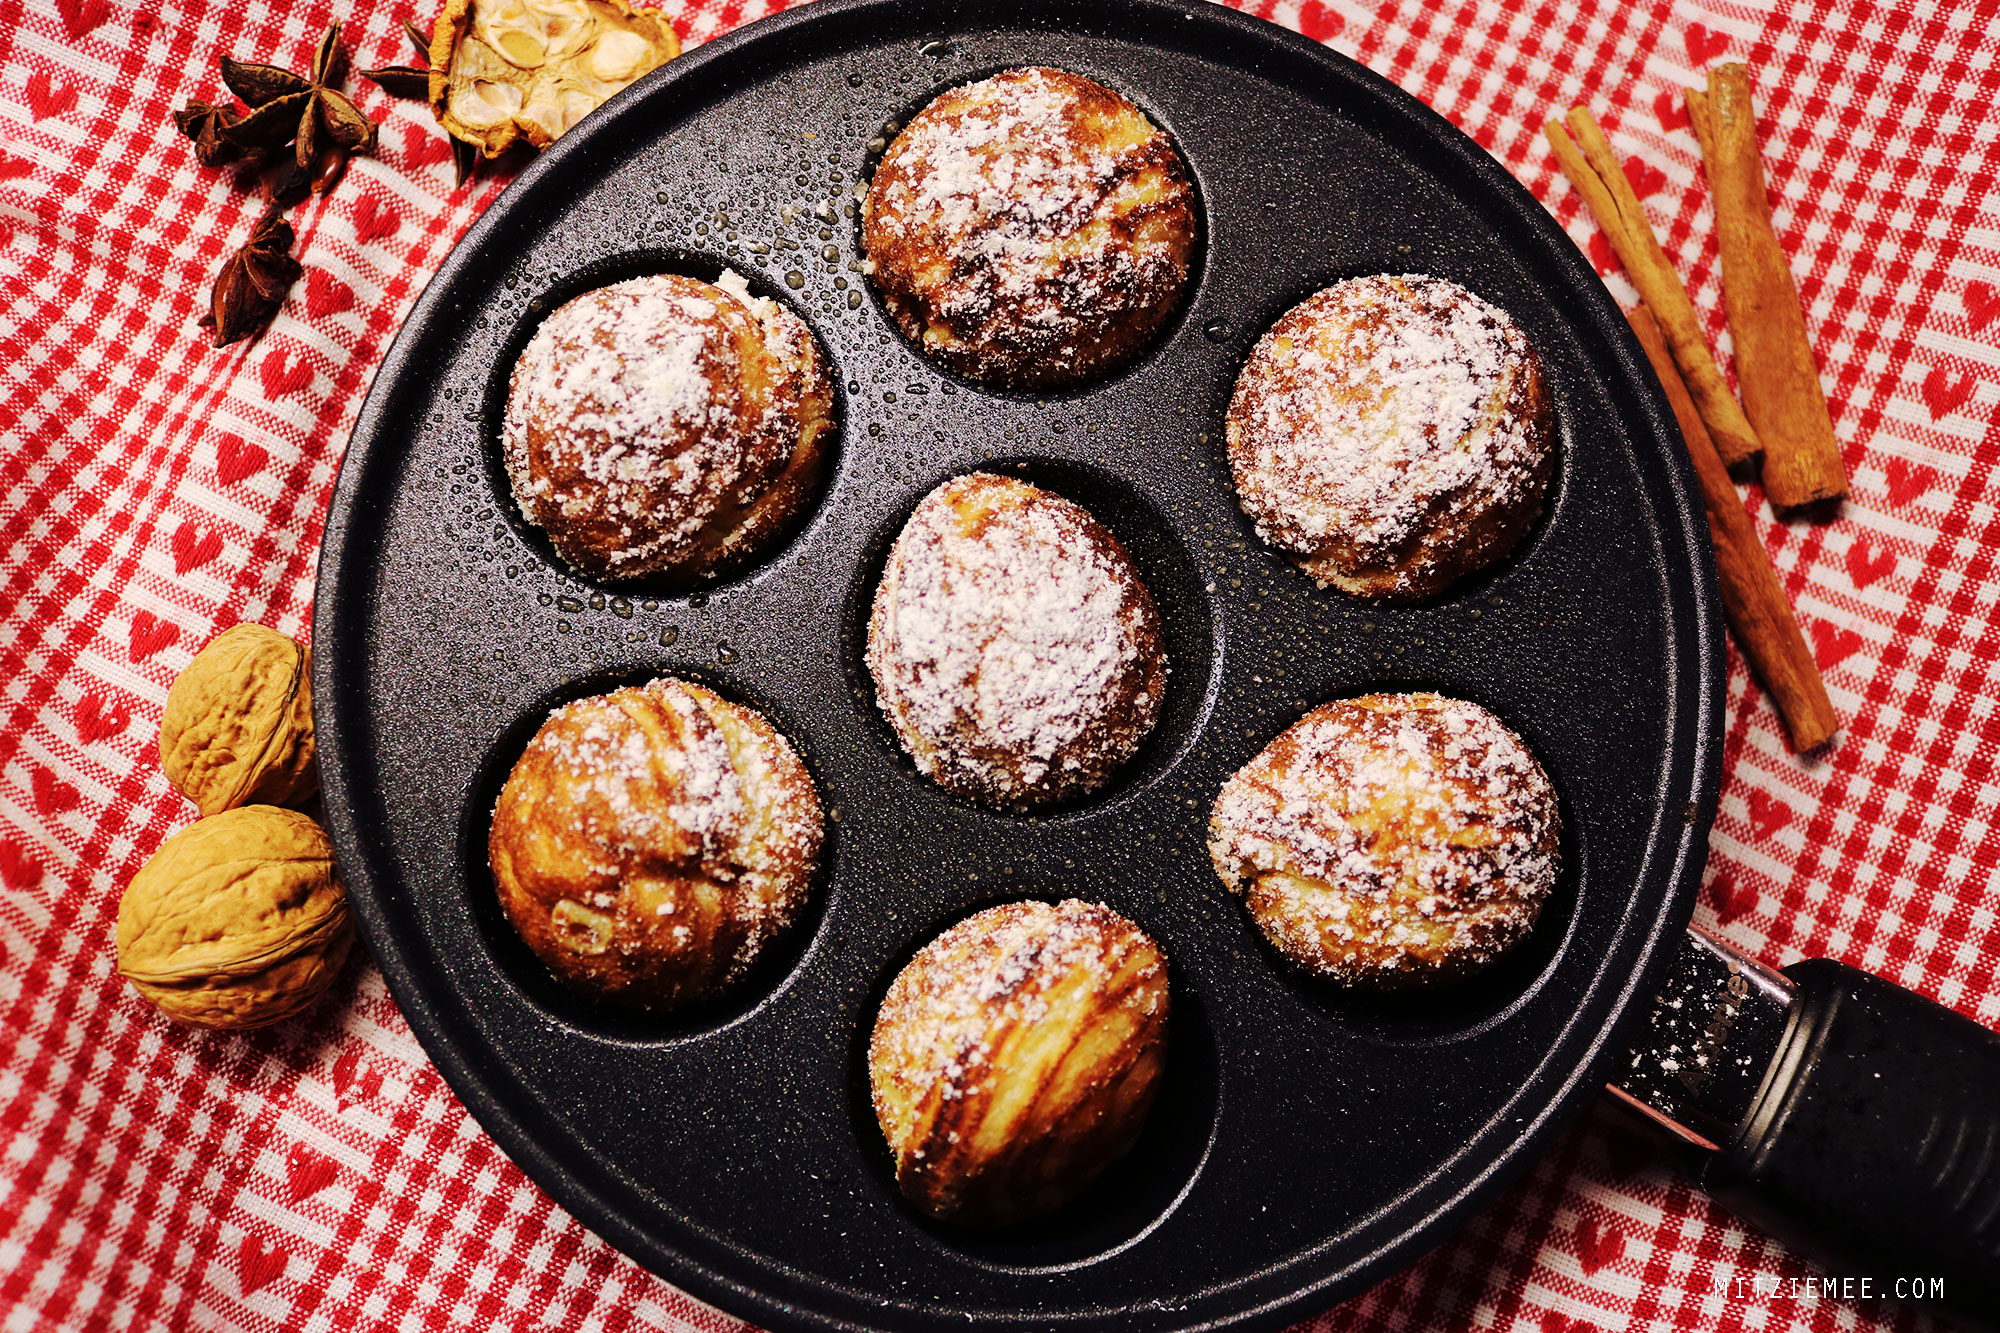
Æbleskiver is a traditional Danish Christmas treat, enjoyed throughout December. In Denmark, you can buy frozen ones in the grocery store, but the homemade æbleskiver are about a million times better, served straight from the pan, with powdered sugar and homemade strawberry jam, and a glass of gløgg (Danish mulled wine) with raisins and almonds.
During the Christmas month, you would typically invite friends and family over for æbleskiver and gløgg on weekend afternoons. I have seen æbleskiver described as a Danish dessert, but you would rarely see æbleskiver as part of a meal, and even more rarely, you would see æbleskiver served without gløgg.
My late grandma’s recipe is made with yeast and buttermilk, and it has less sugar than many of the other recipes out there, and thus a slightly more grown-up flavor. This recipe yields 28 æbleskiver, which should be enough for 4 persons, unless they are like me, and eat 10+ æbleskiver each:)
Recipe notes
You fry the æbleskiver in lard or oil, never in butter. The reason why you cannot use butter is that æbleskiver are fried at rather high temperature, which will burn the butter.
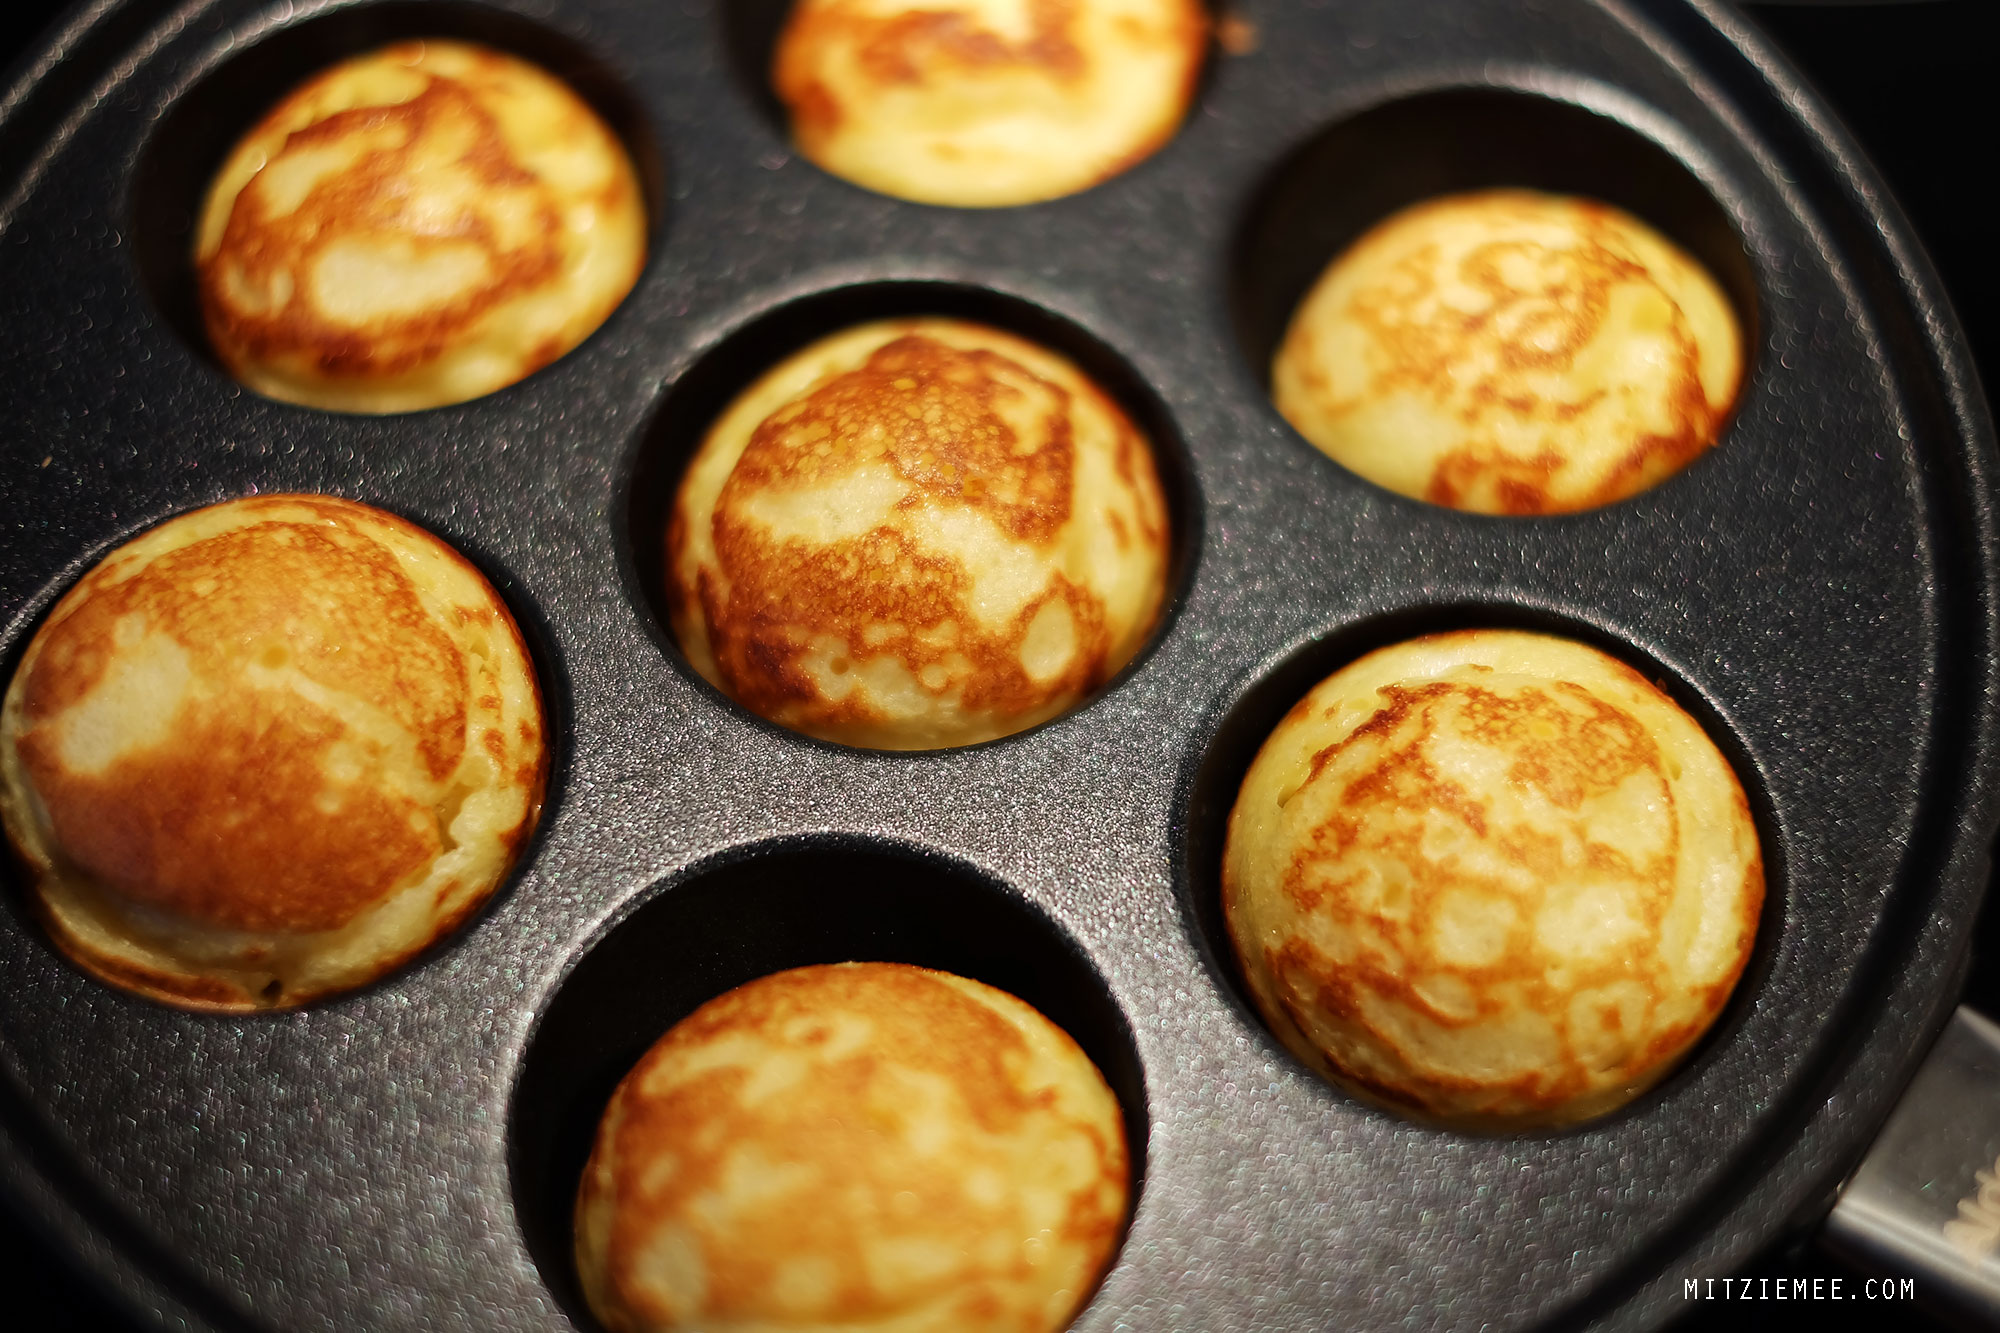
You need a special æbleskive pan to make æbleskiver. It is typically made from cast iron and has 7 round wells, or cavities, which you fill with batter.
If you don’t have fresh yeast, you can use active dry yeast. Follow the directions on the package if substituting.
In Denmark we use a knitting pin to turn the æbleskiver and to check when they are ready. I guess you could also use a fork, but knitting pins are particularly good for the purpose. When the æbleskive is crispy on the outside, and no batter sticks to the knitting pin when probing, the æbleskive is ready.
In the video below, you can see how my mom, aka Mummi P, makes æbleskiver:)
Recipe: Æbleskiver – Danish Pancake Balls
28
æbleskiverDuring the Christmas month, you would typically invite friends and family over for æbleskiver and gløgg on weekend afternoons. I have seen æbleskiver described as a Danish dessert, but you would rarely see æbleskiver as part of a meal, and even more rarely, you would see æbleskiver served without gløgg.
Keep the screen of your device on
Ingredients
1⅔ cup buttermilk
0.9 oz fresh yeast
2 teaspoons sugar
1 teaspoon Danish vanilla sugar or vanilla extract
½ teaspoon salt
4 eggs
2 cups flour
Lard or oil for frying
Directions
- Heat the buttermilk until lukewarm. Be careful not to overheat as the buttermilk will curdle at higher temperatures.
- Crumble the yeast and add sugar, salt, and vanilla sugar.
- Mix with the lukewarm buttermilk until the yeast is dissolved.
- Separate the egg yolks and the egg whites (do not throw away). Add the egg yolks to the batter.
- Add flour.
- Whip the egg whites until foamy and fluffy.
- Gently fold in the egg whites.
- Let the batter rise for one hour at room temperature or slightly warmer.
- Transfer the batter to a pitcher. No need to stir the batter.
- Add lard to each of the wells in the æbleskiver pan.
- Turn on the heat and wait for the æbleskiver pan to heat up properly. You fry the æbleskiver at medium high heat.
- Pour batter to the edge of each well.
- Turn the æbleskiver when they are golden brown and crispy on the outside. It is important that you continuously add lard to the wells while frying.
- Add more lard to the wells.
- Fry until golden brown on this half of the sphere too.
- Serve with powdered sugar, jam and gløgg (Danish mulled wine).